Photo: tete_escape via Shutterstock
This post may contain affiliate links. If you make a purchase, My Modern Met may earn an affiliate commission. Please read our disclosure for more info.
Inspired by the art of Hokusai and other masters of Japanese woodblock prints? Or just looking to get your hands dirty and express yourself creatively? The ancient art of woodblock printing is a perfect craft to get started with printmaking. And the uses are endless. From decorative wrapping paper to wall art, there’s so much you can do with woodblock prints. Of course, block printing can also be done using linoleum or rubber, but it’s also just as easy to use wood scraps you have around the house or pick up at the hardware store.
What supplies are needed for woodblock printing?

Photo: seeshooteatrepeat via Shutterstock
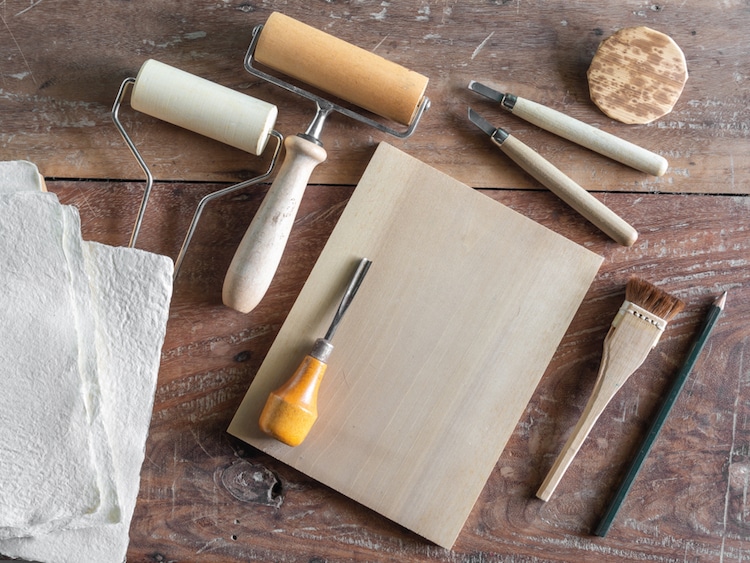
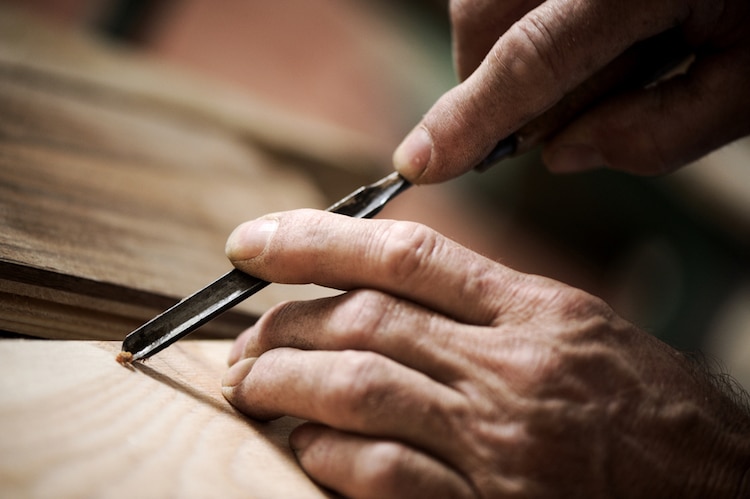
Carving knives
Gouges of varying sizes will help carve away large areas or create fine details. The V-gouge is used to carve against the grain, while the U-gouge carves with the grain. You’ll want to remember to not force the blades and keep them at a slight angle when carving to keep them from breaking. Also, remember to sharpen them, as this will make carving go more smoothly. Beginners may also find X-Acto knives to be a handy tool for incising fine lines.
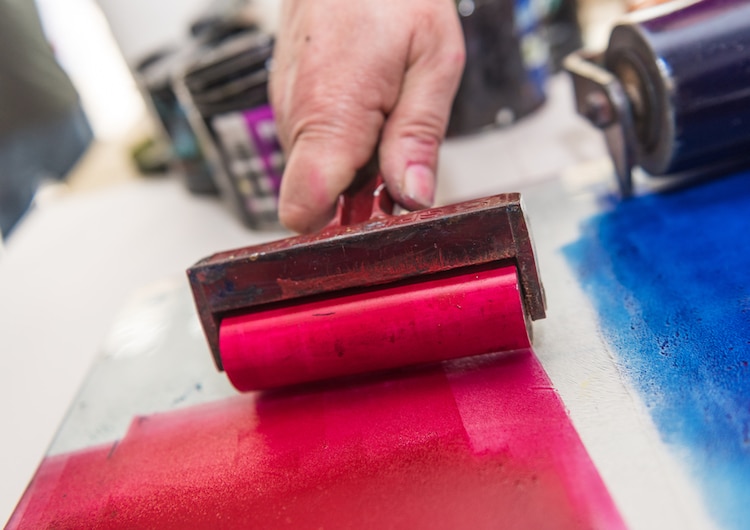
Brayer
This is what you’ll use to roll the ink onto your woodblock. Brayers are created to apply the ink evenly, ensuring that you’ll get a uniform distribution on the block. Just be sure not to overload your brayer with ink or you’ll end up with a murky print.
Block Printing Ink
Printing ink is specifically created to give even coverage and consistency so that the final print will come out clearly. Water-soluble inks are good for beginners, as they allow for quick cleanup. If you want to print on textiles, however, you’ll want to pick up ink created specifically for printing on fabric. You’ll also want a piece of glass to spread the ink on, prior to printing.
Baren
More of an optional tool, a baren is used to place even pressure on the back of the block when printing. Some people simply use their palm, wooden spoons, or other utensils to apply pressure, but a baren will ensure uniformity in the final product.
What type of wood is used for woodblock printing?

Photo: Stokkete via Shutterstock
Part of the fun when starting with a new craft is experimentation, and picking the right wood for your print is no exception. Softer wood like pine, cedar, and poplar are easier to carve, but will be difficult for images with fine details. Soft woods are also prone to not holding up well during repeated printing. Hardwoods like ash, birch, apple, and cherry will fair better after multiple prints and they’ll retain more detail, but their tight grain will make them more difficult to carve and will require you to continually sharpen your tools.
Alternatively, many printmakers use MDF or plywood as an affordable option, particularly when creating large images. MDF doesn’t have grain, so you won’t have to worry about splinters or cracks. But, it won’t retain detail quite as well as real wood, and will dull your tools quickly. Cherry plywood is quite popular with printmakers for its solid outer veneer and tight grain. Shina plywood is also beloved for its blemish free surface and density, which holds detail.
No matter what type of wood you choose to experiment with, you’ll want to select a piece free of knots, warps, and cracks.
How can I transfer an image to the woodblock?
Once you have your piece of wood selected, you’ll need an image to carve. Some people prefer to draw directly on the block—remember the image will come out reversed when printed—while others transfer their images. If you aren’t up to sketching yourself, there are many sources for free stock images—just check the fine print on usage to see if it’s ok to use.
When transferring the image, you can use carbon paper or trace your image using a thick graphite pencil and then transfer it just as you would with carbon paper. You can also try using image transferring mediums like ModPodge for more complex drawings.
Once your image is traced on the wood, you may want to seal the block with a thin layer of clear acrylic varnish. This will help close the pores of the wood, meaning the ink won’t soak in and warp the block during the printing process.
