Learn how to paint a sunset in this step by step tutorial!
There are many ways you can paint a sunset. In the tutorial below, you’ll see how the glazing approach can be used to recreate the many colors of the sunset—no matter the photo.
1. Draw your sunset scene on your prepared surface.
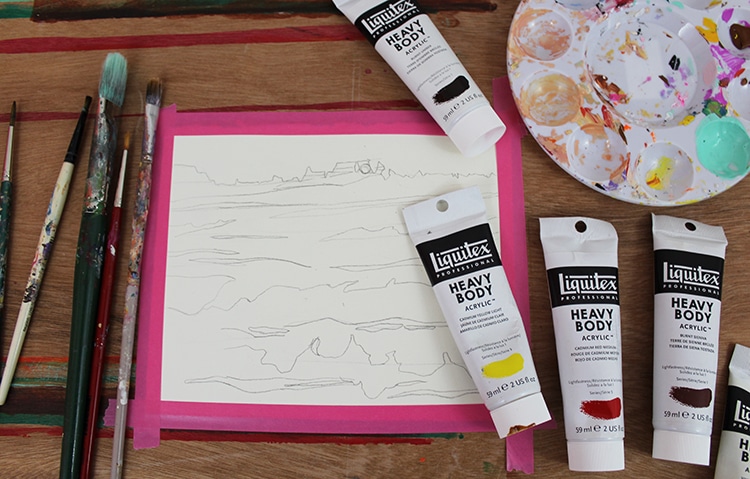
Photo: Sara Barnes / My Modern Met
Gather your supplies and prepared surface (whether it’s a canvas or thick paper) and lightly sketch out your sunset landscape. These marks are guidelines for color placement and where certain things, like trees, are on in the composition. Don’t worry about erasing later; the paint will cover it up.
For color, you’ll probably want to go with a couple of primary reds, yellows, blues, and even warm browns like sepia or raw umber. Before deciding, be sure to asses your subject. Determine the hues you see and what colors will best imitate them.
Need help on color theory? Check out our handy guide.
2. Brush on your first layer of colors.
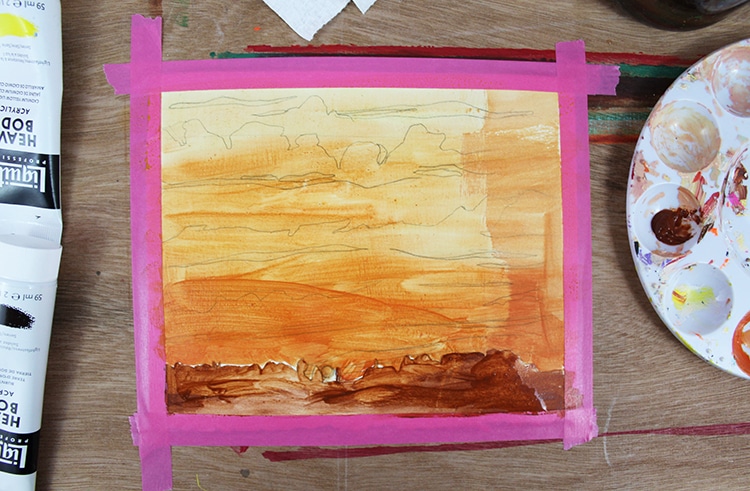
Photo: Sara Barnes / My Modern Met
Assess the overall tones in the sky to help you determine the first few colors you’ll use. Once you have those selected, use water to dilute the pigments. Then, brush them over your surface. You don’t have to be too precise at this point; just paint in the general areas where these colors should go. Because your pigments are thinned with water, you should still be able to see your drawing below.
3. Begin refining areas of color.
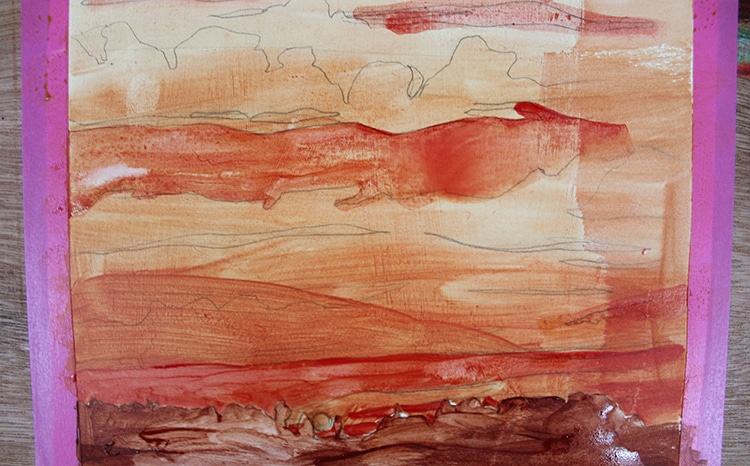
Photo: Sara Barnes / My Modern Met
Wait for your first layer of paint to dry. Once set—it should take just a few minutes or so—mix a few more pigments. Again, dilute them with water. Brush the new hues on top of your underpainting, but this time, pay more attention to where they go. Look to your drawing as a guide and fill the shapes or areas with the appropriate colors.
4. Continue honing your areas of color.
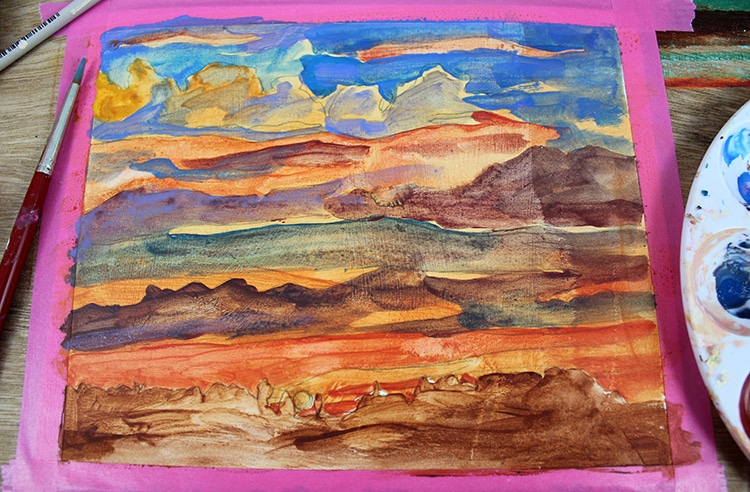
Repeating steps two and three, continue to refine areas of the sky by selecting or mixing pigments and then diluting them with water. Before doing this, be sure to look to your source photo to determine what other colors are present. Depending on the scene, there might be blues or purples that are mingling with vibrant oranges and yellows. This is the beauty of the sunset, so paint whatever you see.
5. Work until you have fully refined your sunset painting.
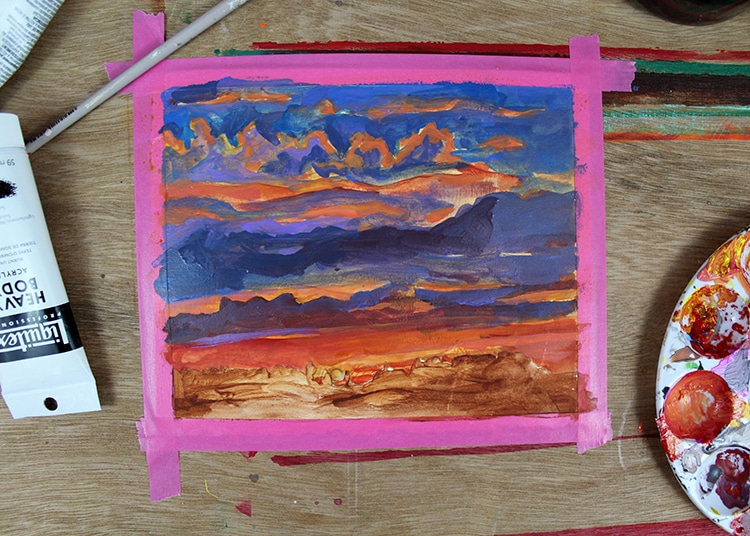
Photo: Sara Barnes / My Modern Met
There are certain points in the sunset paintings when things feel messy and unclear. This is totally normal, and it happens somewhere between your second and 10th layer. But keep with it, and eventually, you will build up enough layers of color that the piece will start to resemble the sunset.
As you build towards your final colors (and final layers), don’t dilute the paint as much. This will ensure that the finished piece looks sharp and polished. Hard edges, like the silhouetted landscape and a few clouds, offer nice finishing touches.
6. Wait for the piece to dry.
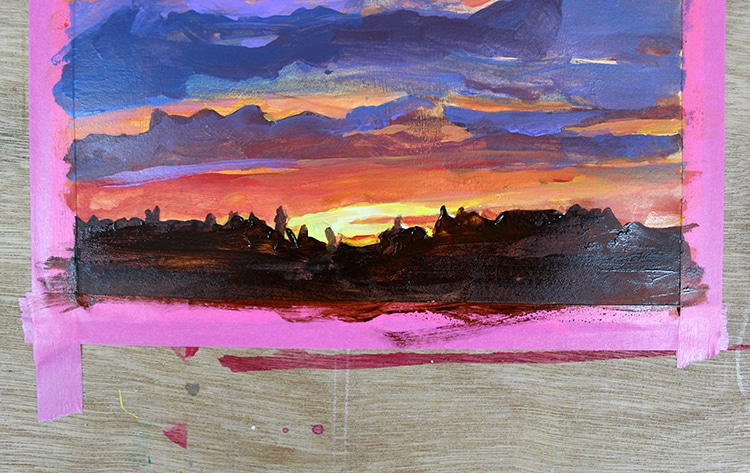
Photo: Sara Barnes / My Modern Met
Wait for the piece to fully dry before ripping off any tape or trying to hang it in your wall. And even before you do that, give it one last look. Is there any place that needs fixing? If everything looks great, give yourself a high-five for completing a sunset painting!
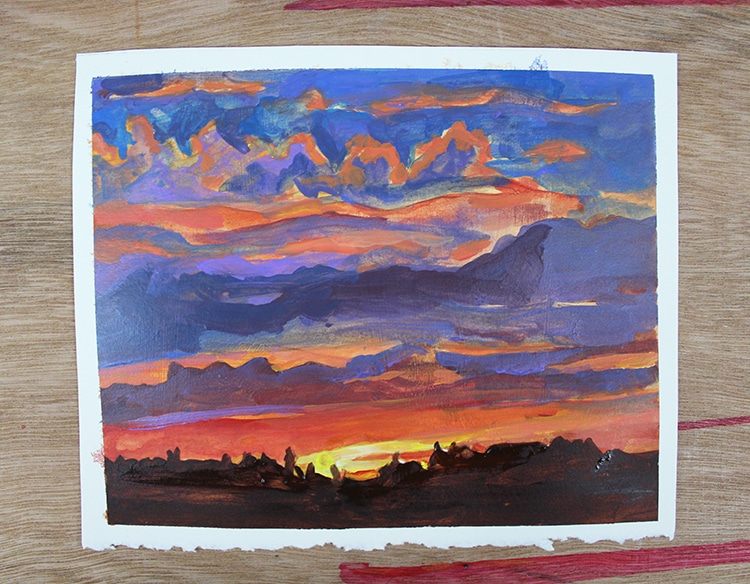
Photo: Sara Barnes / My Modern Met
Once you’ve finished your sunset painting, post it in our Art, Design, Photography, and Drawing Club on Facebook! We can’t wait to see what you’ve created!
Related Articles:
Art History: The Evolution of Landscape Painting and How Contemporary Artists Keep It Alive
Vibrant Landscape Paintings Use the Color Orange to Capture the Warm Glow of the American West
Impressionist-Inspired Landscapes Fuse Photography with Painting to Blur Fantasy and Reality
