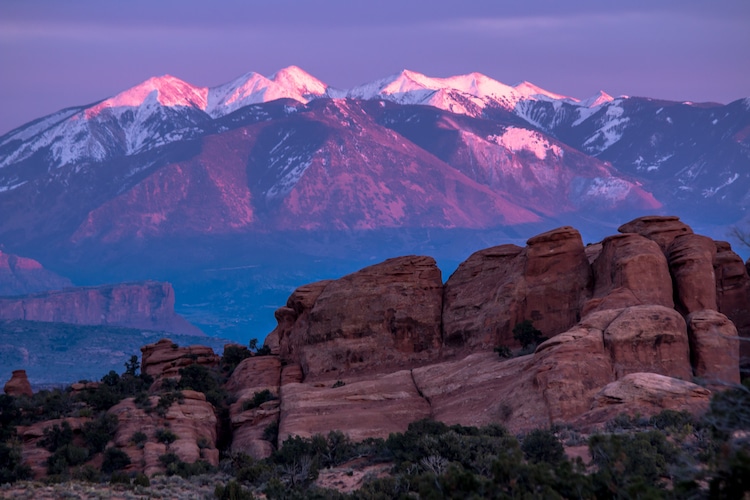
Photo: Arches National Park
This post may contain affiliate links. If you make a purchase, My Modern Met may earn an affiliate commission. Please read our disclosure for more info.
Compared to other types of landscape photography, the sky-high art of capturing mountains may seem a bit intimidating. In addition to normal outdoors concerns like weather conditions, lighting, and tricky composition, photographers must figure out how to aptly capture such monumental—and sometimes seemingly out of reach—subjects. Fortunately, if you’re interested in trying your hand at mountain photography, we’re here to show you the ropes.
Simplified and easy to navigate, these mountain photography tips will help you to reach the peak of your photo-taking prowess.
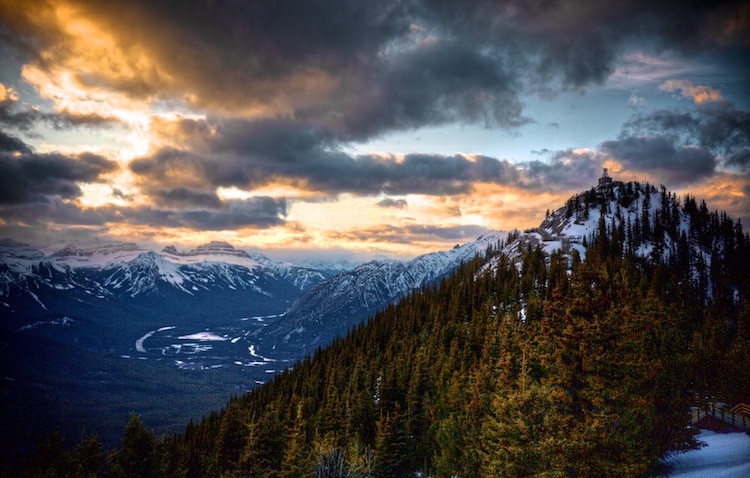
Photo: davidgsteadman
1. Scope out an original location
As with all landscape photography, finding the perfect spot to set up camp is key. While you may be tempted to flock to iconic locations you’ve seen in other people’s mountain-themed photos, you may find it’s well worth it to escape the beaten path and experiment with unchartered—and un-photographed—territories. Choosing an unfamiliar site allows you to observe the view from a fresh perspective and fully hone in on your creativity. Plus, unique mountain pictures make your portfolio all the more interesting.
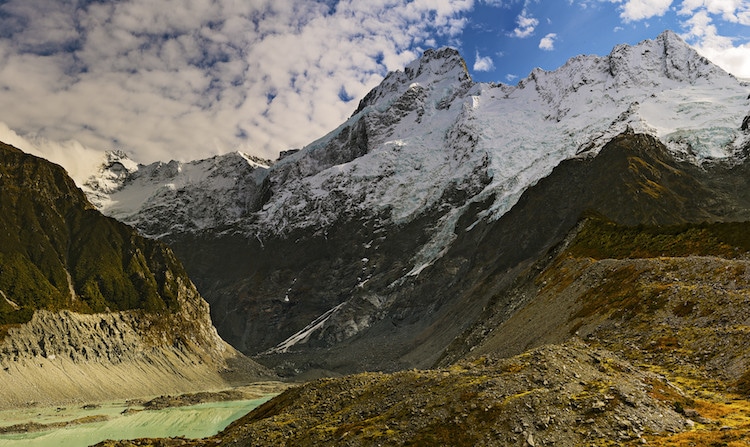
Photo: Paul Stewart
2. Plan ahead for perfect lighting
Once you’ve selected your site, it’s time to plan your excursion. One thing to keep in mind when prepping for your photo session is lighting, as it will inevitably have a profound effect on your photograph. According to online magazine Nature Photographers, there are 3 categories of landscape lighting to consider: light quality, light temperature, and light direction.
Light quality
The quality of light relies mostly on the time of day and the weather conditions. Taking a photograph at noon on a sunny day may sound ideal, but many photographers find that this lighting washes out the texture and natural coloring of mountains. Thus, it is important to experiment with the quality of light by snapping photographs at different times of day. Tip: sunrise and sunset are often favored for their warm color palette, soft luminescence, and long shadows.
Light Temperature
Light temperature is similar to quality, as both depend on timing. If you’d like to take a photograph of mountains bathed in warm tones, you should aim to shoot at dusk or dawn. If you’d like a cooler color scheme, try the late afternoon. And, for a neutral palette, mid-morning and early afternoon are best.
Light Direction
It is equally important to think about the direction of the light, which can be classified as front-lit, side-lit, and back-lit. Though front-lighting is an ideal way to capture color, it is not the best approach for mountain photography, as it drowns out the texture of the terrain. Side-lighting, on the other hand, accentuates the mountains’ natural contours while also capturing tonality. Finally, back-lighting (the type that occurs when the sun is directly behind the landform) is a good way to explore and emphasize shape and silhouette.
3. Consider your composition
If you get creative with your composition, your photograph is bound to be a bit more eye-catching. Even if you’d like the mountains to be the straightforward subject of your photograph, consider the other elements that surround it. Trees and other rock formations can act as helpful framing aids. Similarly, don’t forget the foreground! Winding rivers, in-focus flowers, and even the forest floor can enhance your mountain-focused shot by adding variety and depth to your composition.
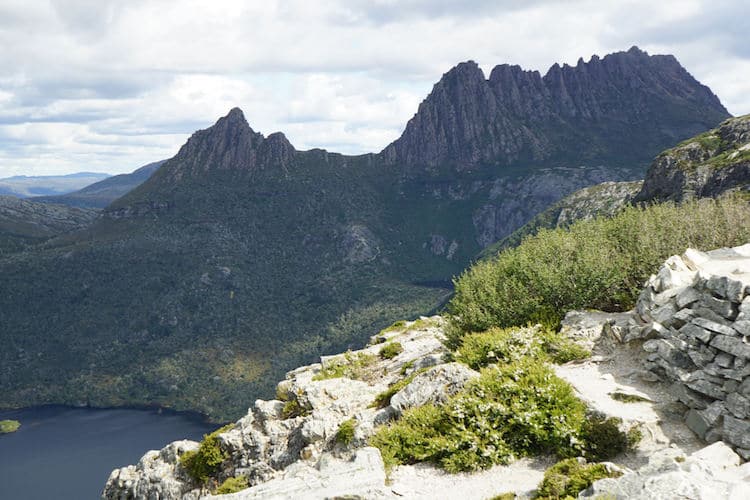
Photo: thinkrorbot
4. Get the gear
Fortunately, much of the go-to gear used by professional photographers is available to purchase online.
To capture his stunning shots, Jack Brauer uses the Sony A7R 36mp digital camera and Canon tilt/shift prime wide angle lenses. Jonathan Griffith recommends the Canon 5D Mark III with the EF 16-35mm F2.8L lens.
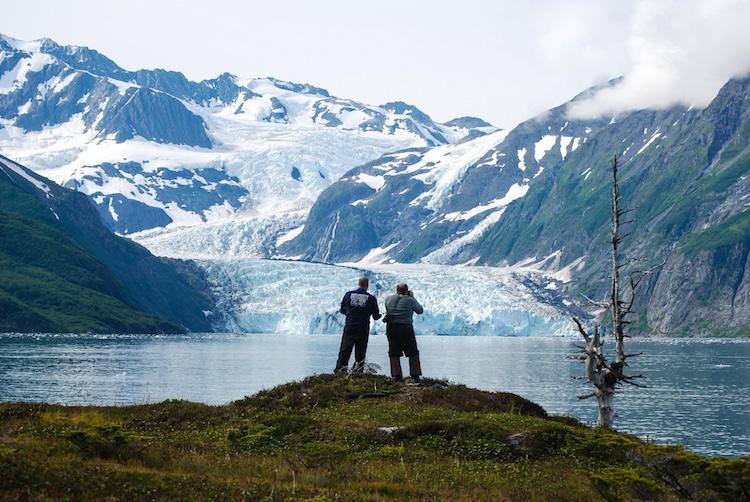
Photo: U.S. Geological Survey
5. Have fun!
Now that you’ve learned the basics, found your inspiration, and gotten the gear, you’re all set to explore. Even with these guidelines, however, it’s important to be creative, continue to experiment, and, above all else, have fun with your new creative project!

