
Photo: VadimVasenin/DepositPhotos
Water is an essential part of our lives; but in art, it can be a rather challenging subject to draw. Unlike flowers or animals, water is transparent and has no color. In fact, we usually see water due to its relationship to other objects, such as a clear drinking glass. So, how do you sketch this ambiguous compound?
Here we will learn how to draw water in six different ways: a water drop, water in a glass, human tears, running water, an ocean, and a puddle. All you’ll need is a pencil, eraser, pen, and some paper. Ready to get started? Then, let’s draw water!
How to Draw a Water Drop
Step 1: Draw a soft wave
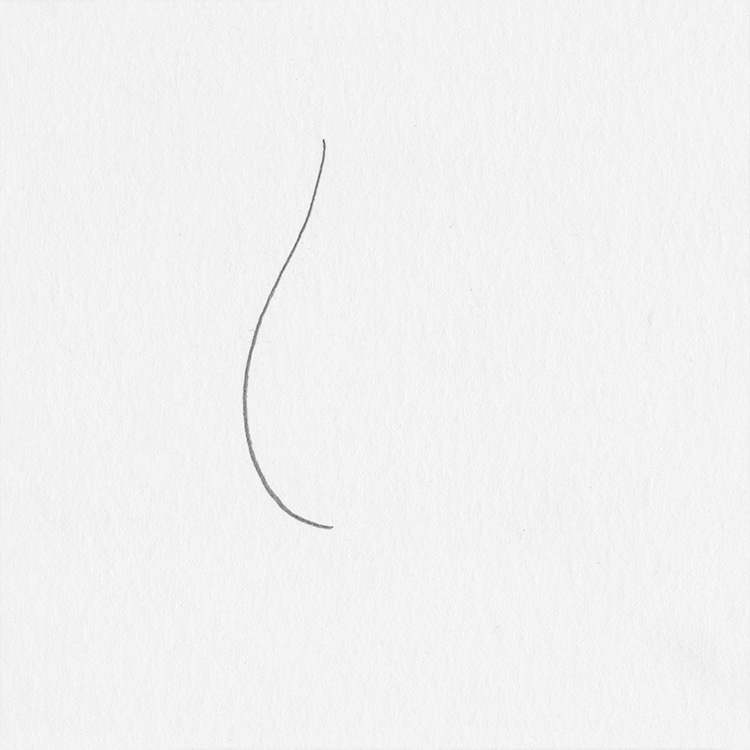
Photo & Art: Margherita Cole | My Modern Met
First, draw a soft wave to create half of the water drop.
Step 2:
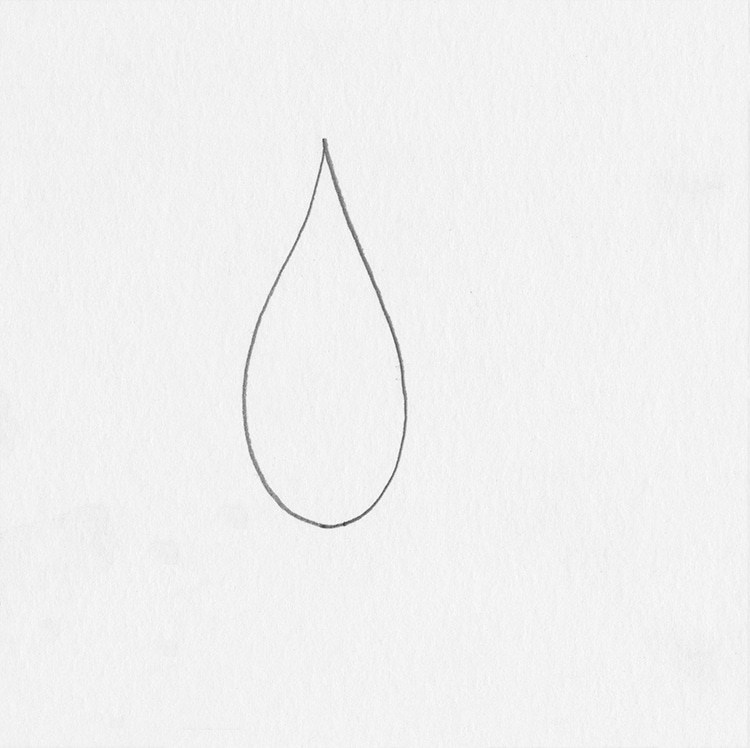
Photo & Art: Margherita Cole | My Modern Met
Complete the water drop by drawing the other half.
Step 3: Add some shading
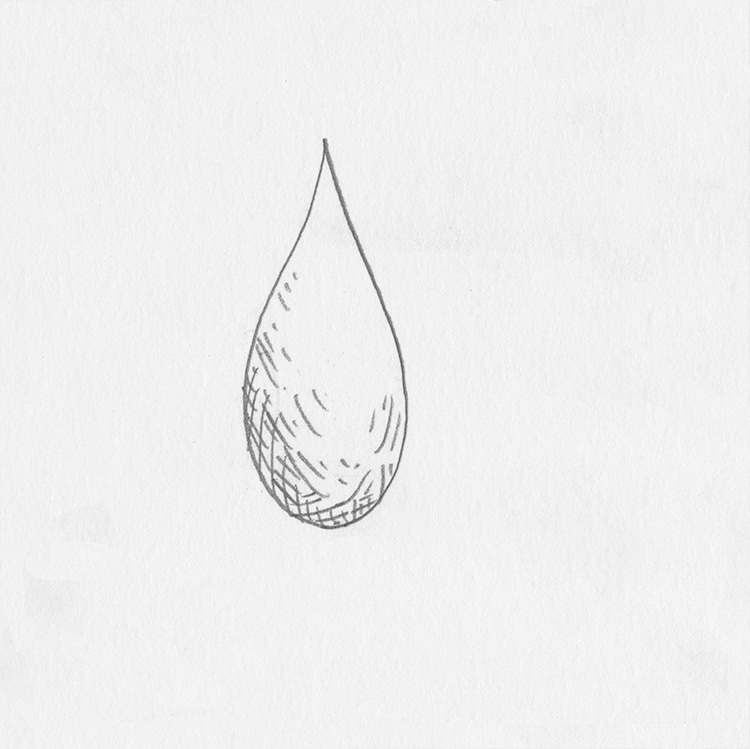
Photo & Art: Margherita Cole | My Modern Met
Fill in the water drop with a mix of hatch marks and crosshatching, focusing mostly on the bottom of the drop.
Step 4: Go over the drawing in ink
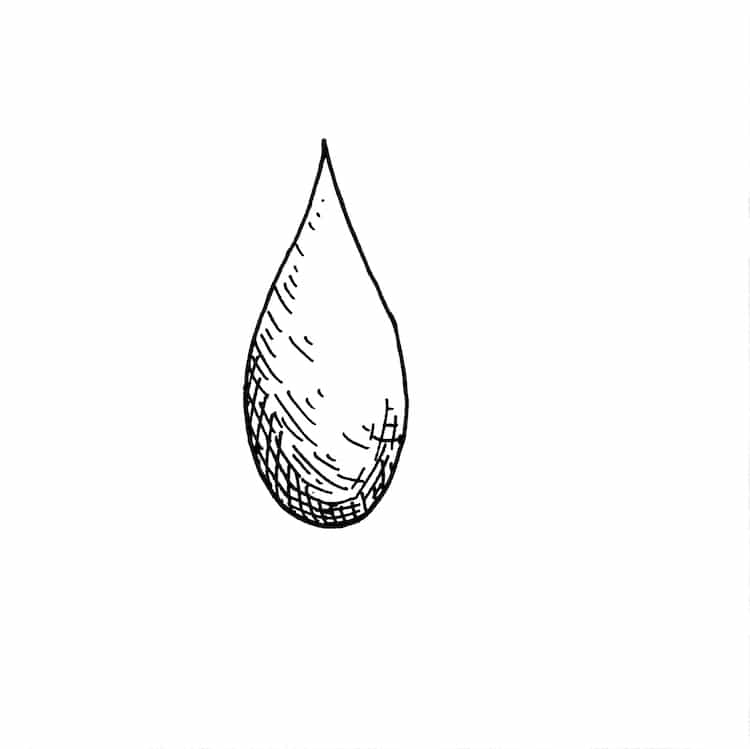
Photo & Art: Margherita Cole | My Modern Met
Lastly, go over the drawing in ink. After the ink is dry, erase any remaining pencil marks, and voila! You’ve drawn a drop of water.
How to Draw Water in a Glass
Step 1: Draw a glass
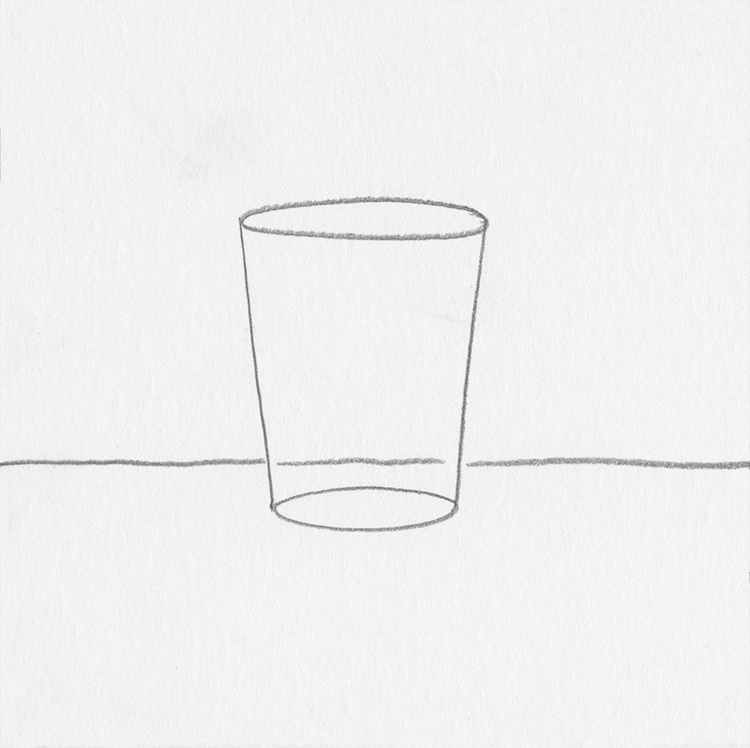
Photo & Art: Margherita Cole | My Modern Met
Begin by sketching a simple drinking glass. Consider using a reference photo to help you out.
Step 2: Add an oval
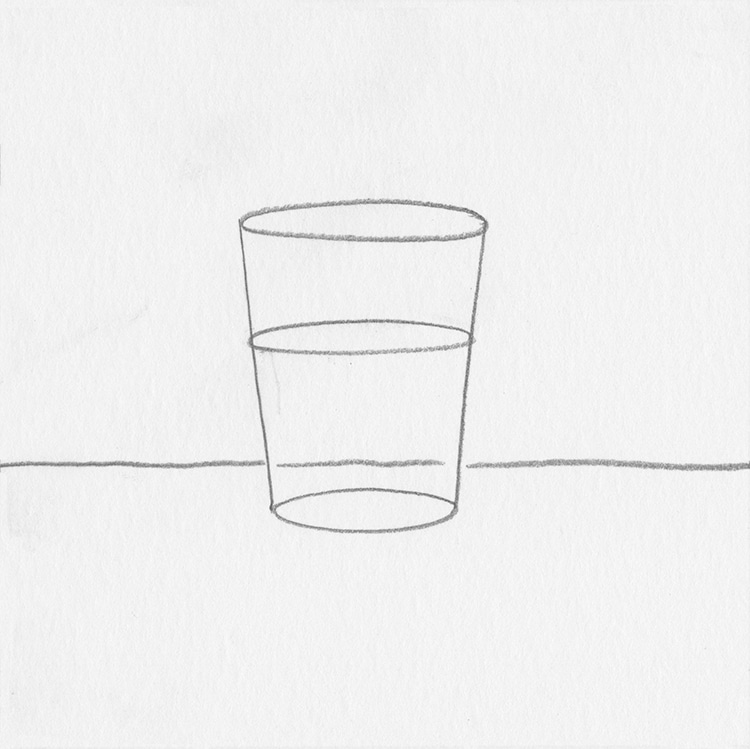
Photo & Art: Margherita Cole | My Modern Met
Add a narrow oval within the glass. Its location will depend on how full you want the glass to be. It is about halfway full in the drawing above.
Step 3: Add some texture
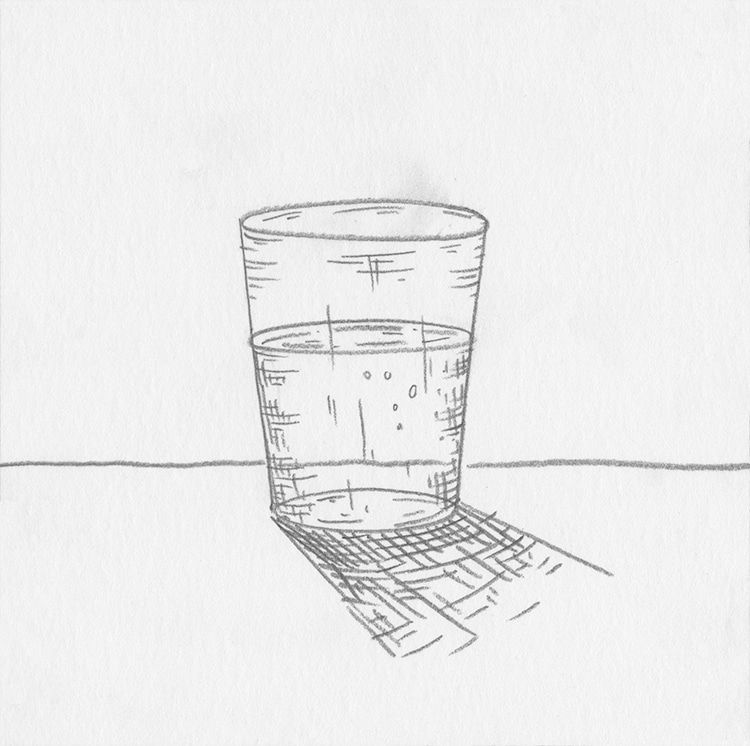
Photo & Art: Margherita Cole | My Modern Met
Next, we’re going to give our drawing depth by adding texture to the glass and water. Use a combination of hatch marks and crosshatching to achieve this, and make sure to follow the curve of the glass.
Step 4: Go over the drawing in ink
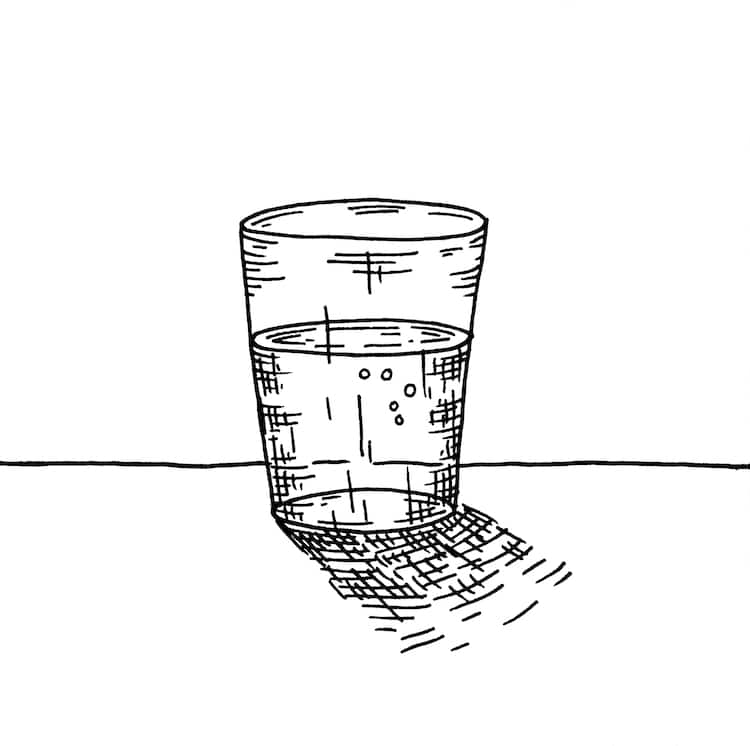
Photo & Art: Margherita Cole | My Modern Met
Lastly, it is time to finish the drawing by going over it in ink. Using the pen of your choice, carefully trace over the pencil lines. Congrats! You’ve drawn a glass of water.
How to Draw Tears
Step 1: Draw an eye
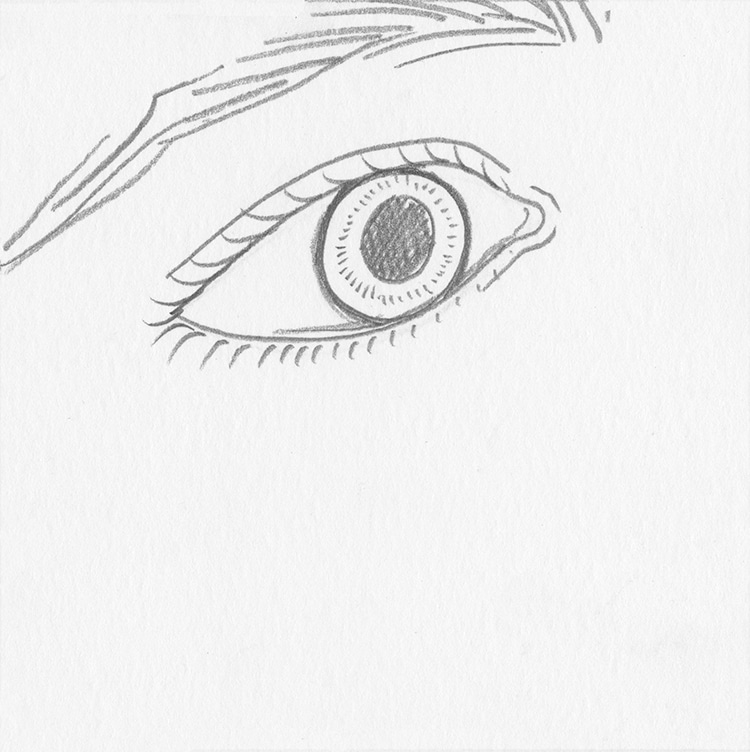
Photo & Art: Margherita Cole | My Modern Met
First, you must draw a human eye. This can be as realistic or stylized as you want.
Step 2: Sketch a small oval
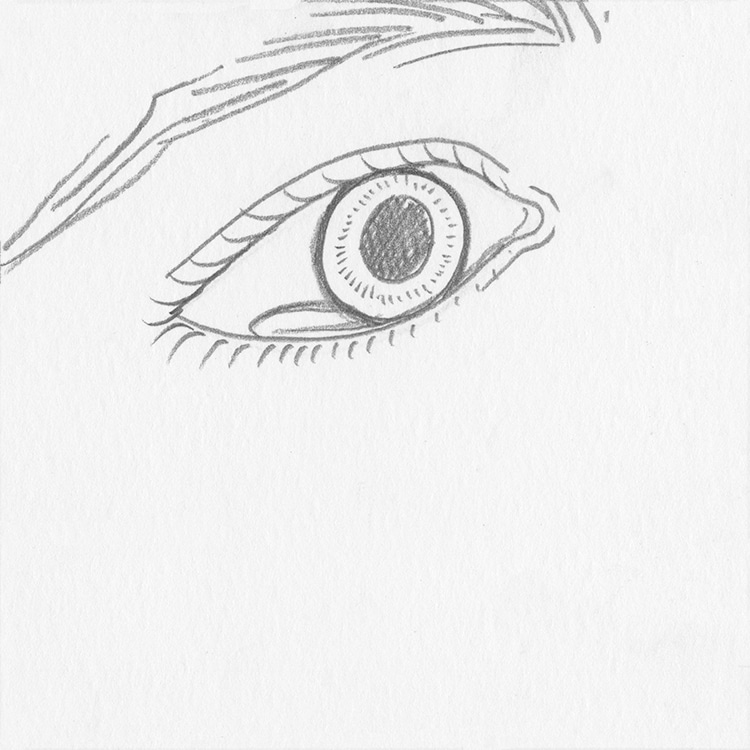
Photo & Art: Margherita Cole | My Modern Met
Next add a small oval within the eye, close to the water line (the bottom of the eye).
Step 3: Add a small drop of water
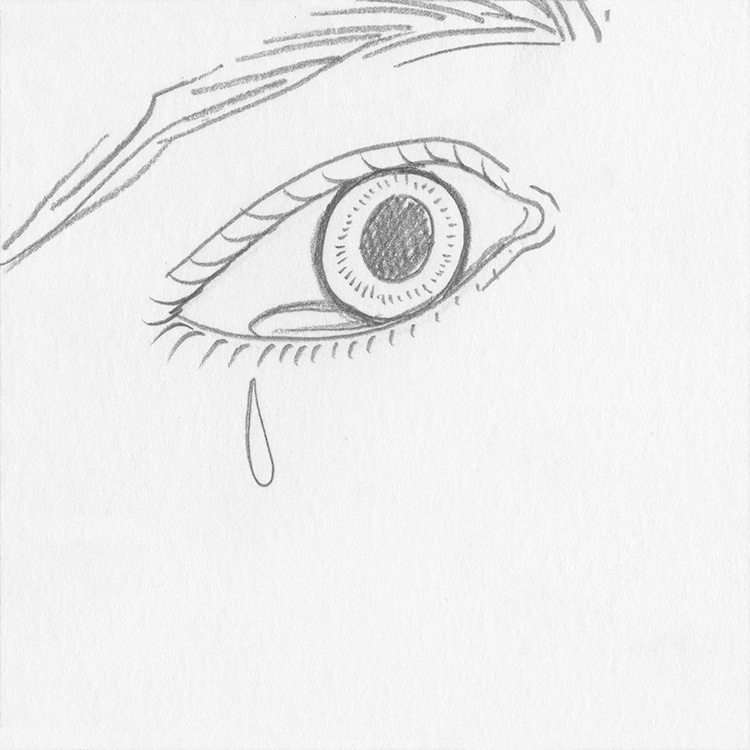
Photo & Art: Margherita Cole | My Modern Met
Next, draw a water drop a little below the eye to create the tear. You can use the instructions from the first tutorial to complete this step.
Step 4: Go over the drawing in ink
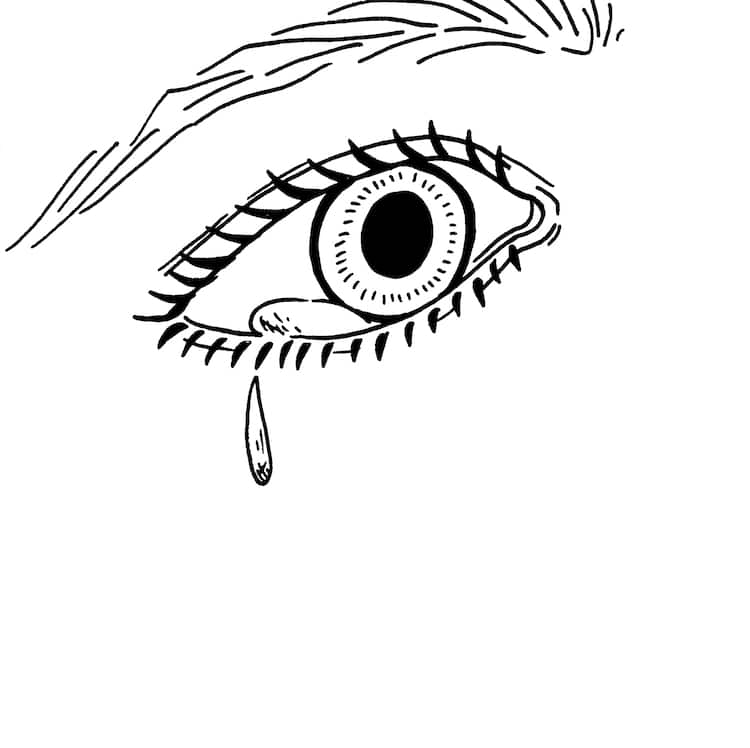
Photo & Art: Margherita Cole | My Modern Met
Lastly, go over the drawing in ink and add any necessary texture. All done!
How to Draw Running Water
Step 1: Draw a faucet
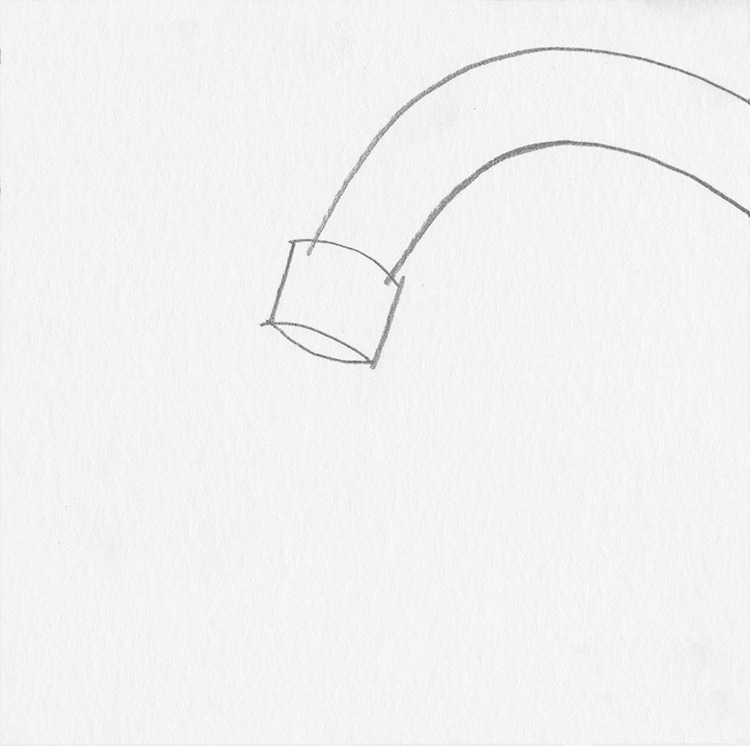
Photo & Art: Margherita Cole | My Modern Met
In this example, the running water will be coming out of a sink faucet. So, draw a curved tube shape and cap it off with a square head.
Step 2: Add two lines
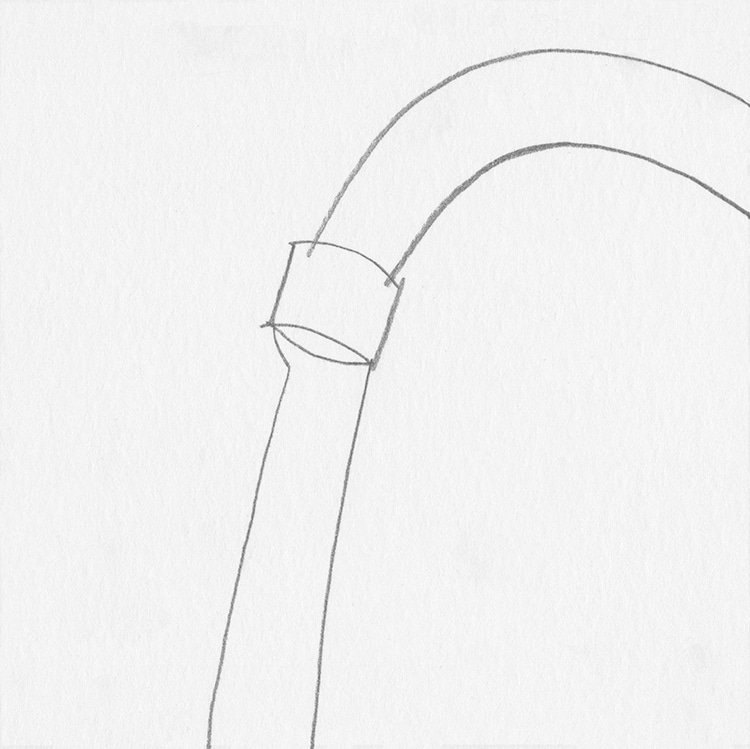
Photo & Art: Margherita Cole | My Modern Met
Next, we’re going to create the stream of water by adding two straight lines to the cap of the faucet.
Step 3: Add texture
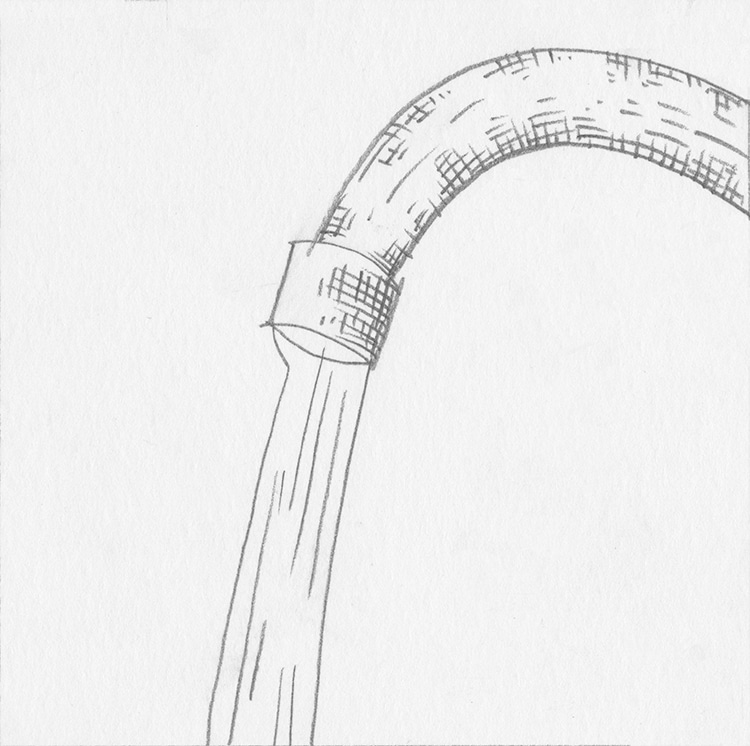
Photo & Art: Margherita Cole | My Modern Met
Fill in the faucet and water with texture. You can use a mix of hatch marks and crosshatching to do this. The lines in the water will help create the illusion that the water is moving
Step 4: Go over the drawing in ink
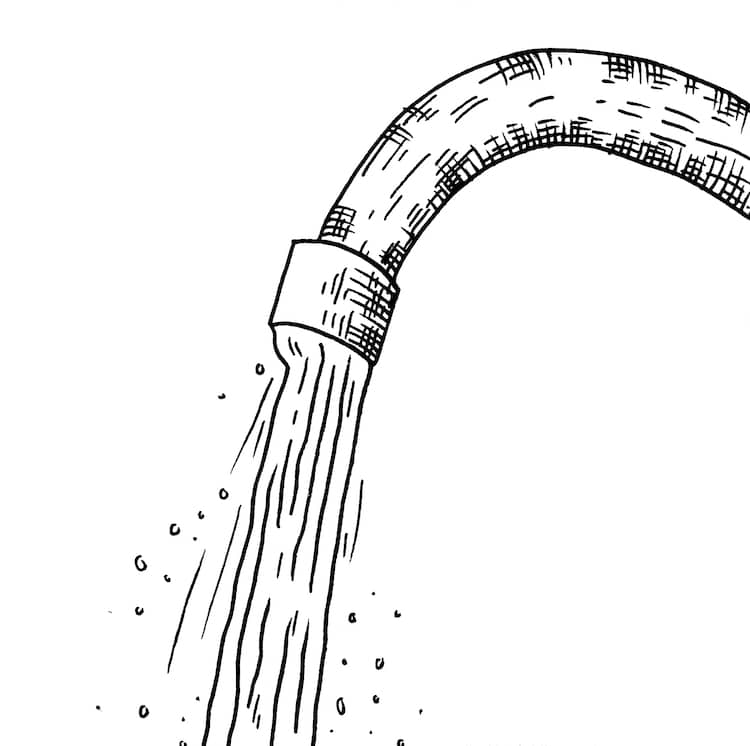
Photo & Art: Margherita Cole | My Modern Met
Finally, it is time to go over the drawing in ink. Use the pen of your choice to carefully trace over the pencil lines. Then, when you’re sure the ink has had enough time to dry, erase any remaining pencil marks. Good job!
How to Draw an Ocean
Step 1: Draw a wavy line
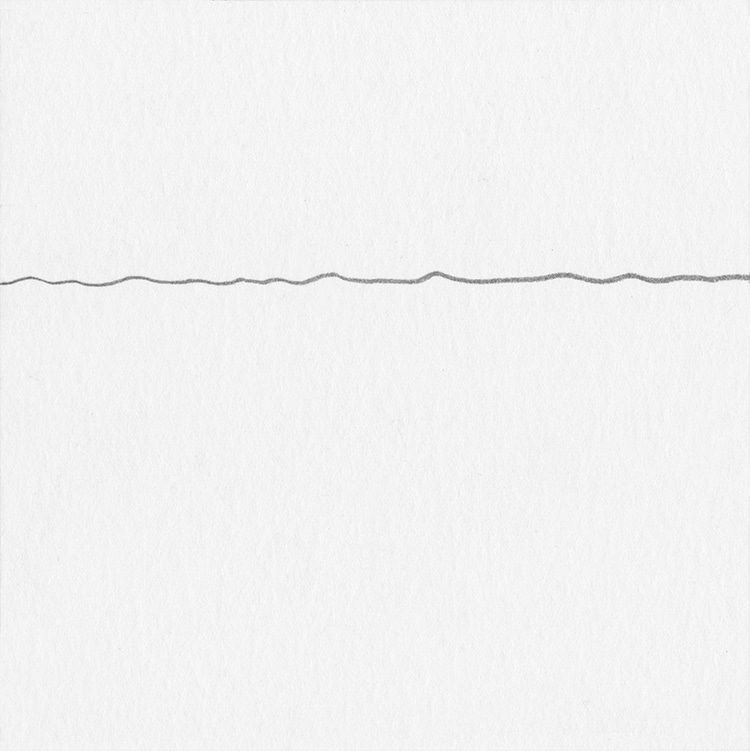
Photo & Art: Margherita Cole | My Modern Met
Start your illustration by drawing a wavy, horizontal line.
Step 2: Add more wavy lines
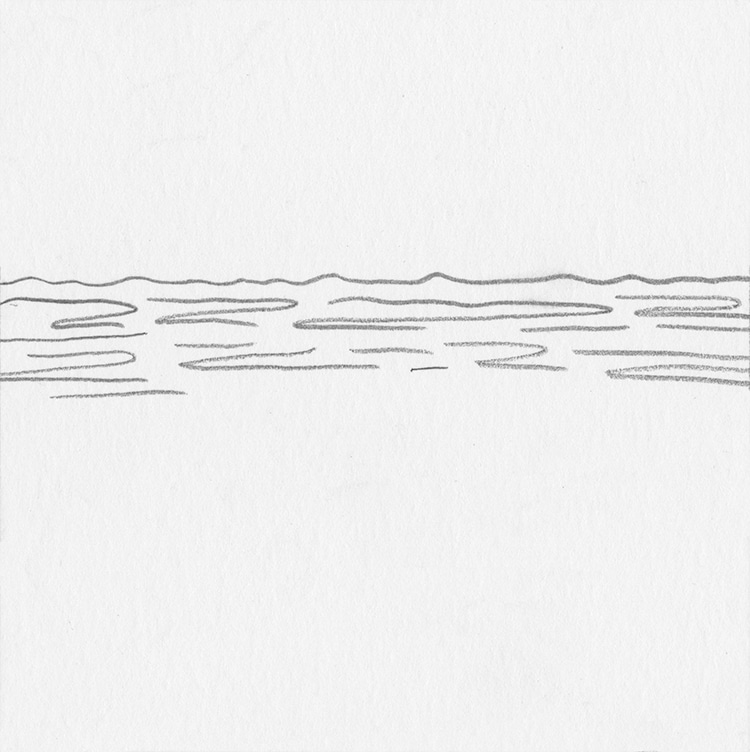
Photo & Art: Margherita Cole | My Modern Met
Then, starting just below the horizontal line, create texture by adding some wavy and loopy lines.
Step 3: Finish adding texture
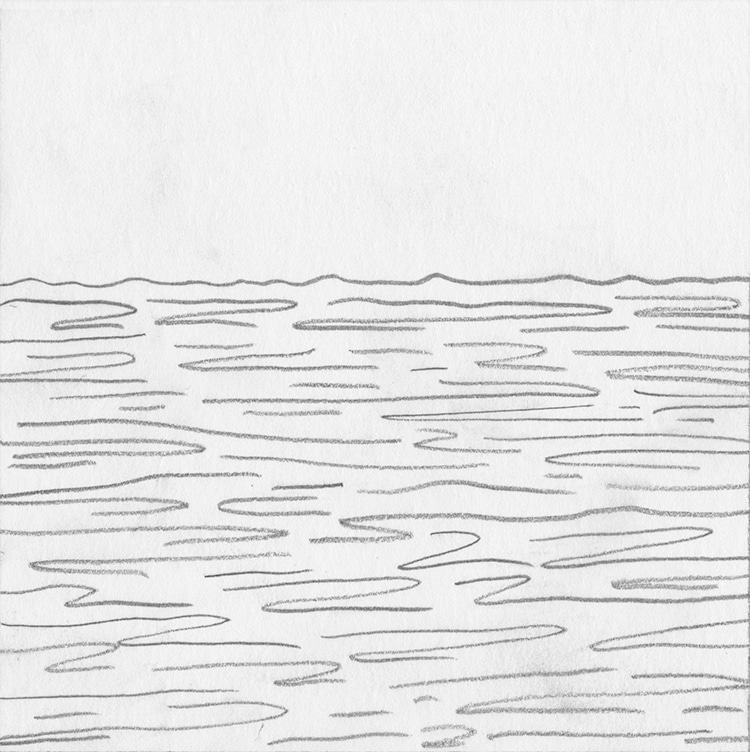
Photo & Art: Margherita Cole | My Modern Met
Keep adding texture until you’ve filled the body of water.
Step 4: Go over the drawing in ink
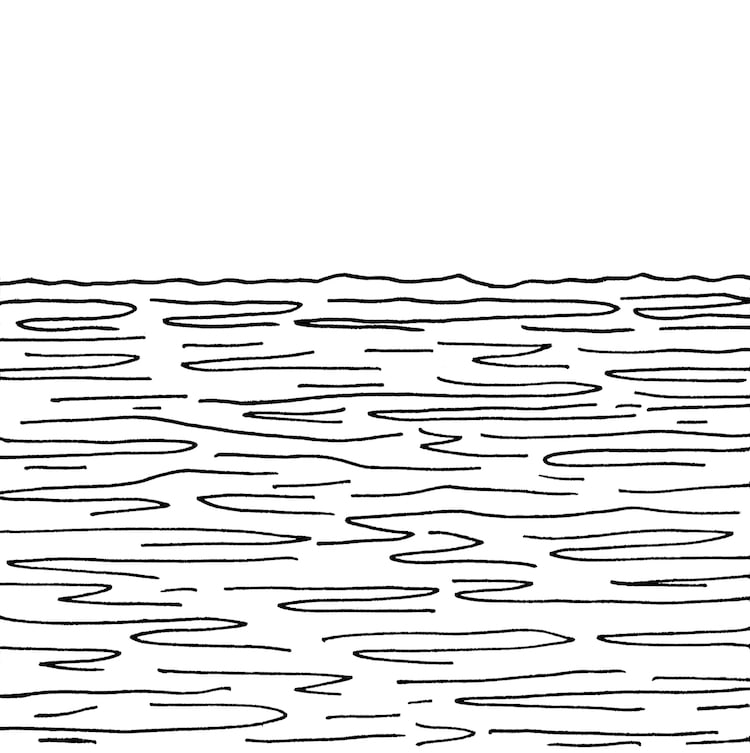
Photo & Art: Margherita Cole | My Modern Met
Lastly, it is time to go over the drawing in ink. Then, when the ink is dry, erase any remaining pencil marks. You’ve completed an illustration of the ocean!
How to Draw a Puddle
Step 1: Draw a narrow oval
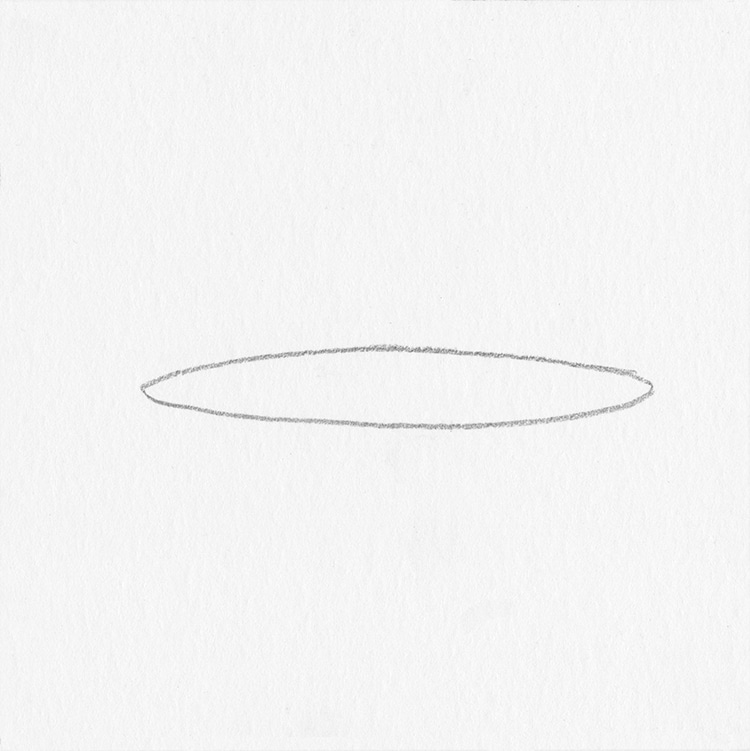
Photo & Art: Margherita Cole | My Modern Met
First, sketch a long, narrow oval.
Step 2: Draw another narrow oval
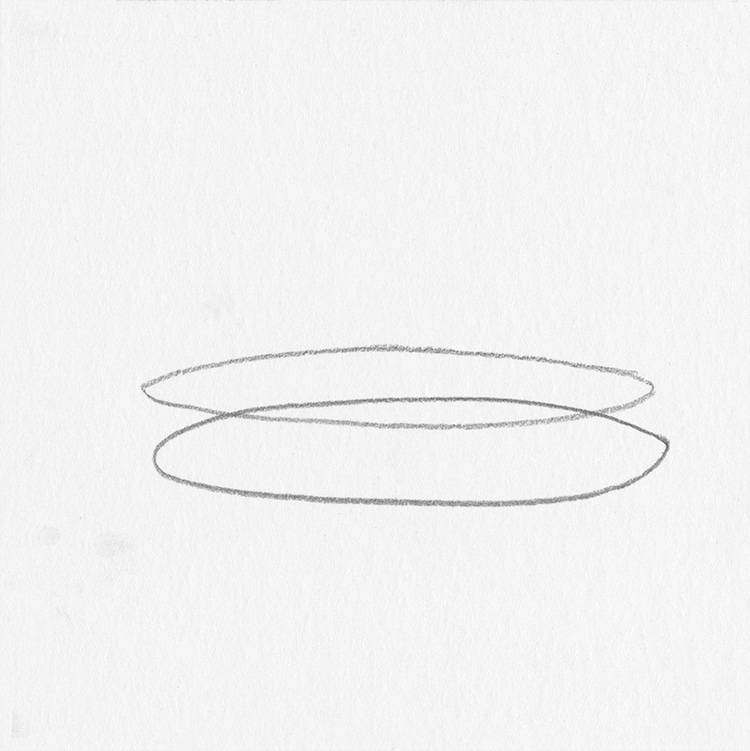
Photo & Art: Margherita Cole | My Modern Met
Next, draw another oval that intersects with the first one.
Step 3: Merge the ovals
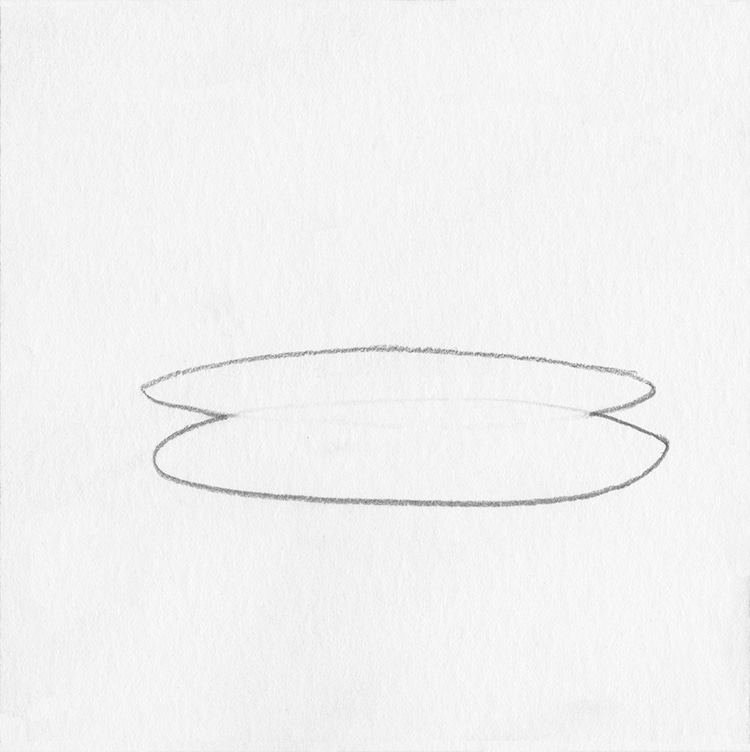
Photo & Art: Margherita Cole | My Modern Met
Merge the two ovals by erasing the pencil marks inside of the combined shape.
Step 4: Add some texture
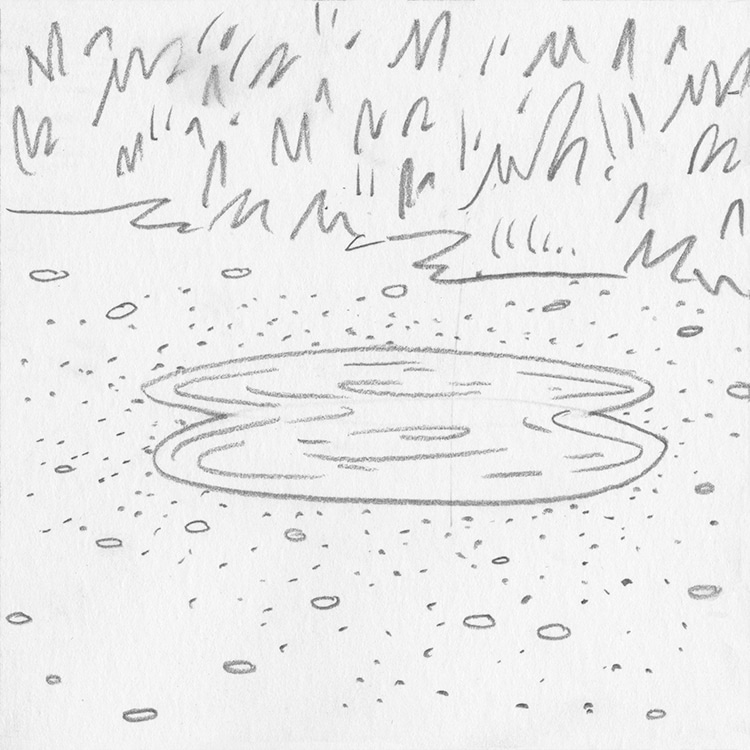
Photo & Art: Margherita Cole | My Modern Met
Afterward, add some texture within the puddle to give it depth. You can use wavy lines that follow the curvature of the puddle. Feel free to add texture to the surrounding environment as well. Stippling is great for rendering dirt, for example.
Step 5: Go over the drawing in ink
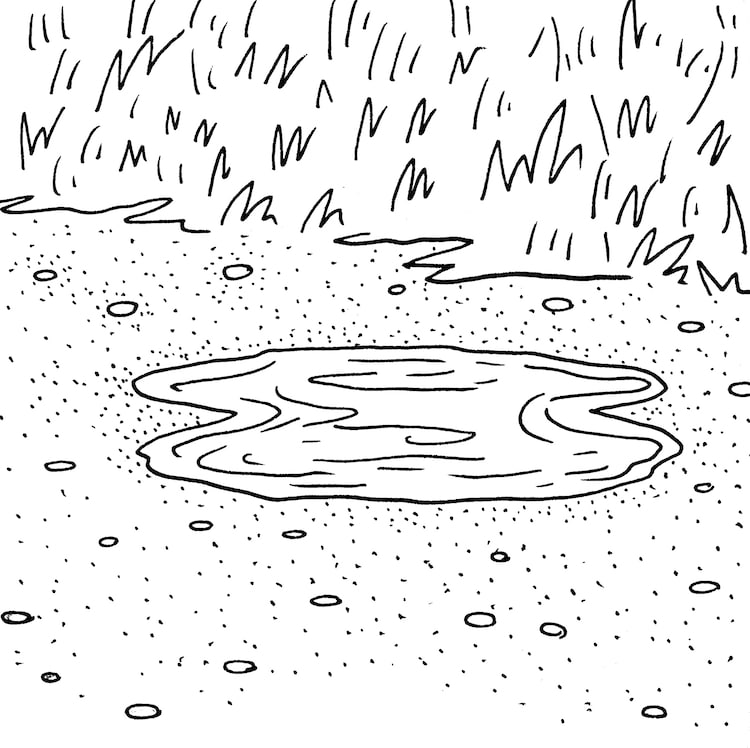
Photo & Art: Margherita Cole | My Modern Met
Finally, using the pen of your choice, go over the drawing in ink. Congratulations! You’ve drawn a puddle.
Looking for others who love drawing? Join our Art, Design, Photography, and Drawing Club on Facebook!
Related Articles:
Learn How to Draw a Sea Turtle Step by Step
Learn How to Draw a Bottlenose Dolphin Step by Step
Learn How to Draw a Great White Shark in 7 Simple Steps
Learn How to Draw Koi Fish With This Easy Step-By-Step Guide
