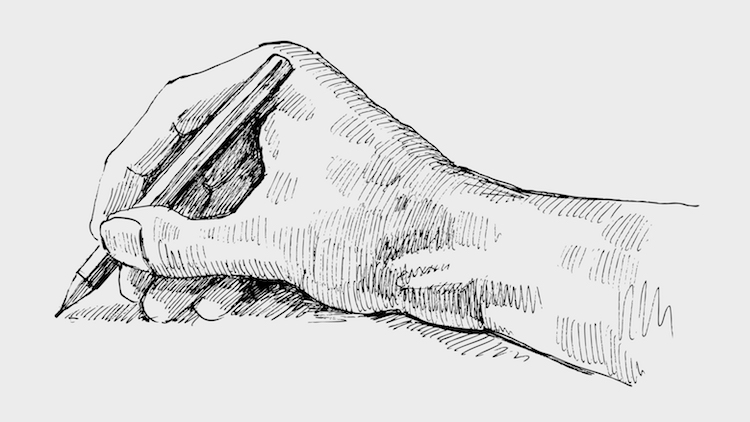
Image: Drawing of a hand from bioraven / Shutterstock.com
This post may contain affiliate links. If you make a purchase, My Modern Met may earn an affiliate commission. Please read our disclosure for more info.
Drawing human anatomy is tricky. One of the most challenging parts of the body are the hands—especially when you’re sketching them in a realistic manner. As with all things in art, practice builds skills and confidence—which is just one reason why you should learn how to draw hands. They are undoubtedly a challenge, but when you can make them look so life-like that they’re popping off the page, it’s sure to boost your creative confidence.
One reason that the hands are difficult to draw is that they can easily look askew. (That’s why so many artists “hide” them by stuffing them into pockets!) There’s a fine line between too little and too much realism. By implying too many folds in the skin, you can dramatically (and unintentionally) age your subject. Or a misshapen finger can make the hand look like a claw. So when the initial sketching phase begins, it’s important that you make sure the proportions of the palm and fingers are correct.
Bone Structure of a Human Hand

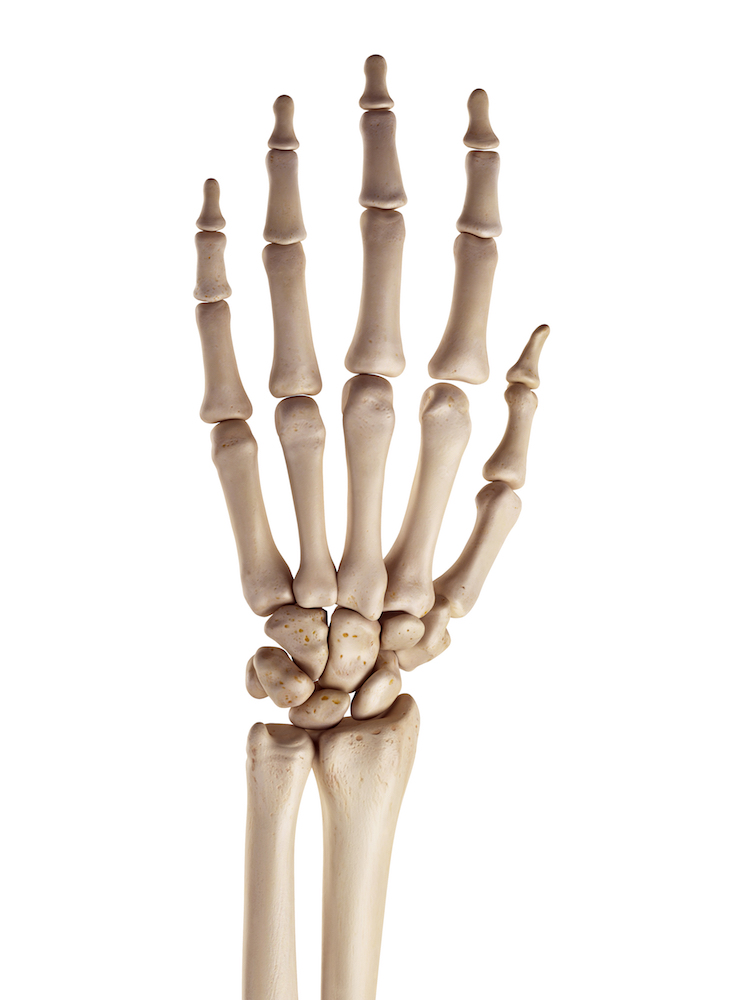
Medical illustration of hand bones from Sebastian Kaulitzki / Shutterstock
One of the biggest issues we can face in hand drawing is that we don’t fully understand what’s underneath our skin. The hands are made of 27 bones; some are very tiny at the tip of your fingers while there are long bones that comprise the base of the digits. In addition to bone structure, there are four main parts of articulation: interphalangeal articulations (the hinge joints between the bones on your fingers); metacarpophalangeal joints (where your fingers meet the palm); intercarpal articulations (the point at which the palm and wrist meet); and the wrist.
You needn’t memorize all of the bones in the hand. Instead, you’ll want to familiarize yourself with the general structure. That way, when you’re trying to imagine how someone’s hand might look holding their cell phone or pointing their finger, you’ll imagine how their bones and joints would move.
