Photo: dutourdumonde/DepositPhotos
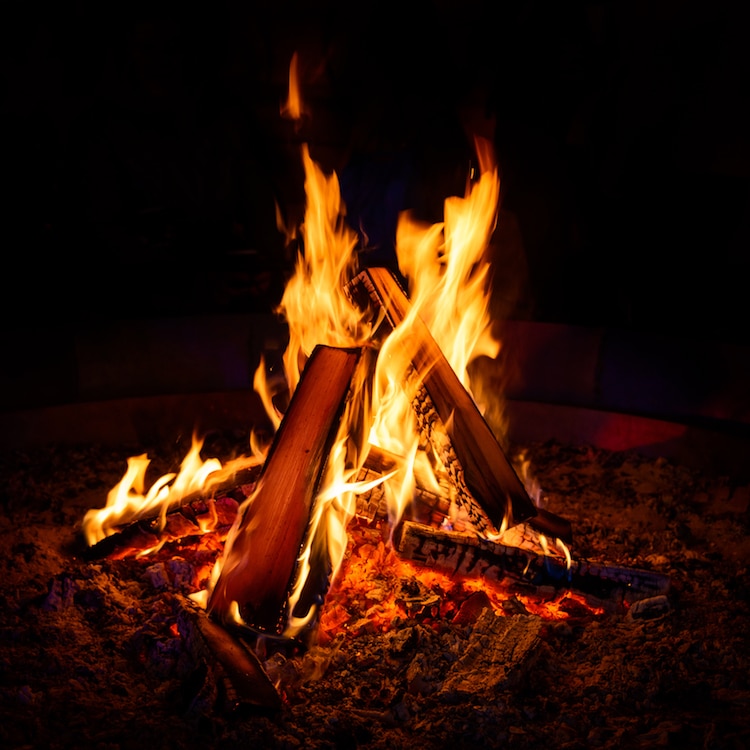
Although it can be quite dangerous, fire is also an important part of our lives. Not only does it keep us warm, but it provides a sense of comfort, such as lighting a candle or roasting marshmallows over a campfire. It may seem impossible to capture the flowing shapes of fire in pencil or pen. However, like with most things, all you need to do is learn how to break the subject down into several easy-to-understand steps.
Here, we will learn how to draw a simple illustration of fire in pencil, before going over it in pen and ink. All you need to get started are essential drawing supplies like a pencil, eraser, a pen, and some paper. Ready to give it a shot? Then let’s draw a fire!
Learn How to Draw Fire, Step by Step
Step 1: Draw the base

Photo & Art: Margherita Cole | My Modern Met
Fire, draw a wide U or basket-like shape.
Step 2: Add a wave
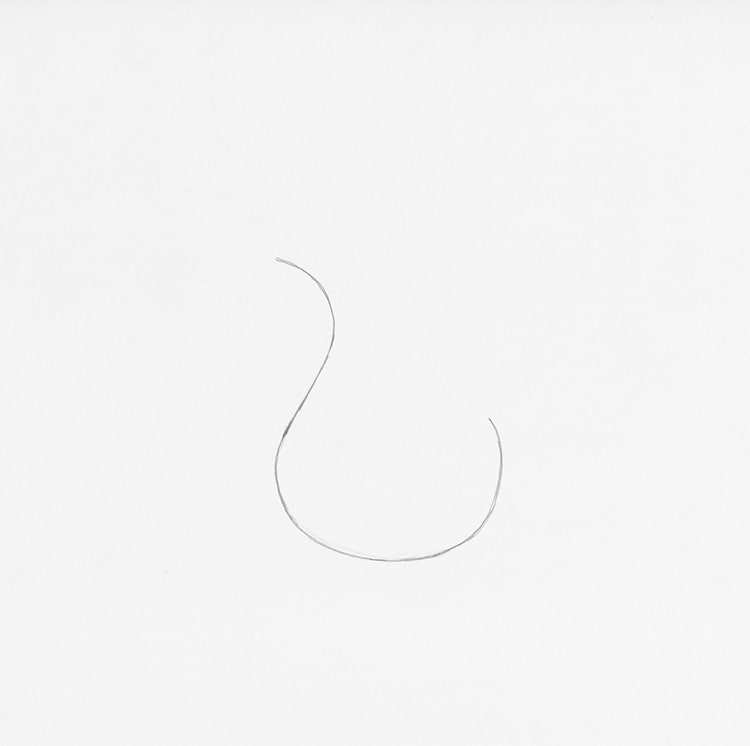
Photo & Art: Margherita Cole | My Modern Met
Next, add a soft wave to one end.
Step 3: Build the flame
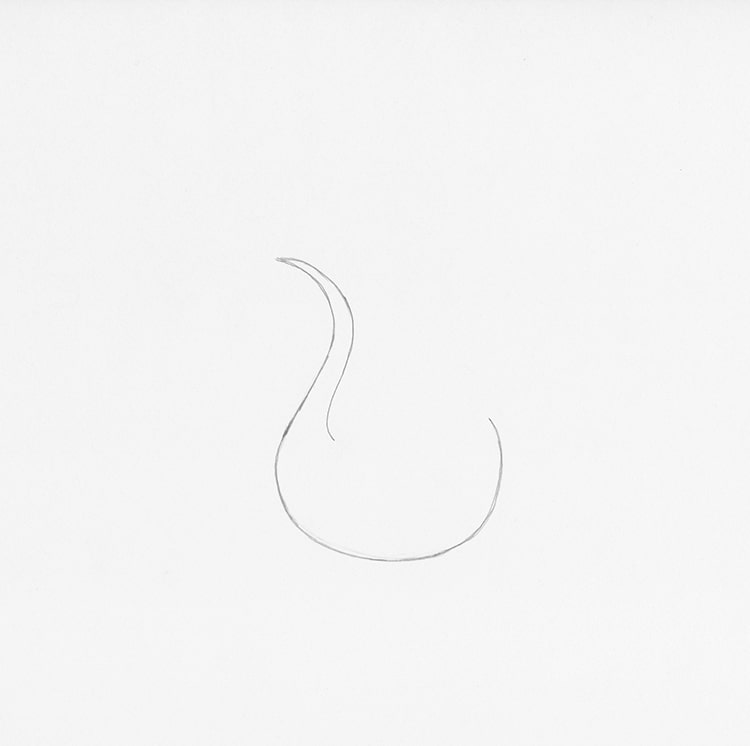
Photo & Art: Margherita Cole | My Modern Met
Now, complete the wave by connecting it to another similar wavy line. This should create a curly flame.
Step 4: Continue adding to the fire
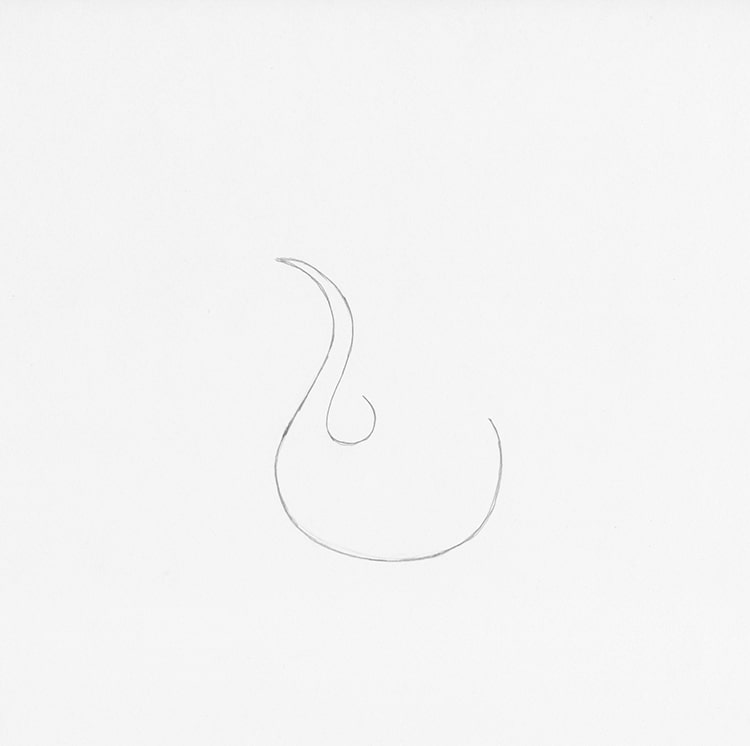
Photo & Art: Margherita Cole | My Modern Met
We’re going to continue adding to the fire. This time, however, add an almost circle to the bottom of the first flame.
Step 5: Complete the second flame
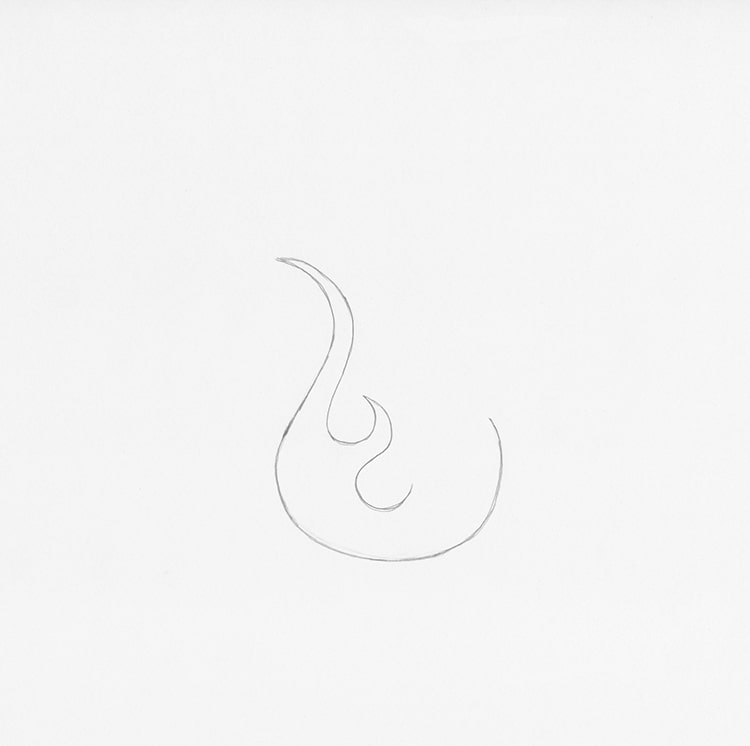
Photo & Art: Margherita Cole | My Modern Met
Next, we’re going to complete the second flame tendril in a similar way to the first one. So, add a fish hook-like line to the almost circle from the previous step.
Step 6: Draw another wavy line
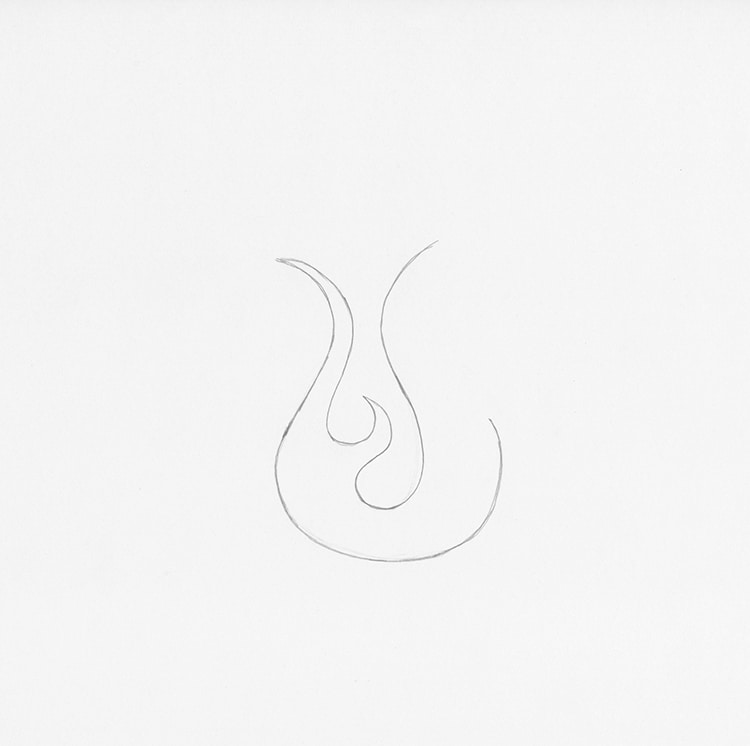
Photo & Art: Margherita Cole | My Modern Met
Now, we will move onto the third flame, which will be about as tall as the first. Starting from where the second flame ended, sketch a tall, wavy line.
Step 7: Complete the third flame
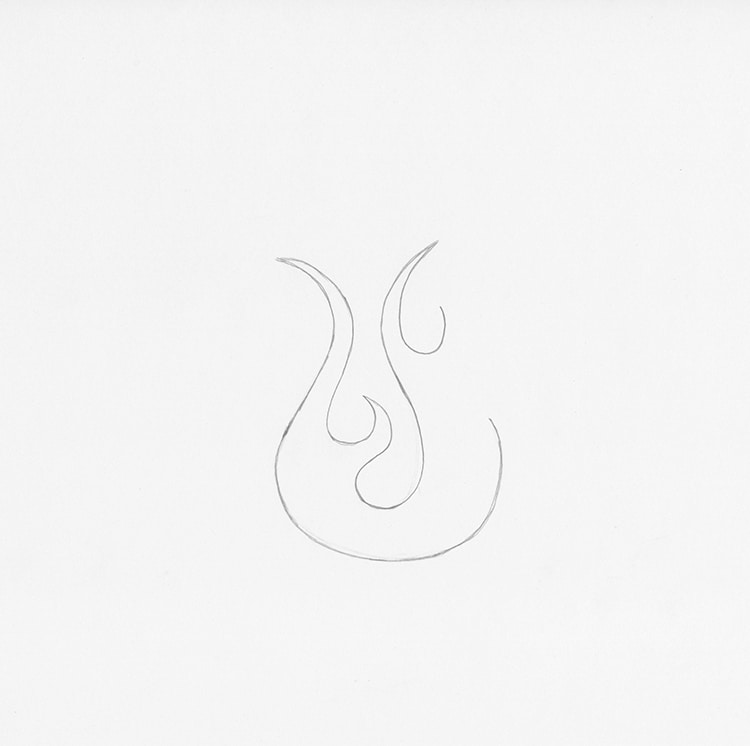
Photo & Art: Margherita Cole | My Modern Met
Complete the third flame by drawing another fish hook-like line.
Step 8: Complete the fourth flame
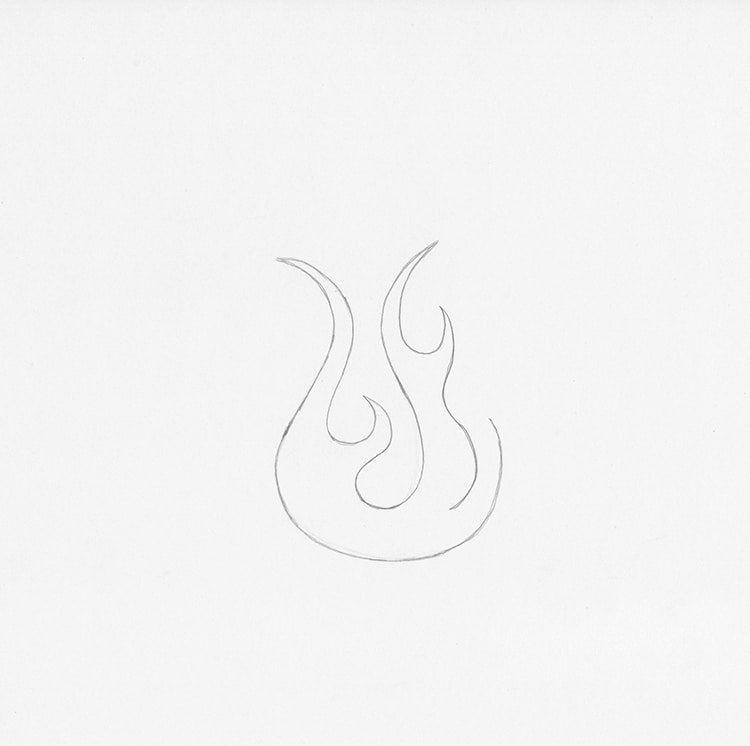
Photo & Art: Margherita Cole | My Modern Met
Now, complete the fourth flame with another wavy line.
Step 9: Draw the fifth flame
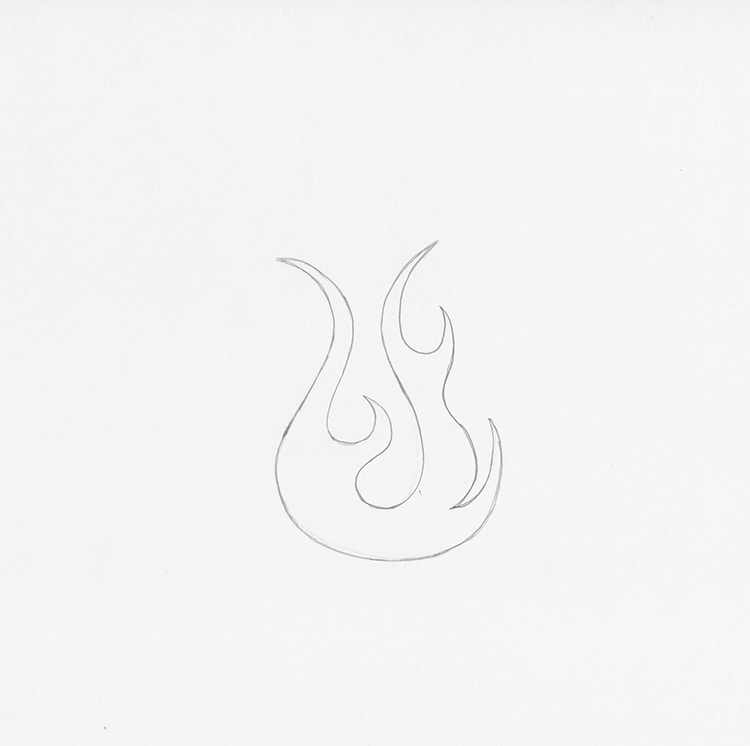
Photo & Art: Margherita Cole | My Modern Met
Finally, draw a short curved line to create the fifth flame. Want a bigger fire? Feel free to add more tendrils in the same loose way. The important thing is that all of the lines flow together in a natural way.
Step 10: Add depth to the fire
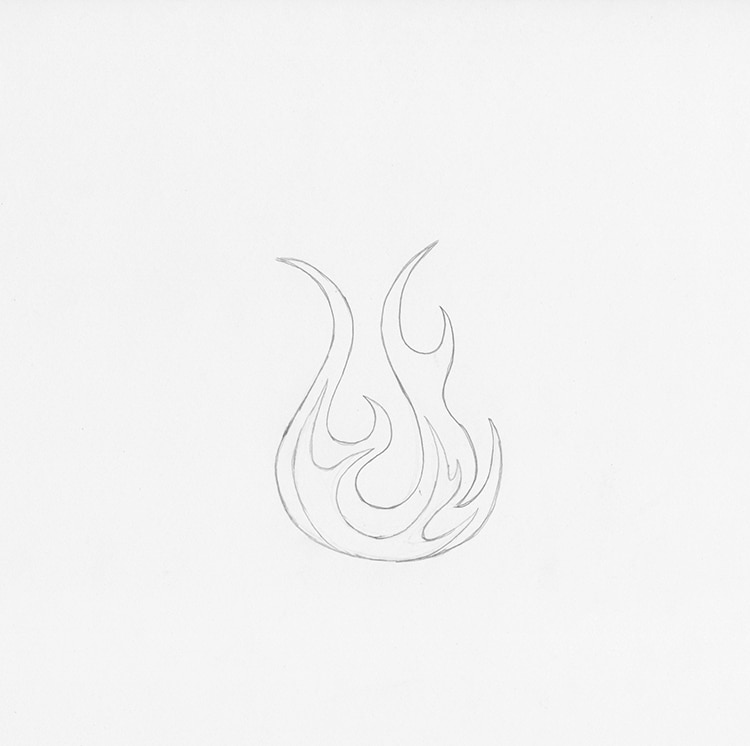
Photo & Art: Margherita Cole | My Modern Met
While you can leave the drawing as it was in Step Nine, you also have the option to add a bit more visual depth to the illustration. The way to do this is by creating a mini fire inside the fire you’ve already drawn. This should resemble the sketch you’ve already made with several loose flames, but smaller.
Step 11: Sketch some more flames
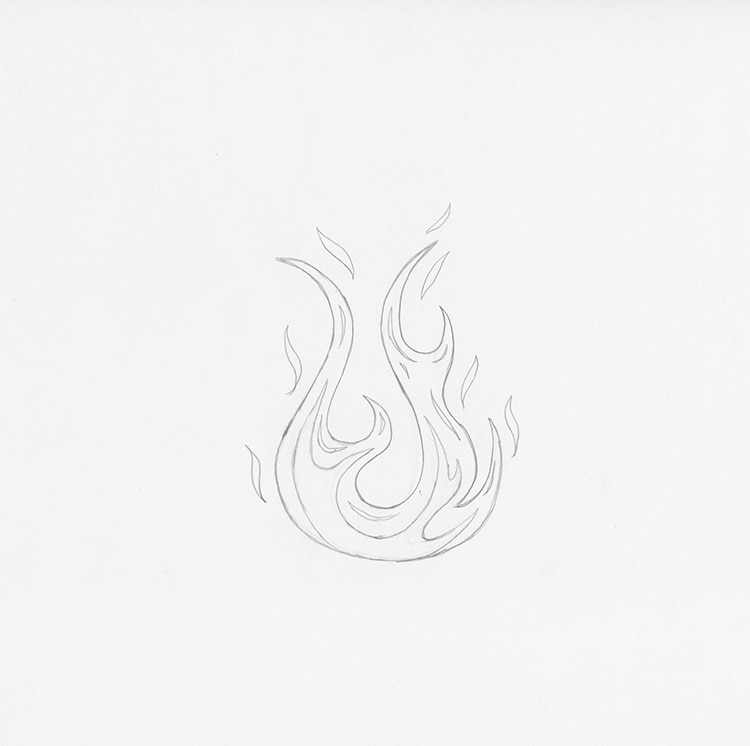
Photo & Art: Margherita Cole | My Modern Met
Since you’re already adding some details to the fire, feel free to add a few flying flames to the drawing. These should have the same organic feeling to them.
Step 12: Go over the drawing in ink

Photo & Art: Margherita Cole | My Modern Met
Finally, it is time to go over the illustration in pen and ink. So, using your pen of choice to trace over the graphite lines. If you want to fill in the fire with black, then make sure you save that for last and leave enough time for the ink to dry. Otherwise, you may end up smudging your handiwork.
Congratulations! You’ve learned how to draw fire.
Looking for others who love drawing? Join our Art, Design, Photography, and Drawing Club on Facebook!
Related Articles:
Learn How to Draw a Ladybug Step by Step
How to Draw Different Kinds of Hair: Short, Long, Straight, Wavy, and Curly
