Here are the final steps for skull drawing.
Step 3: Begin to shade your skull.
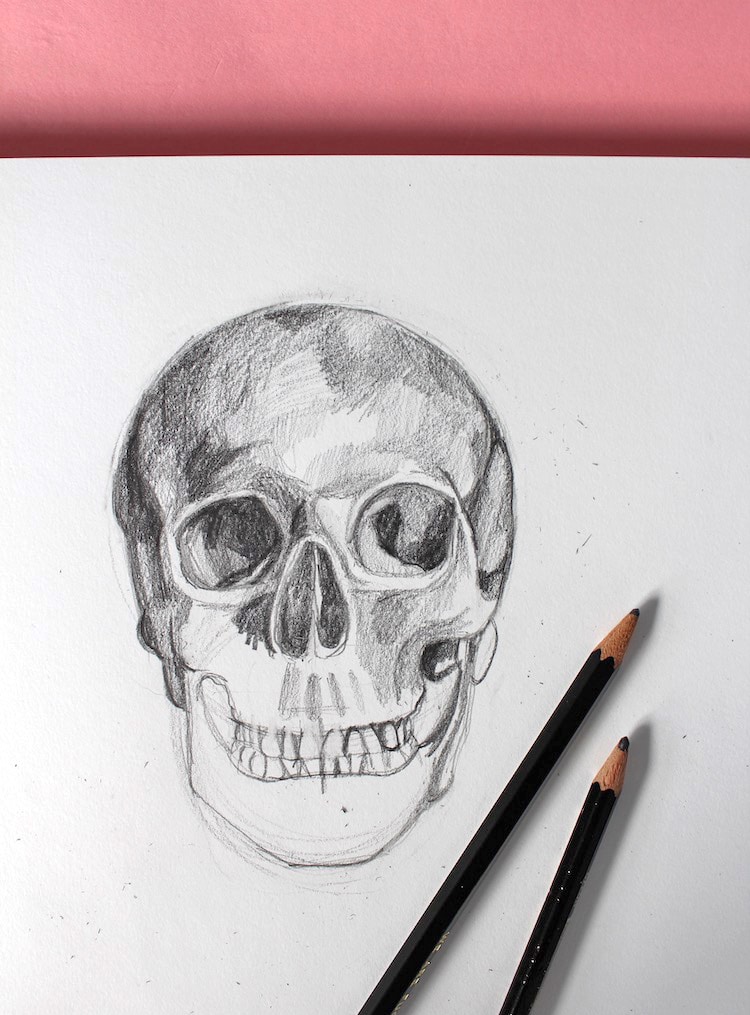
Photo & art: Sara Barnes / My Modern Met
Once you’re happy with your sketch, it’s time to give your skull some dimensionality through shading. This is where having multiple graphite pencils will come in handy. You’ll want to have some pencils that are lighter shades as well as some deep darks to achieve rich black tones.
It’s always best to start with the lighter tones—for a couple of reasons. For one, it’s much easier to erase light pencil shading versus dark. The second reason is that you’re likely to smear the darker tones as you move your hand across the paper, so it’s best to save it for the latter part of your drawing when there’s not much left to do.
A skull is a rounded form, so the peak of the forehead and the teeth will likely be the lightest part of your drawing. Think about using the back and forth technique to angle your mark-making so that the form has a curved look to it.
Step 4: Clean up your drawing.
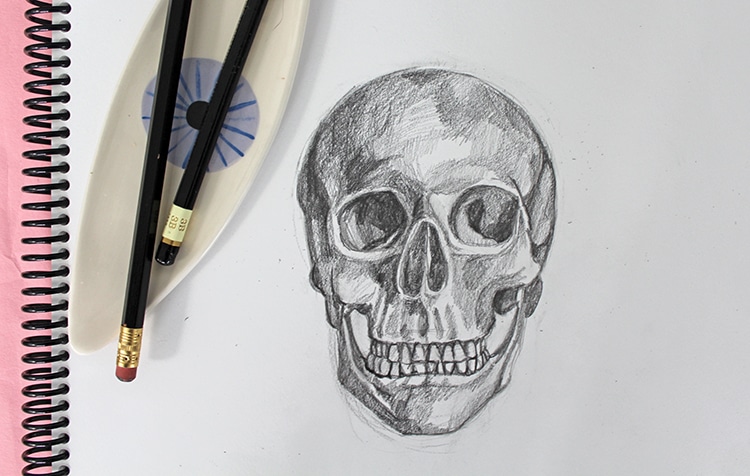
Photo & art: Sara Barnes / My Modern Met
When you’re done with the shading, now is the time to look over your work. How does your drawing compare to the source image? Are there areas that need to be redrawn? If so, that’s ok—it happens to everyone, even professionals.
Once you’re happy with your drawing, erase any stray marks or smudges. You’re officially done!
What about if your skull is at an angled view?
Stock Photos from Eric Jennings/Shutterstock
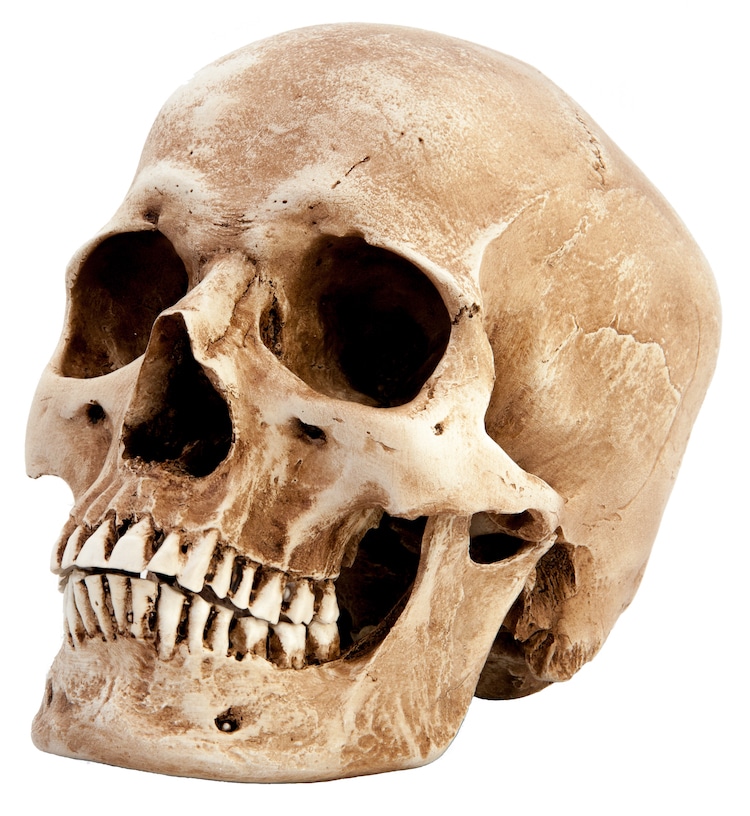
We’re rarely looking straight ahead in pictures, so it’s beneficial to learn how to draw a skull from a three-quarters point of view.
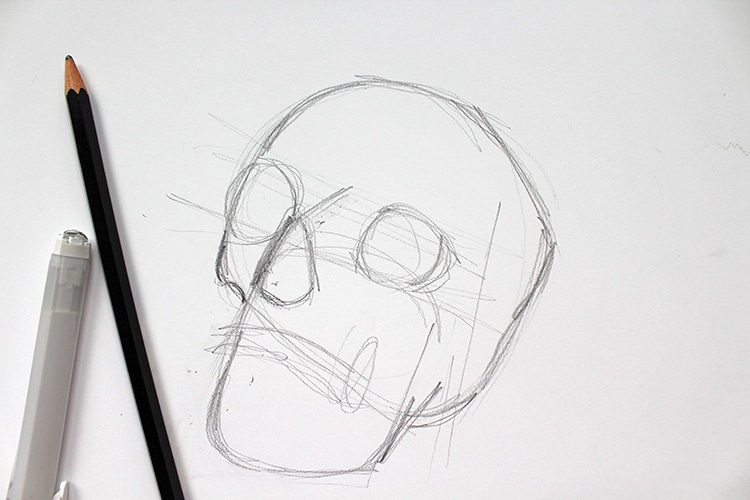
Photo & art: Sara Barnes / My Modern Met
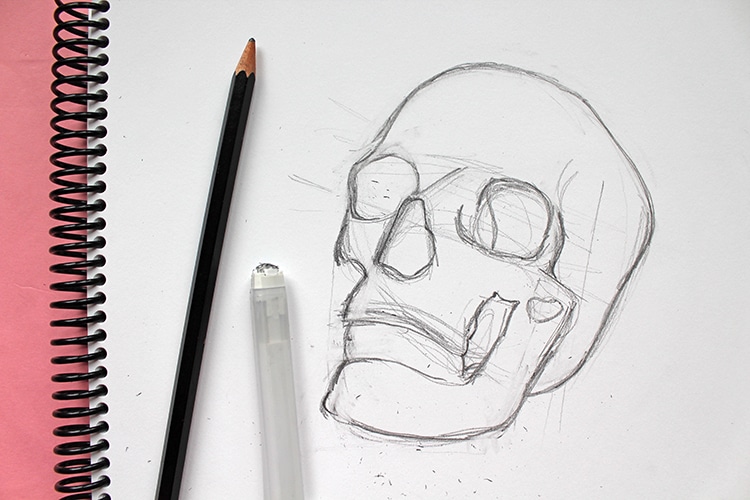
Photo & art: Sara Barnes / My Modern Met
The process of drawing a skull from an off-center view is the same as if you were sketching it straight-on. The main thing you’ll want to observe, however, is foreshortening that’s taking place. The eye that is closest to the viewer will appear larger than the other, and the nose will obscure part of the eye that’s farther away from you.
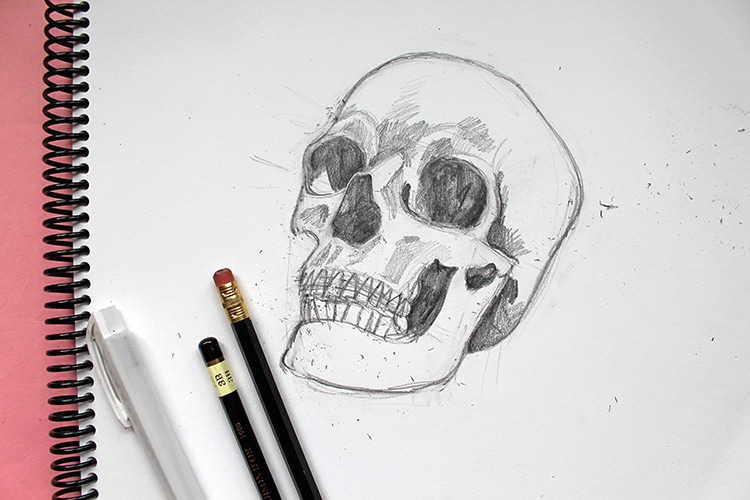
Photo & art: Sara Barnes / My Modern Met
To make sure these proportions look right, be sure to establish the guiding lines before you place where the eye sockets and nose cavities are. They will be drawn at an angle, but as long as you follow those lines, you will be able to render it from an off-center view.
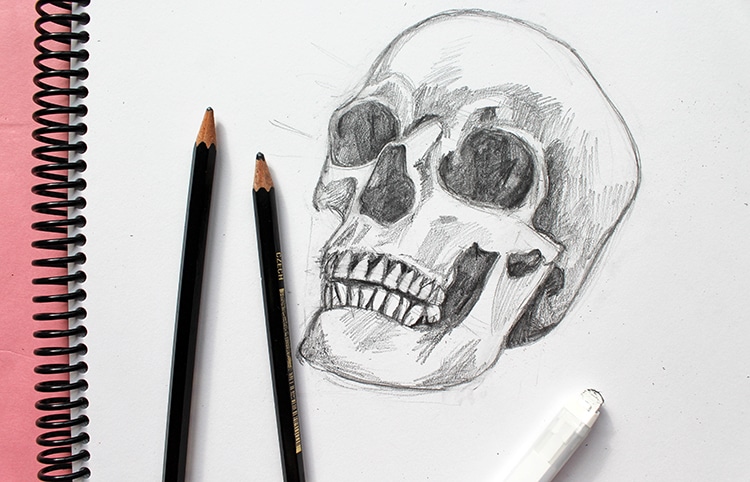
Photo & art: Sara Barnes / My Modern Met
More Drawing Lessons
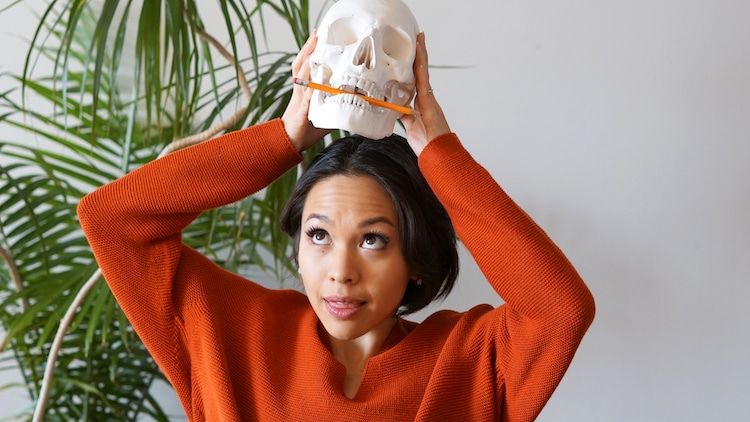
Photo: Melissa de Nobrega / My Modern Met Academy
Do you need more practice in understanding the structure of the skull? Or perhaps you are looking to build upon the foundation of the skull and move into learning facial muscles and finding facial landmarks. Explore the human face in Portrait Drawing for Beginners, a step-by-step online art class on My Modern Met Academy. This e-course will break down the human face into something simple and approachable in bite-sized sessions. Join instructor Melissa de Nobrega in her lessons and tackle your next portraiture project.
Looking for others who love drawing? Join our Art, Design, Photography, and Drawing Club on Facebook!
This article has been edited and updated.
Related Articles:
Talented Artists Share Their Favorite Tips for Improving Your Drawing Skills
10 Drawing Books That’ll Teach You Everything You Need to Know About Sketching
