Photo: vencav/Depositphotos
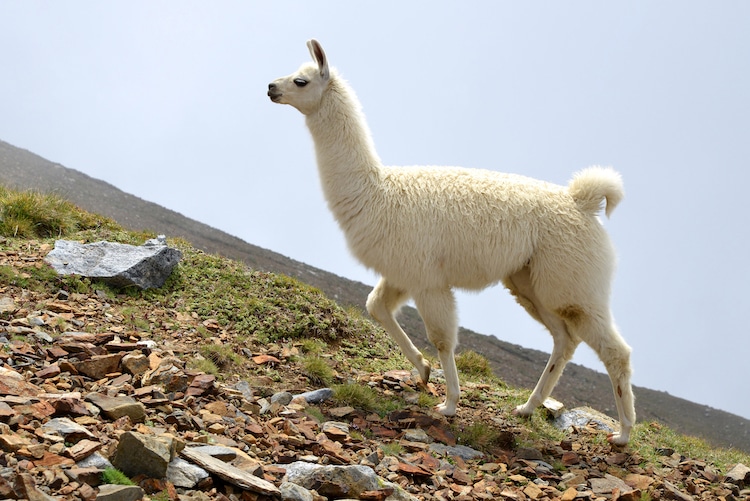
Who could resist the sweet face of a llama? With their big, dark eyes, long ears, and smiling lips, they are a fan favorite. Even if you don’t have the chance to see these fluffy animals in person, you can still get to know them better by creating their portrait.
In this tutorial, we will learn how to draw a llama in 14 steps. We will begin by rendering it in pencil—breaking up the anatomy into simple shapes—before adding detail, and finally going over the finished piece in ink. All you’ll need to embark on this creative adventure are some basic art supplies like a pencil, eraser, pen, and some paper.
Ready to get started? Then, let’s draw a llama!
Learn how to draw a llama step by step.
Step 1: Draw a circle

Photo & Art: Margherita Cole | My Modern Met
First, draw a circle to create the head of the llama.
Step 2: Add the snout
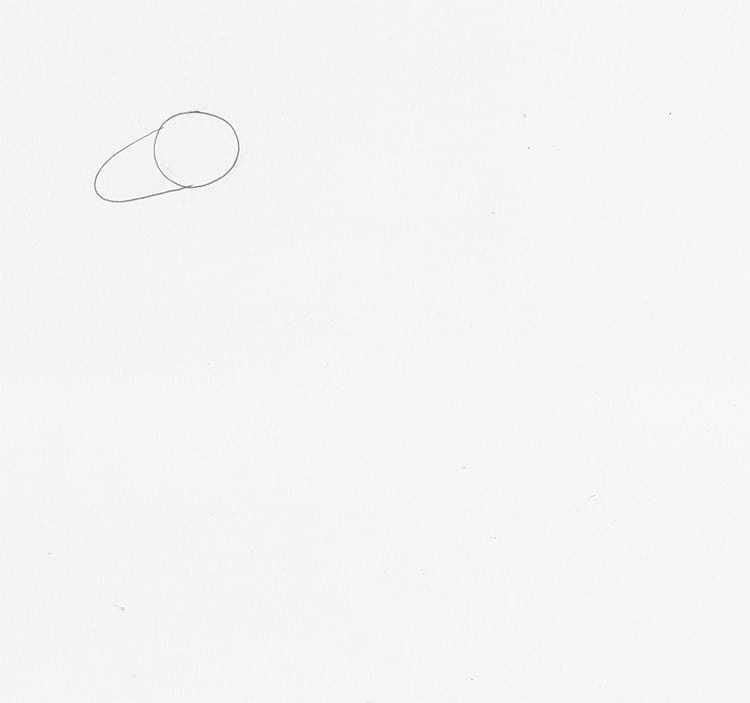
Photo & Art: Margherita Cole | My Modern Met
Then, add a long, half-oval snout to the circle.
Step 3: Sketch the ears
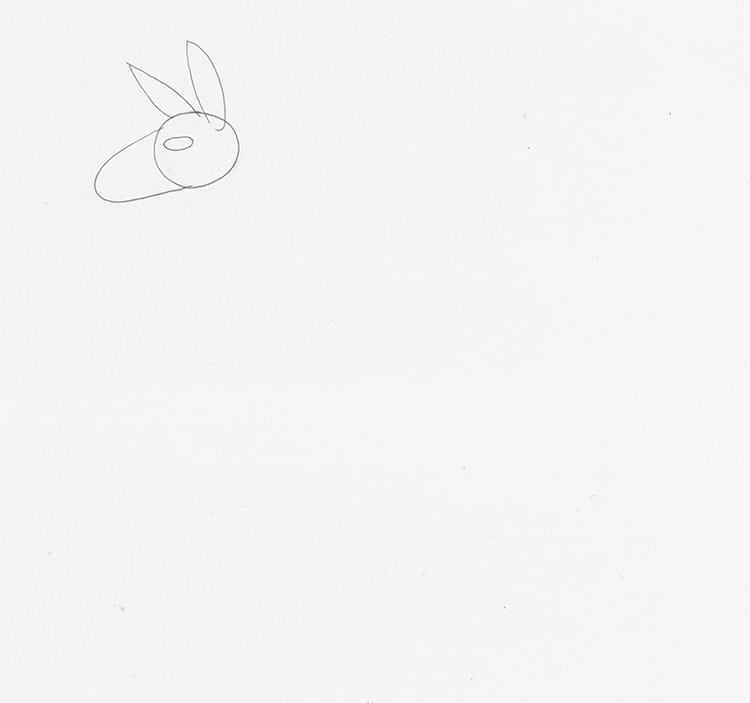
Photo & Art: Margherita Cole | My Modern Met
Next, add a pair of two long petal-shaped ears. They should measure at least the same length as the circle from Step 1.
Step 4: Sketch the neck
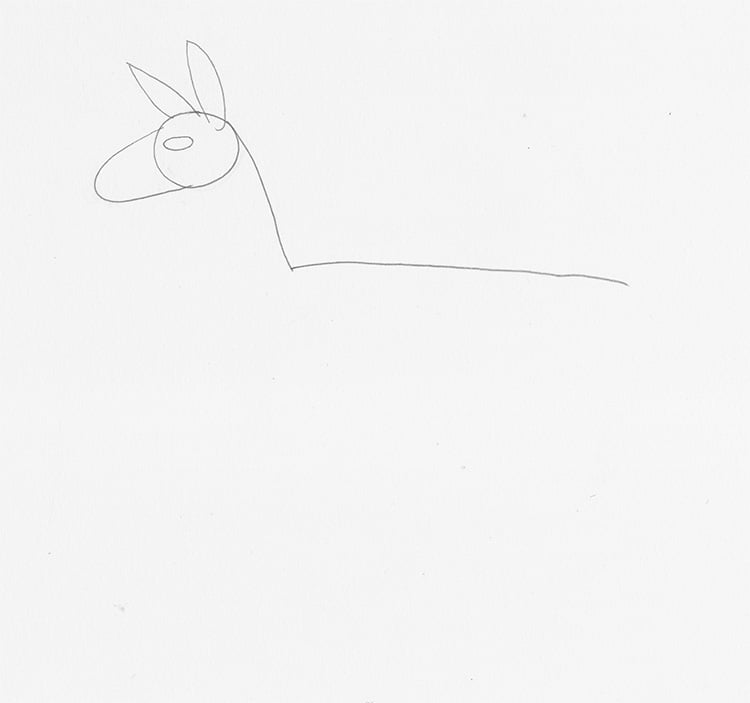
Photo & Art: Margherita Cole | My Modern Met
Afterward, connect the llama’s head to the neck by drawing a swooping line. This should stop and extend in another long horizontal line, which will create the back of the animal.
Step 5: Complete the body
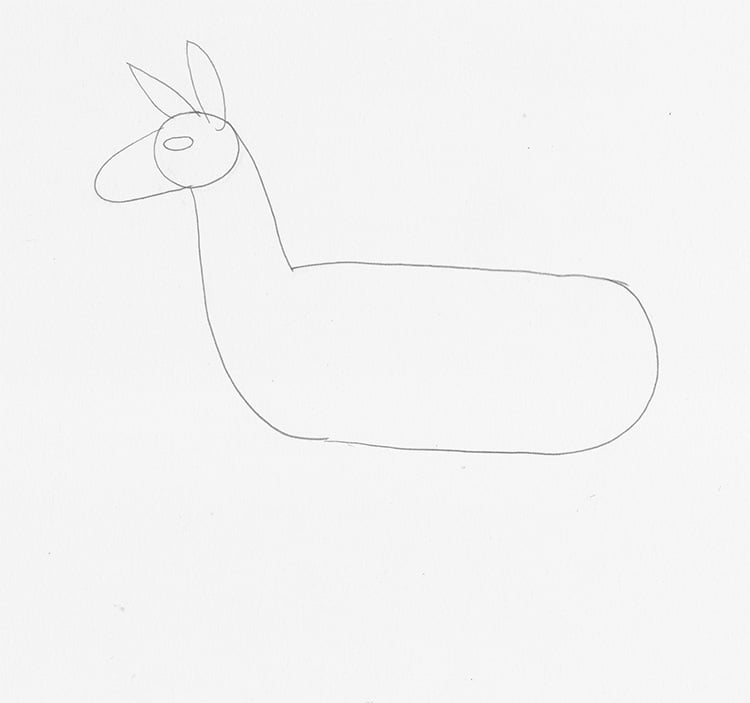
Photo & Art: Margherita Cole | My Modern Met
Finish the body of the llama by adding another swooping line to the neck and creating a long, rectangular body.
Step 6: Sketch the front legs
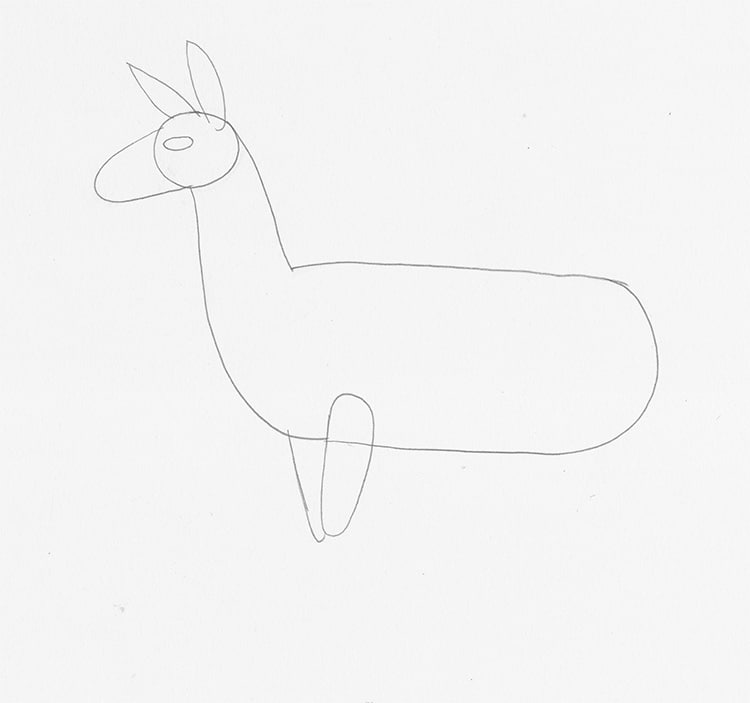
Photo & Art: Margherita Cole | My Modern Met
Now, you can add two slim ovals to the front of the llama’s body to create the front legs.
Step 7: Finish the legs
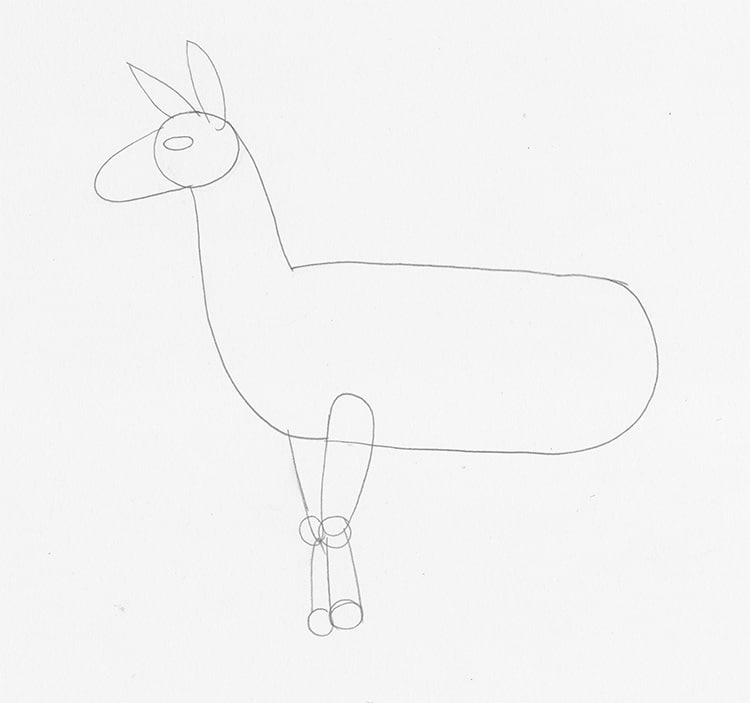
Photo & Art: Margherita Cole | My Modern Met
Complete the front legs by adding circles to the joints and another pair of long ovals.
Step 8: Add the feet
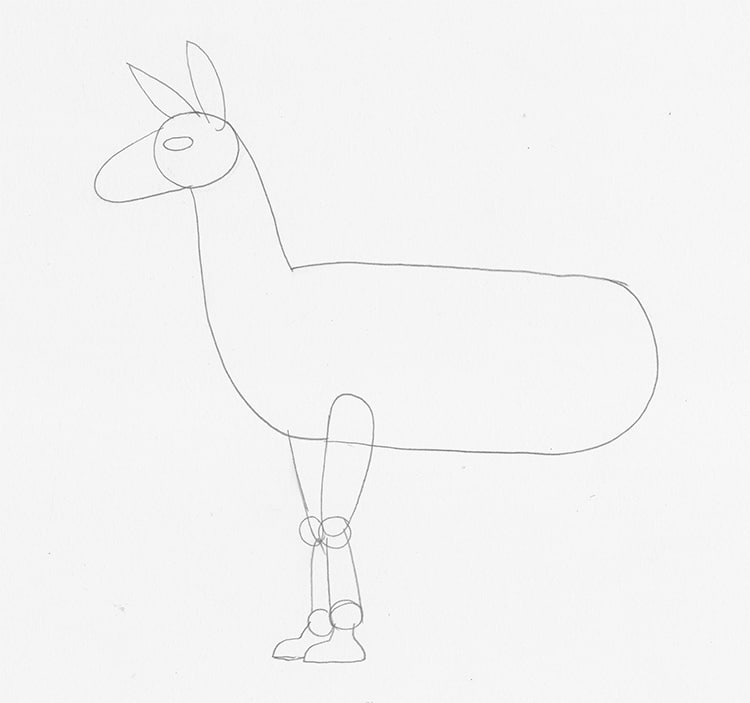
Photo & Art: Margherita Cole | My Modern Met
Unlike horses and cows, llamas do not have hooves. Instead, they have feet that are divided into two toes. For now, end each of the legs with a bell-like shape.
Step 9: Create the belly and hind leg
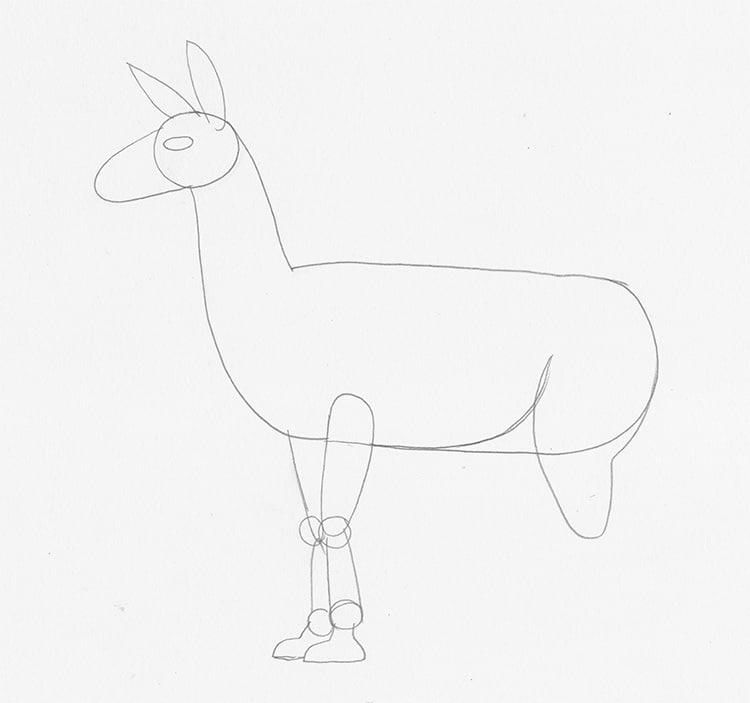
Photo & Art: Margherita Cole | My Modern Met
Next, move onto the end of the llama’s body, and create a division between the rounded stomach and thigh of the hind leg.
Step 10: Finish the hind legs
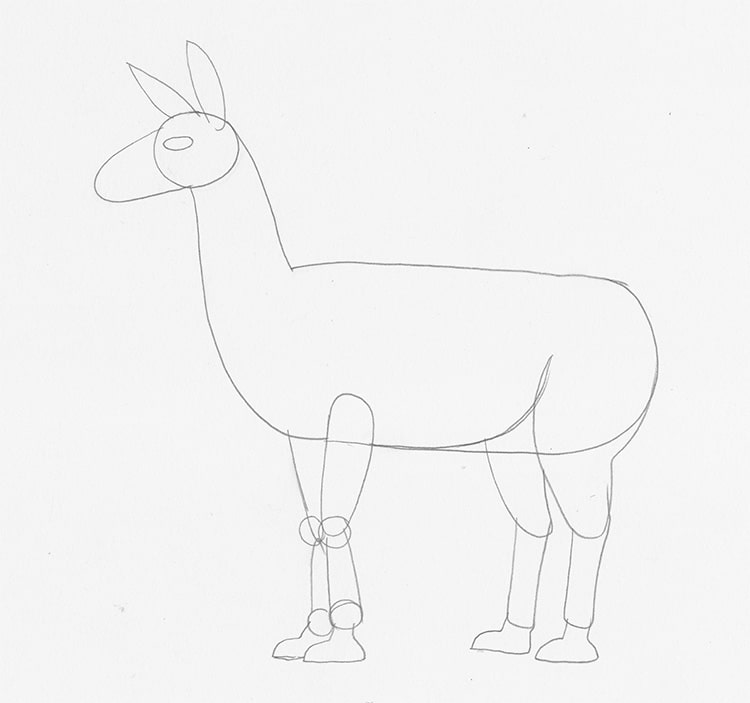
Photo & Art: Margherita Cole | My Modern Met
Complete the hindlegs by adding two rectangles and another pair of bell-shaped feet.
Step 11: Add facial features

Photo & Art: Margherita Cole | My Modern Met
Now that we’ve finished drawing the body of the llama, we can return to the head and add more detail. So, starting at the end of the snout, divide the shape in two to create the lips. Then, add a protruding shape to both lips and the nostril.
Step 12: Refine the drawing

Photo & Art: Margherita Cole | My Modern Met
Before we add the final details, it’s important to refine what we have. At this time, you can erase any unnecessary marks, and add some shading to the mouth of the llama, the eye, and the toes.
Step 13: Add texture
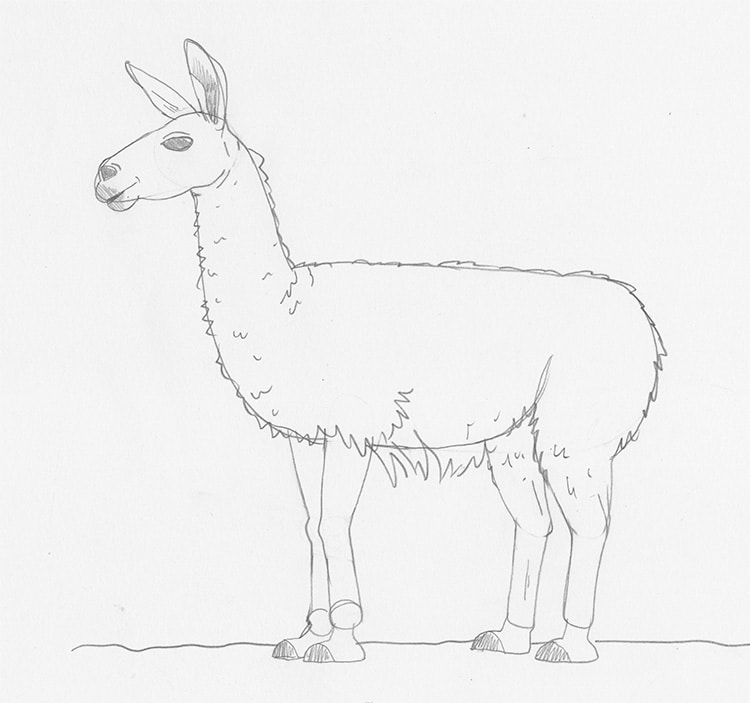
Photo & Art: Margherita Cole | My Modern Met
Afterward, add some textured lines in key areas of the llama’s body (such as the belly, neck, and back) to convey the fluffy fur.
Step 14: Go over the drawing in ink
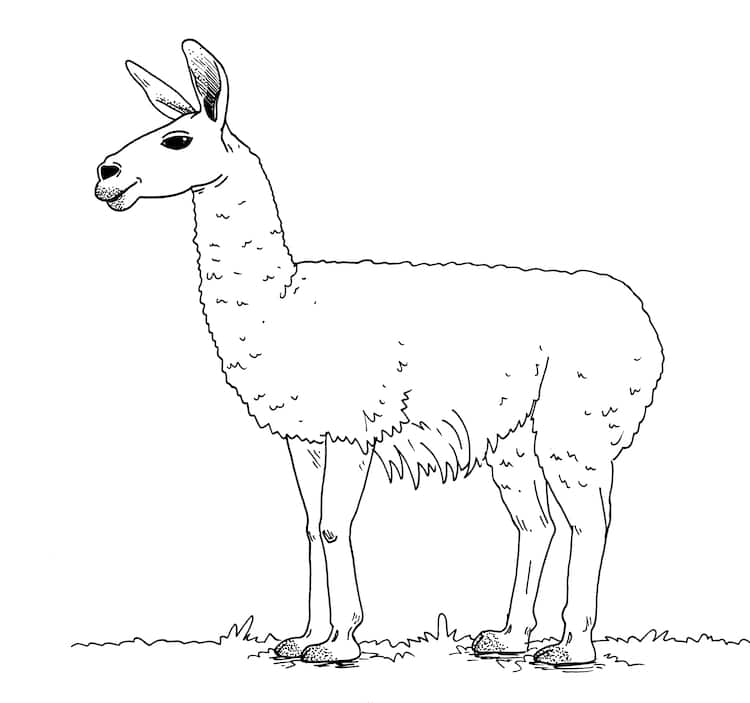
Photo & Art: Margherita Cole | My Modern Met
At last, it is time to finish the drawing by going over it with ink. Take your pen of choice and carefully go over all of the pencil marks. Then, when you feel like you’ve given the ink sufficient time to dry, you can use a rubber eraser and remove any remaining graphite from the page. Feel free to add your signature somewhere on the page to claim the drawing as yours.
And voila! You’ve made a drawing of a llama.
Related Articles:
Learn How to Draw a Cobra Snake Step by Step
Learn How to Draw a Frog Step by Step
Learn How to Draw an Enchanting Snowy Owl With This Step-by-Step Guide
