
Photo: montana/Depositphotose
From pine trees in the mountains to palm trees by the beach, the types of plant life we see can change drastically with a different environment. So, when it comes to drawing, that means learning how to draw different types of trees and other flora is a must. For instance, no desert scene is complete without some cacti. If this sounds like a thorny subject, then just keep reading.
In this tutorial, we will learn how to draw a typical saguaro cactus in pencil, before going over it in pen. While having some reference photos handy is helpful, you can easily start sketching without them. Some of the art supplies you will need are a pencil, an eraser, a pen, and some paper (even printer paper will due). Have everything you need? Then, let’s learn how to draw a cactus!
Learn How to Create a Realistic Cactus Drawing With These Step-by-Step Instructions
Step 1: Sketch a long oval
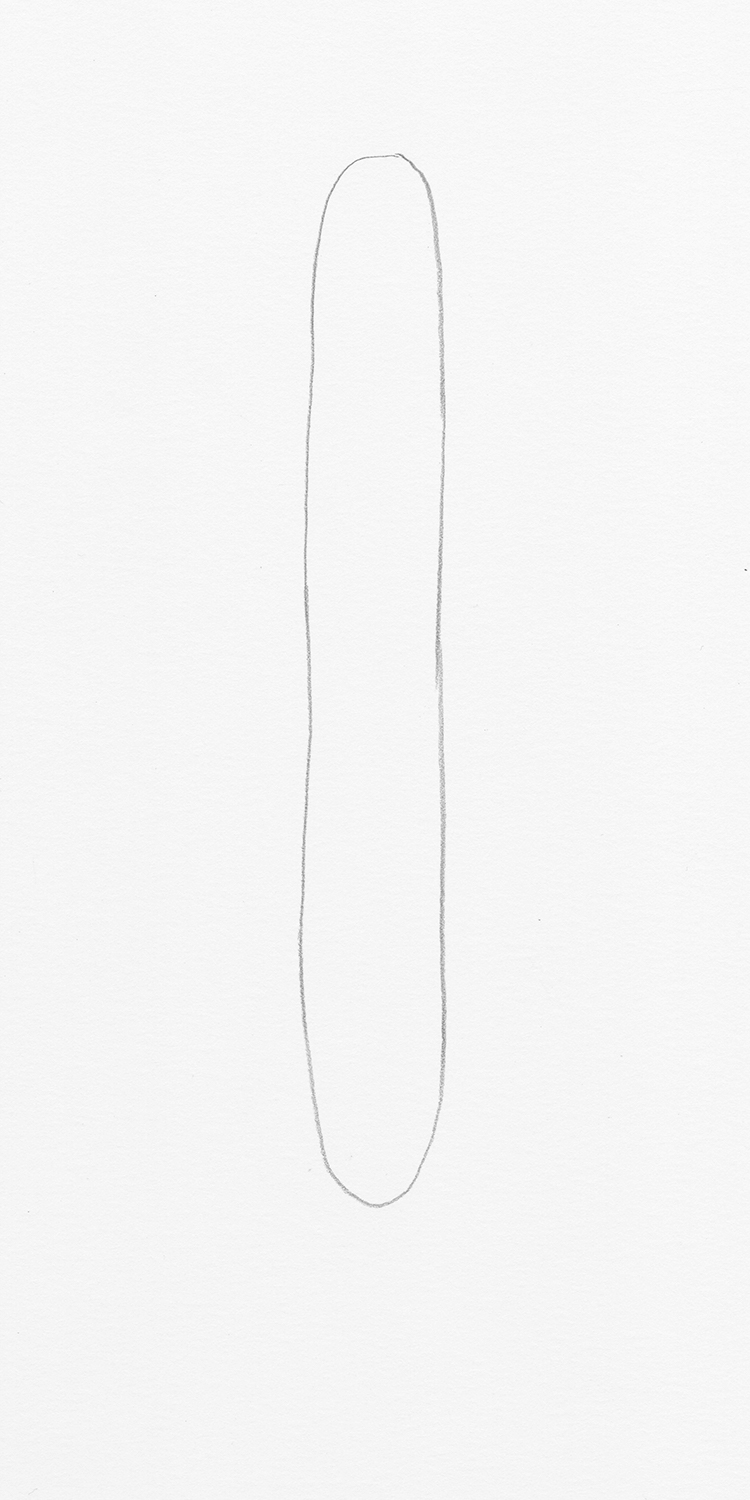
Photo & Art: Margherita Cole | My Modern Met
Begin by sketching a long oval on your sheet of paper, creating the trunk of the cactus.
Step 2: Add a long hook-like line
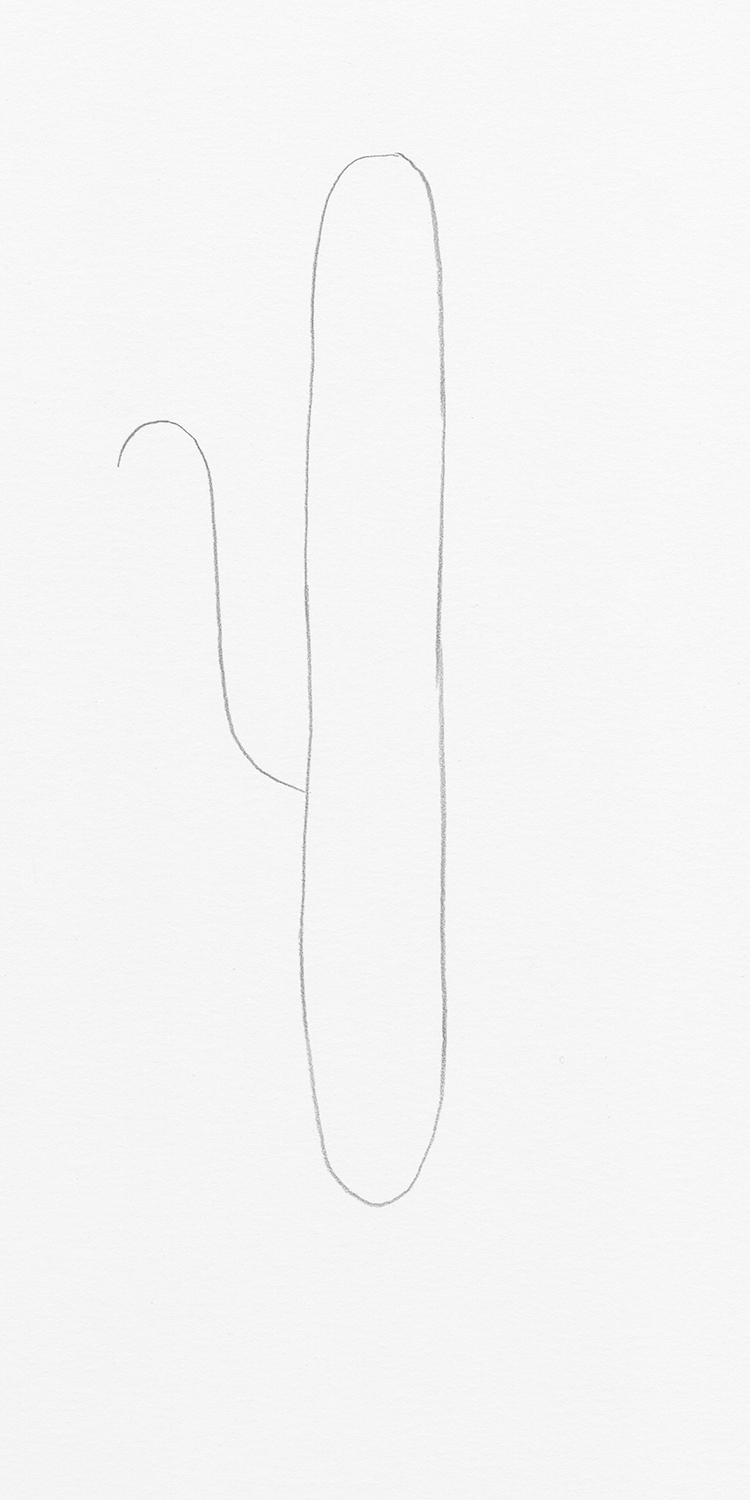
Photo & Art: Margherita Cole | My Modern Met
Next, we’re going to start constructing the arms of the cactus, starting by adding a long hook-like line to one side of the trunk.
Step 3: Complete the arm of the cactus
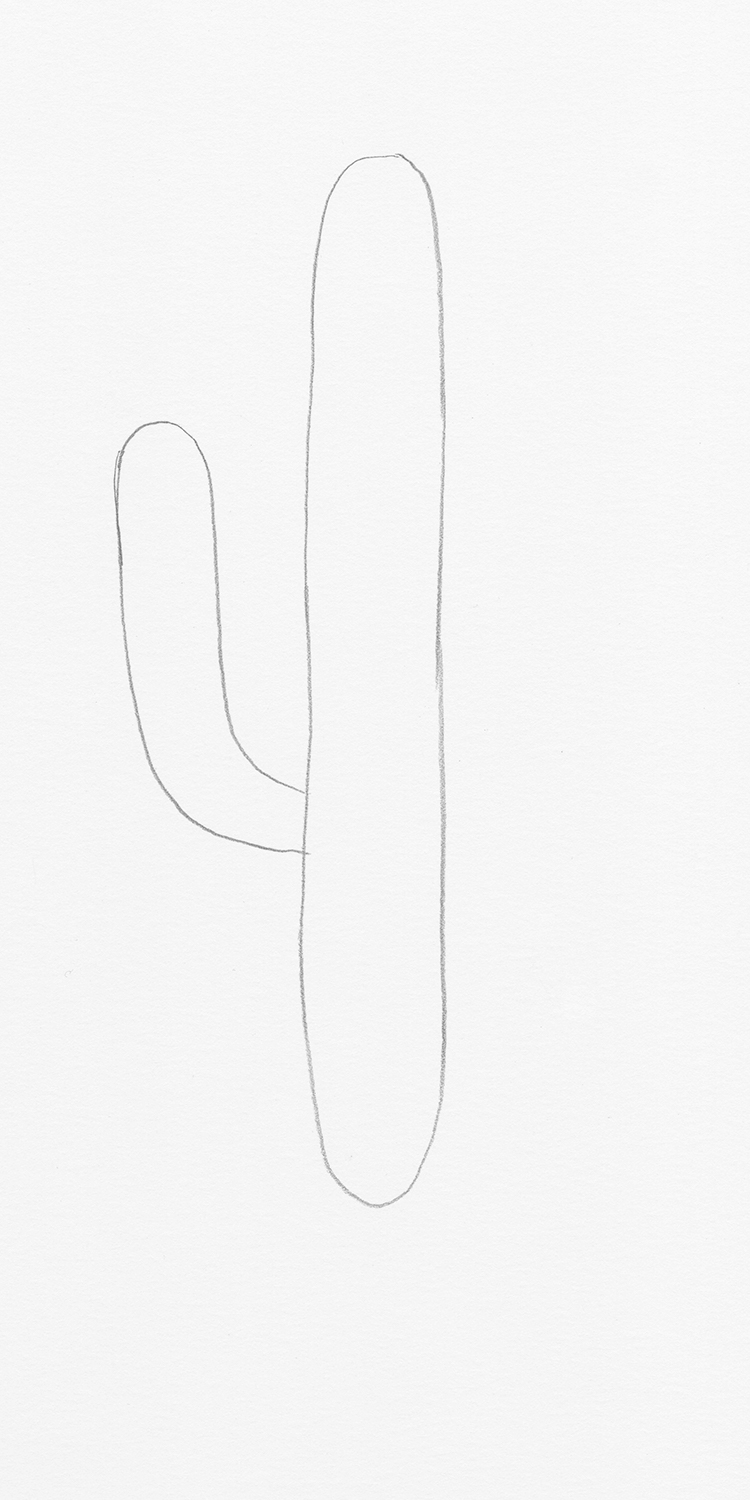
Photo & Art: Margherita Cole | My Modern Met
Afterward, you can complete the line you made in Step 2, resulting in one arm of the cactus.
Step 4: Start the other arm of the cactus
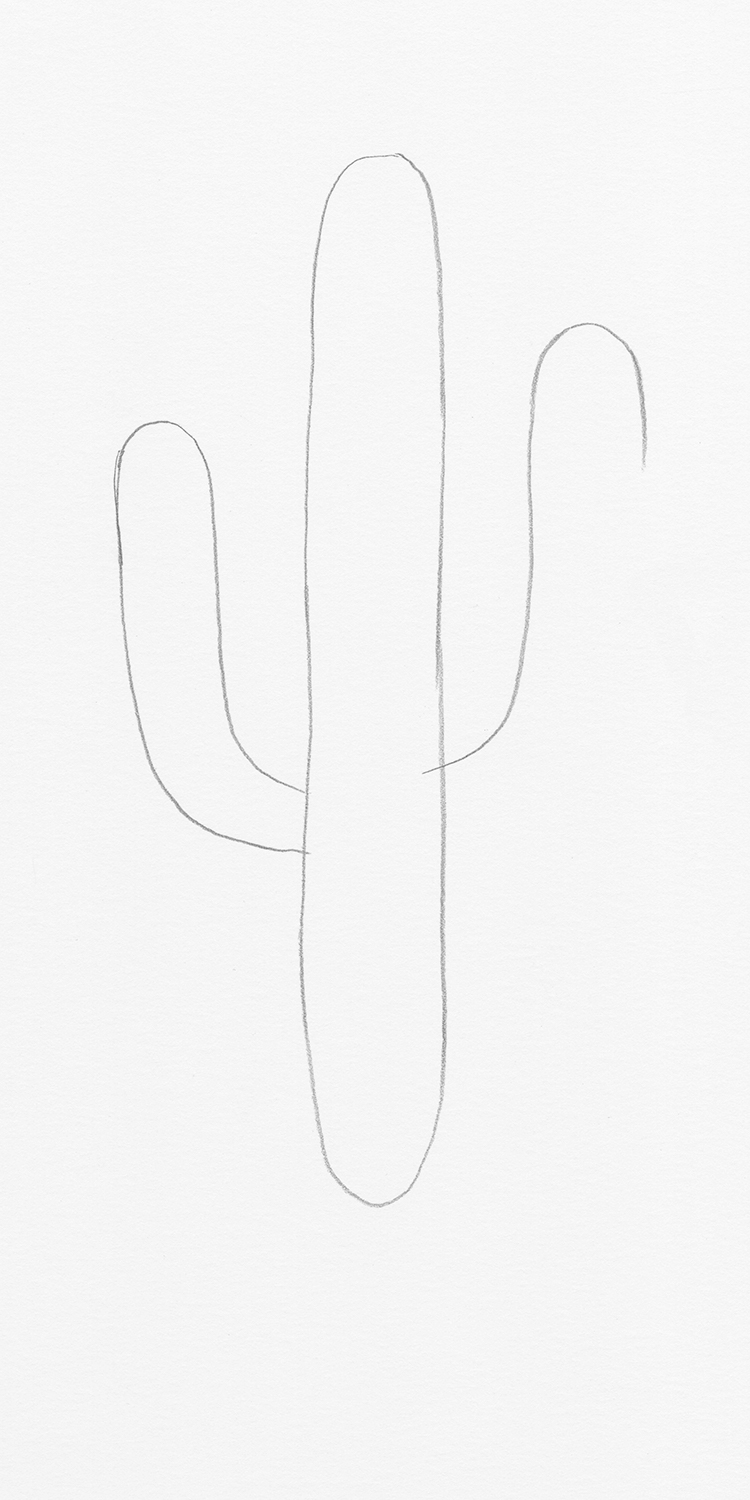
Photo & Art: Margherita Cole | My Modern Met
Afterward, we will repeat Steps 2 and 3 to the other side of the saguaro. The arms of the cactus don’t have to be the same size, so feel free to make the curving line extended further or lower.
Step 5: Finish the arms of the cactus
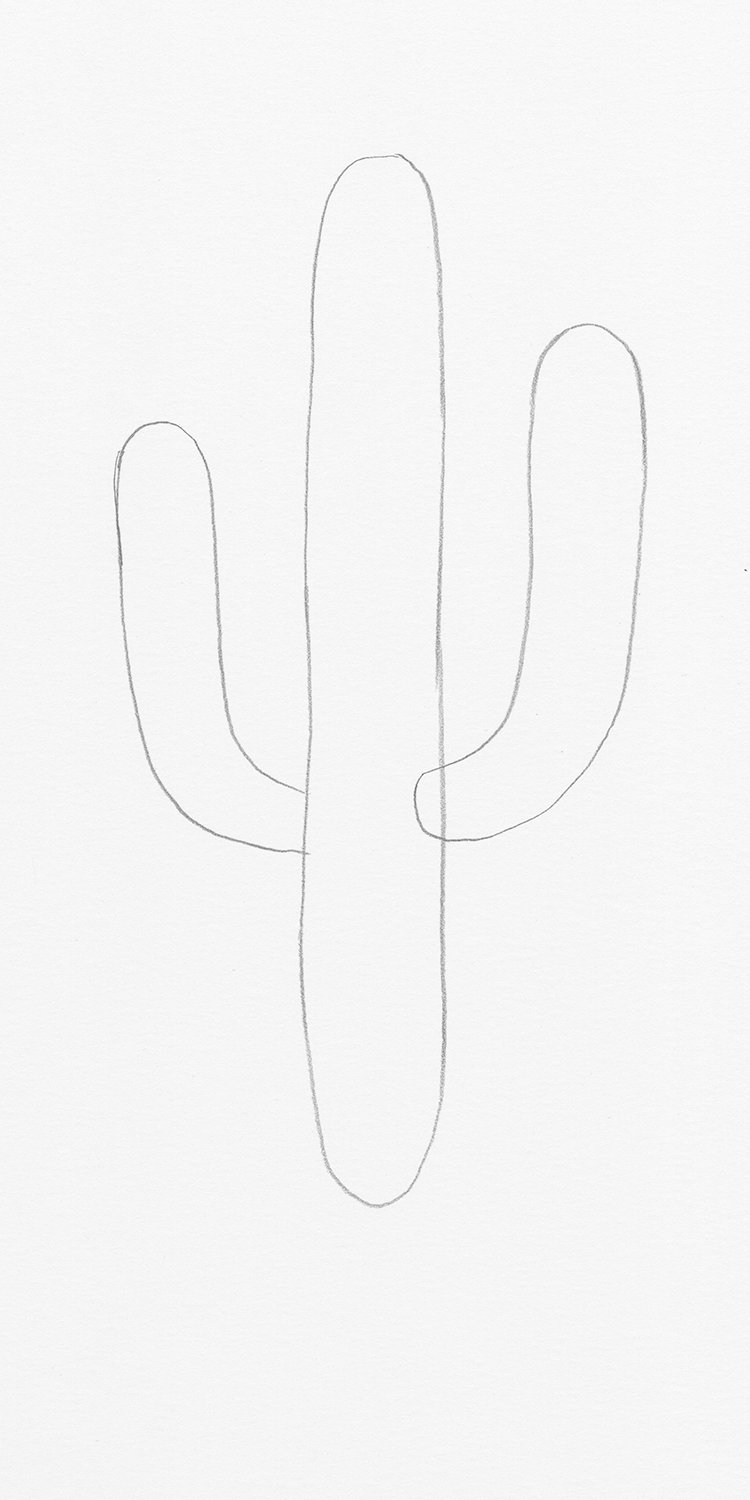
Photo & Art: Margherita Cole | My Modern Met
Use your pencil to wrap the hook into a long bent oval shape that continues into the side of the cactus.
Step 6: Sketch circles on the cactus
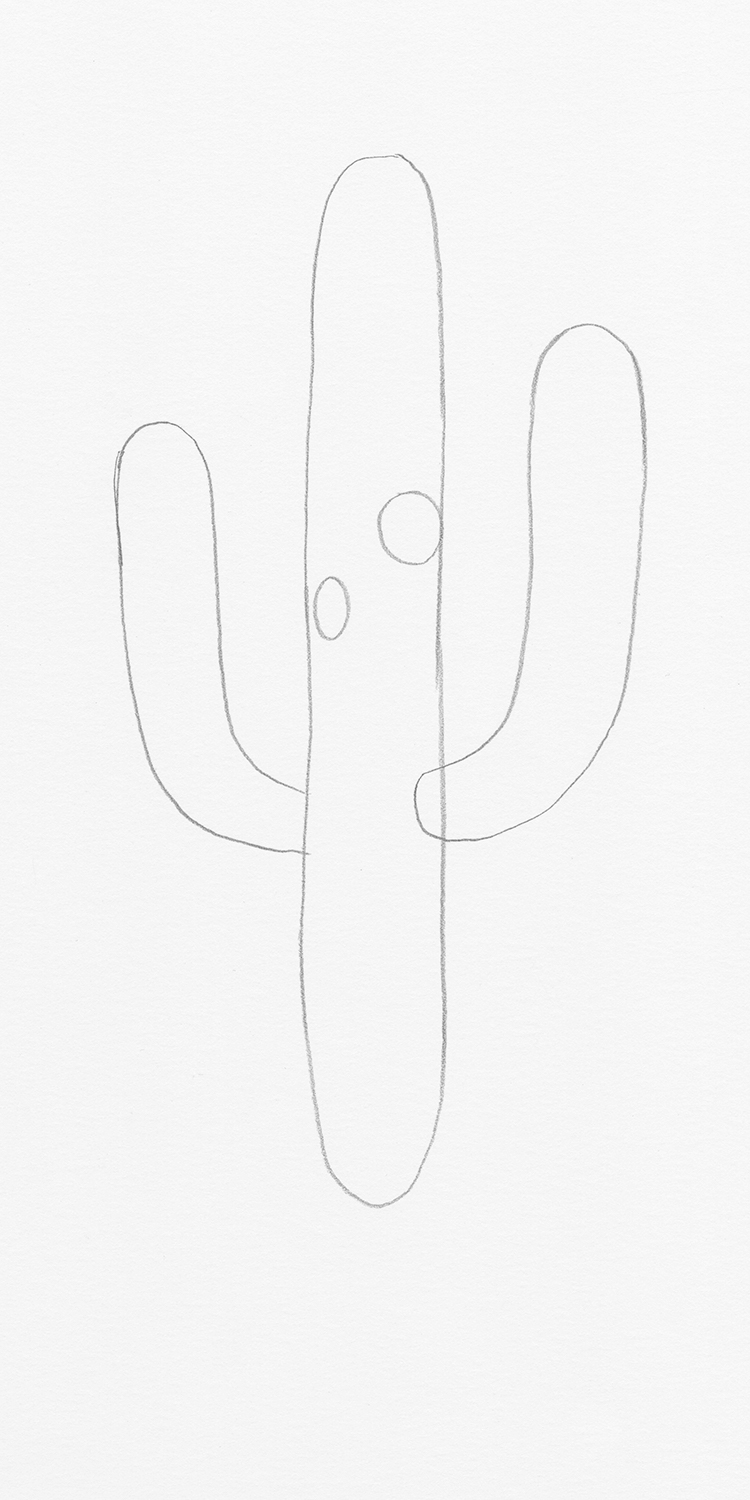
Photo & Art: Margherita Cole | My Modern Met
We’ve already established that cacti can take on many different forms, so for this particular illustration, we’re going to add two shorter arms a little further up the trunk. Before we do that, however, we will start by adding a pair of circles to the trunk.
Step 7: Add arms to the circles
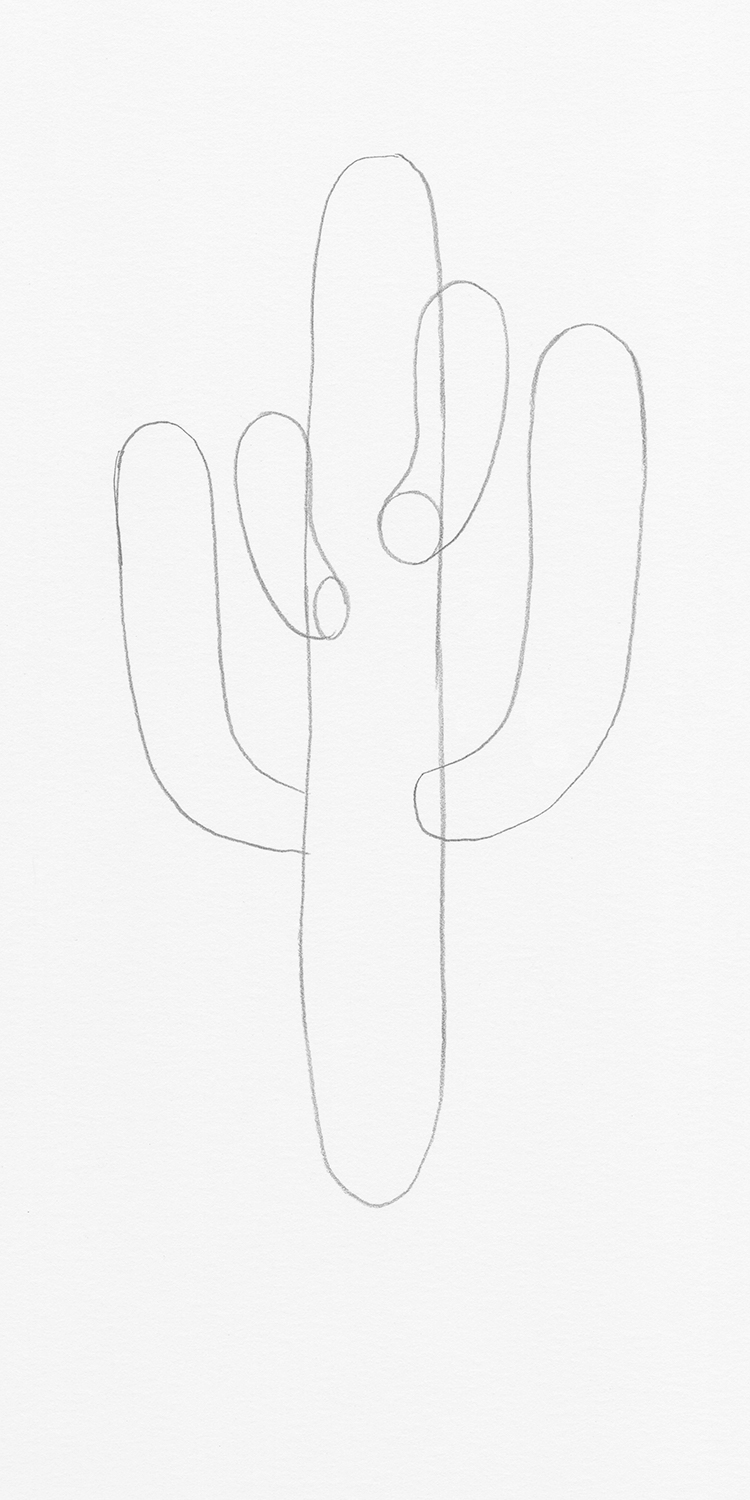
Photo & Art: Margherita Cole | My Modern Met
Next, use the circles we made in Step 6 as a guide for the two shorter arms. They should extend from these points in smooth, curving lines.
Step 8: Erase unnecessary pencil marks
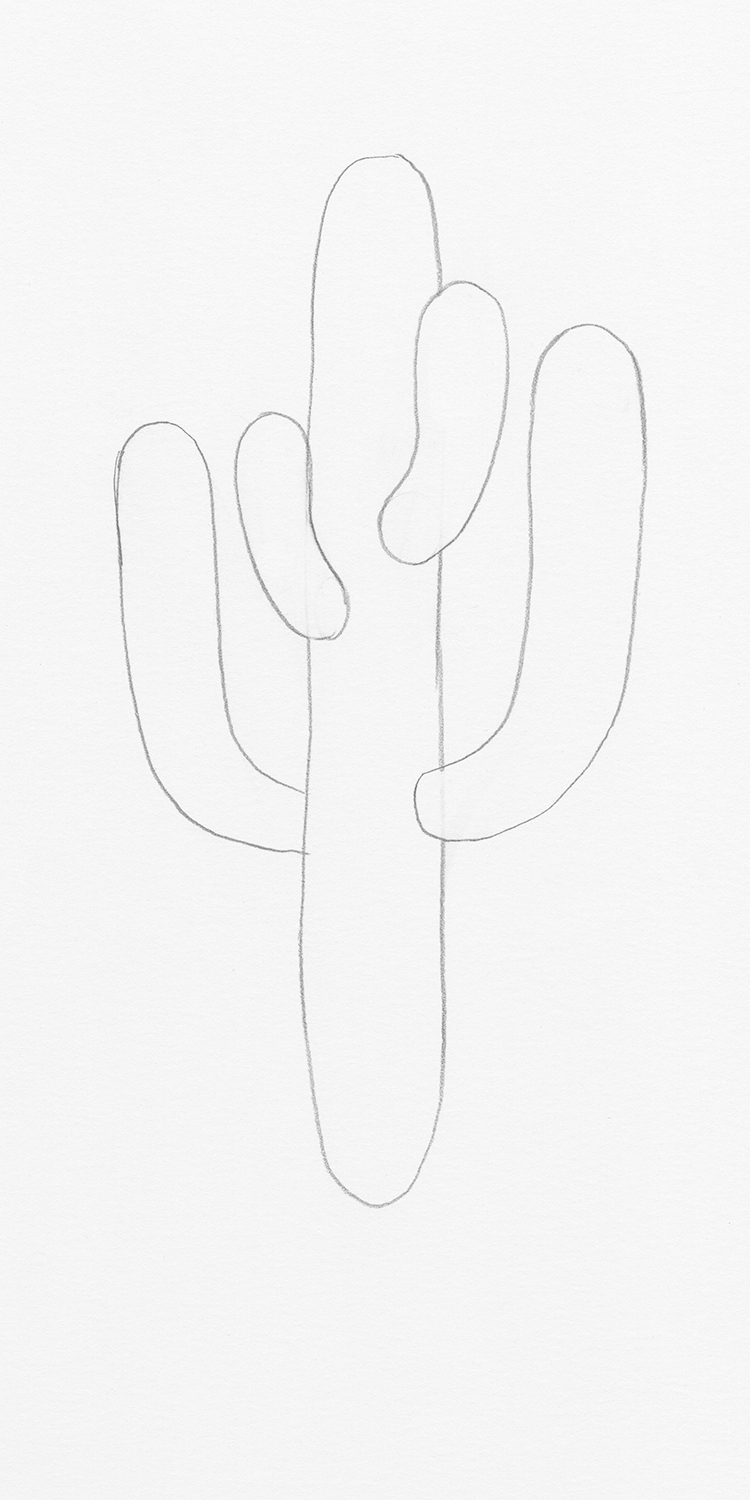
Photo & Art: Margherita Cole | My Modern Met
Before we add more to our cactus, take some time to erase any unnecessary pencil marks and clean up your illustration. This will help you a lot moving forward as we incorporate more detail into the oval branches.
Step 9: Sketch some flowers
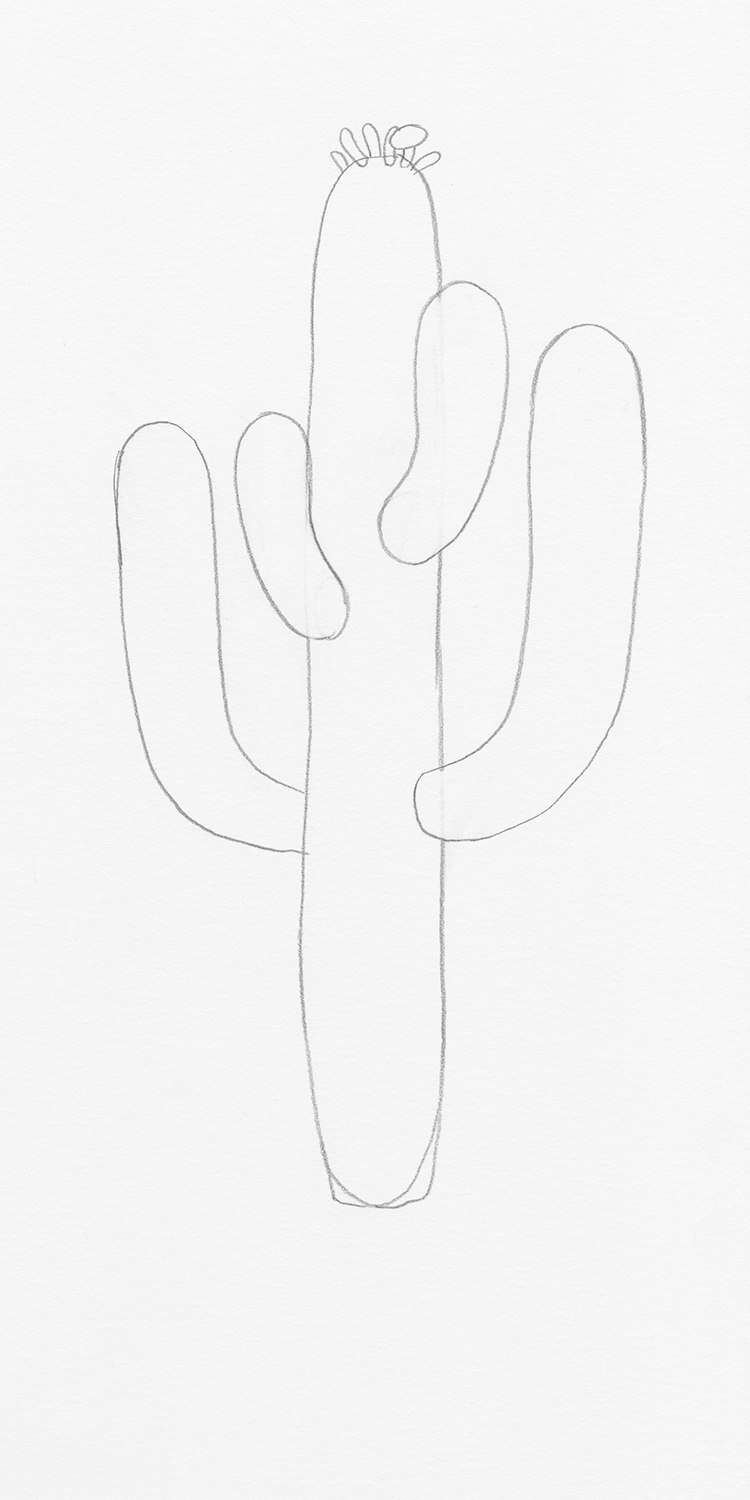
Photo & Art: Margherita Cole | My Modern Met
Did you know that cactus can grow flowers? While they’re not always visible, they do typically bloom in hot summer months. If you like the look of a cactus with flowers, then you can easily add some to your drawing.
To do that, you’ll want to focus your attention on the crown of the cacti and the tops of its arms. There, add a handful of short oval shapes (flowers that have not yet sprouted) interspersed with ovals that are topped with big circles (flowers that have already blossomed).
Step 10: Add more flowers
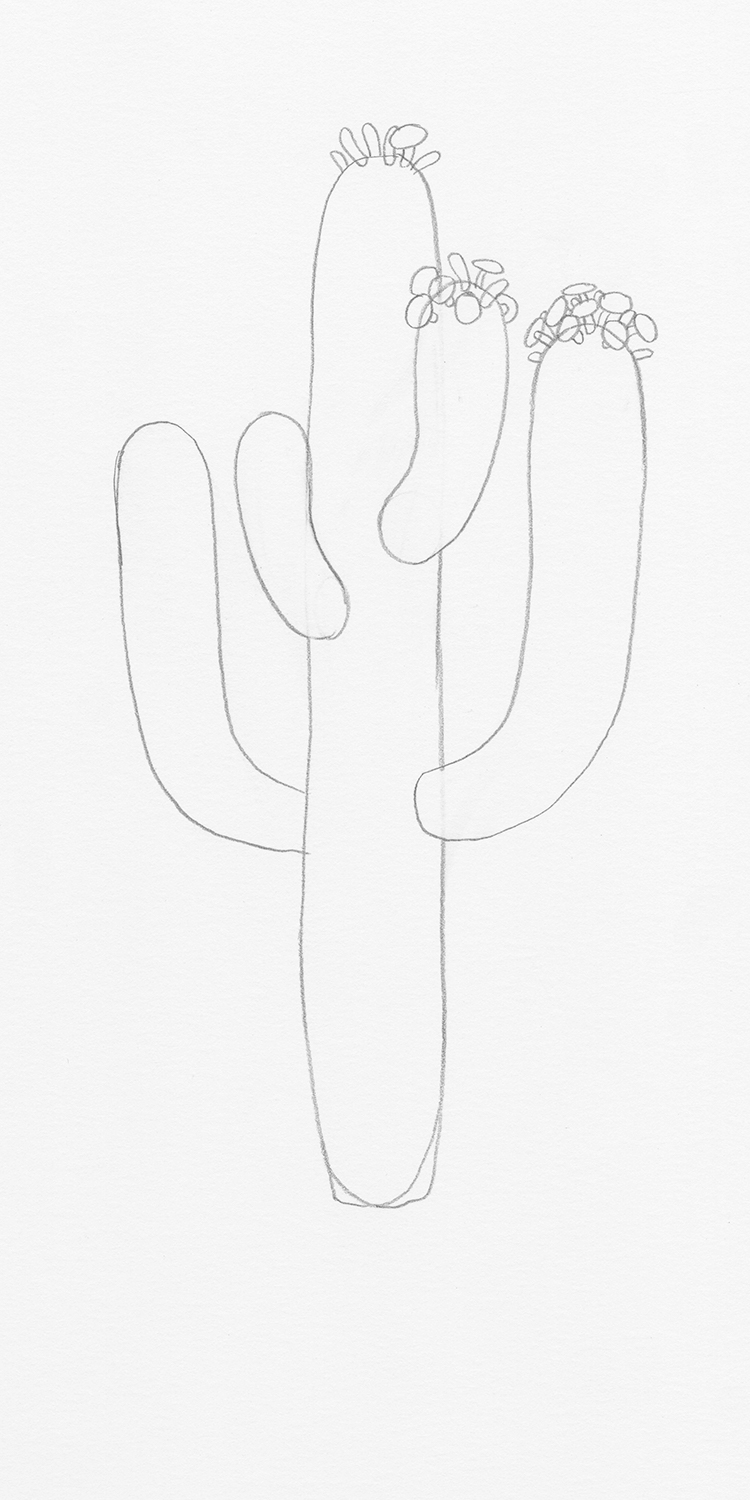
Photo & Art: Margherita Cole | My Modern Met
Continue adding more flowers to the tops of the cactus arms, mixing up flowers in bloom with buds.
Step 11: Finish drawing flowers on top of the cactus
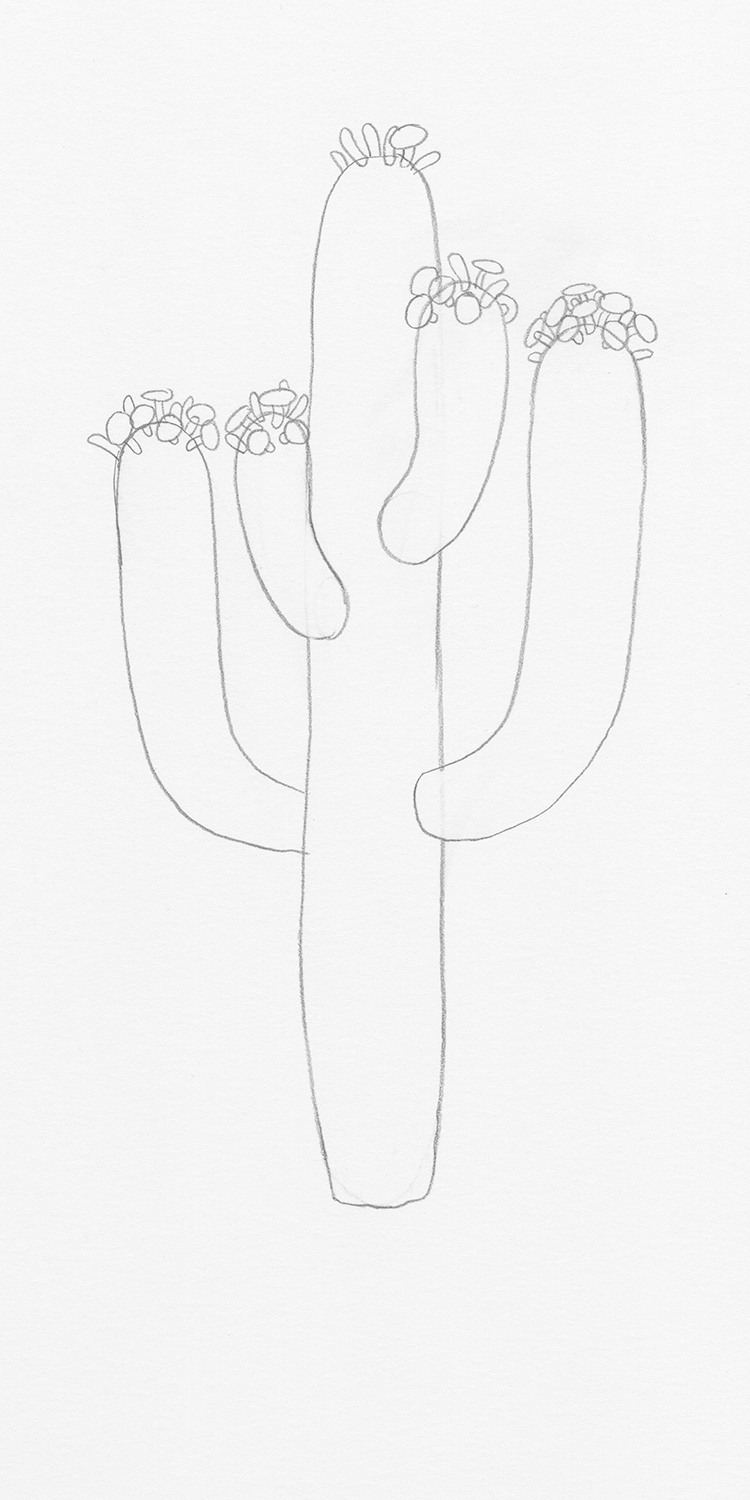
Photo & Art: Margherita Cole | My Modern Met
At this step, you should have finished adding flowers to the tops of the cactus arms. They can be as sparse or as bountiful as you want, so feel free to get creative!
Step 12: Add detail to the cactus
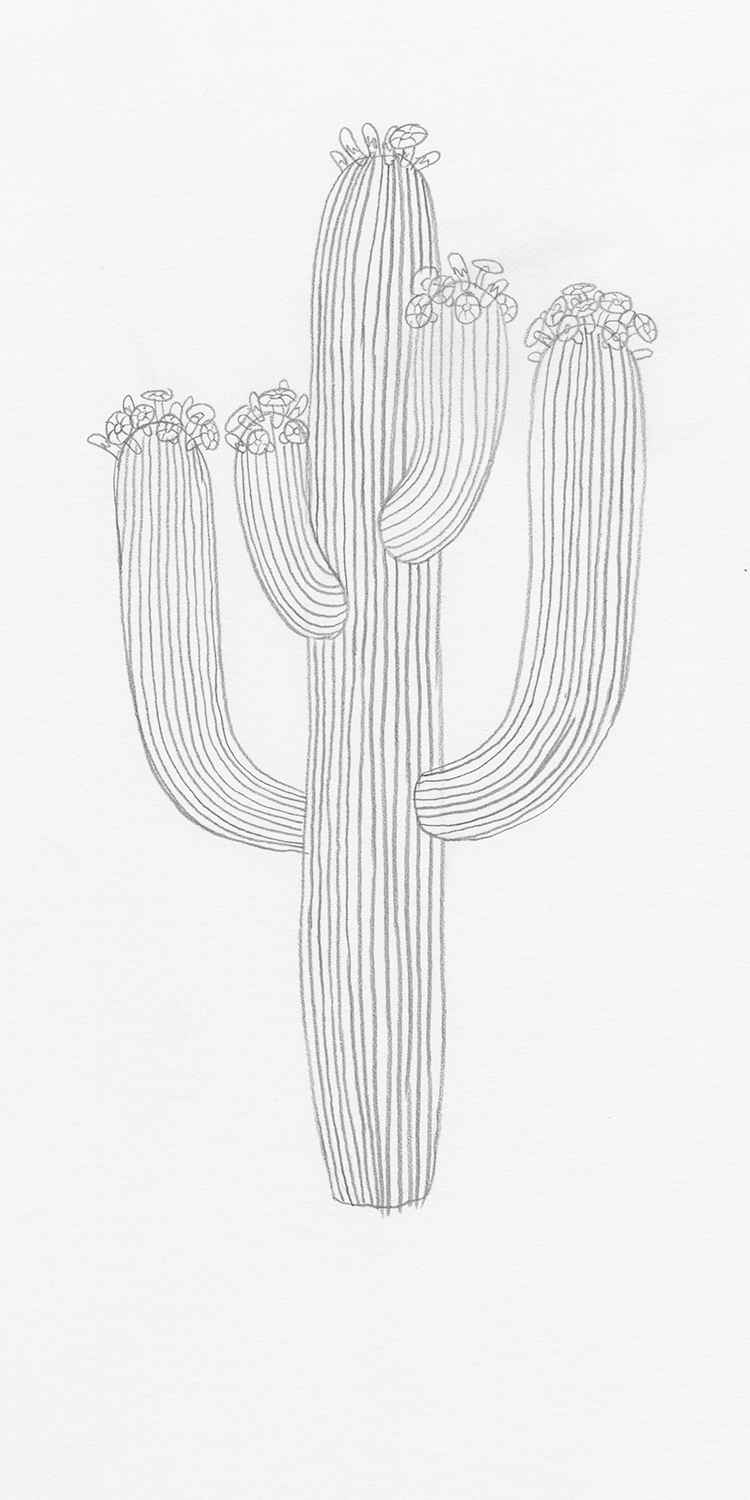
Photo & Art: Margherita Cole | My Modern Met
Now that we have the barebones of our sketch in place, we can go in and fill the cactus with more detail. For example, while cacti are known for their thorns, and the saguaro is no exception, they are not very visible from afar. Instead, we can draw rib lines all along the trunk and arms of the cactus, which are where the thorns grow. While it’s a bit time-consuming to do, you’ll find that these long lines add instant dimension to the sketch.
Additionally, you can add some short lines to the flowers and buds at the top of the cactus to indicate some texture. However, you can also reserve this for the following step.
Step 13: Go over the drawing in ink
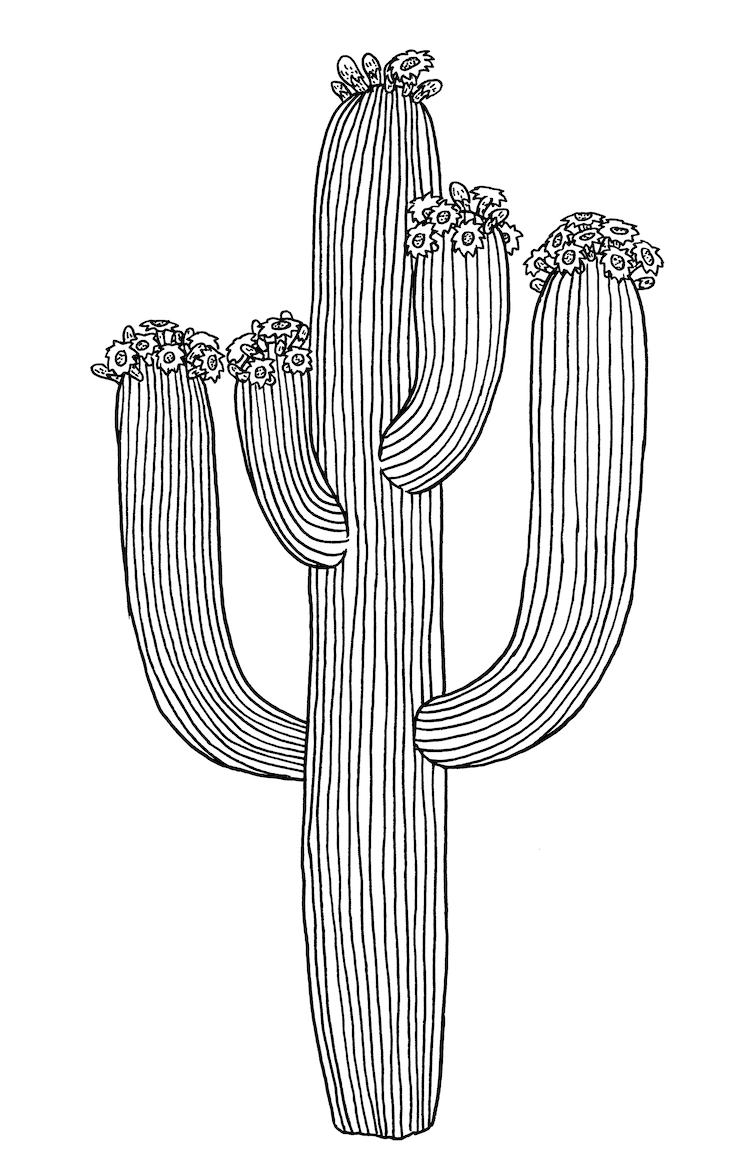
Photo & Art: Margherita Cole | My Modern Met
At last, it is time to go over our pencil drawing with ink. Whether you choose to work with a brush pen or a technical pen, these utensils will do an excellent job rendering the contours of the tall cactus.
In my example, for instance, I chose to outline the cactus with a fine brush pen, and then trace over the vertical lines with a technical pen. By combining different tools, you can often attain some fun results.
Step 14: Add some sand
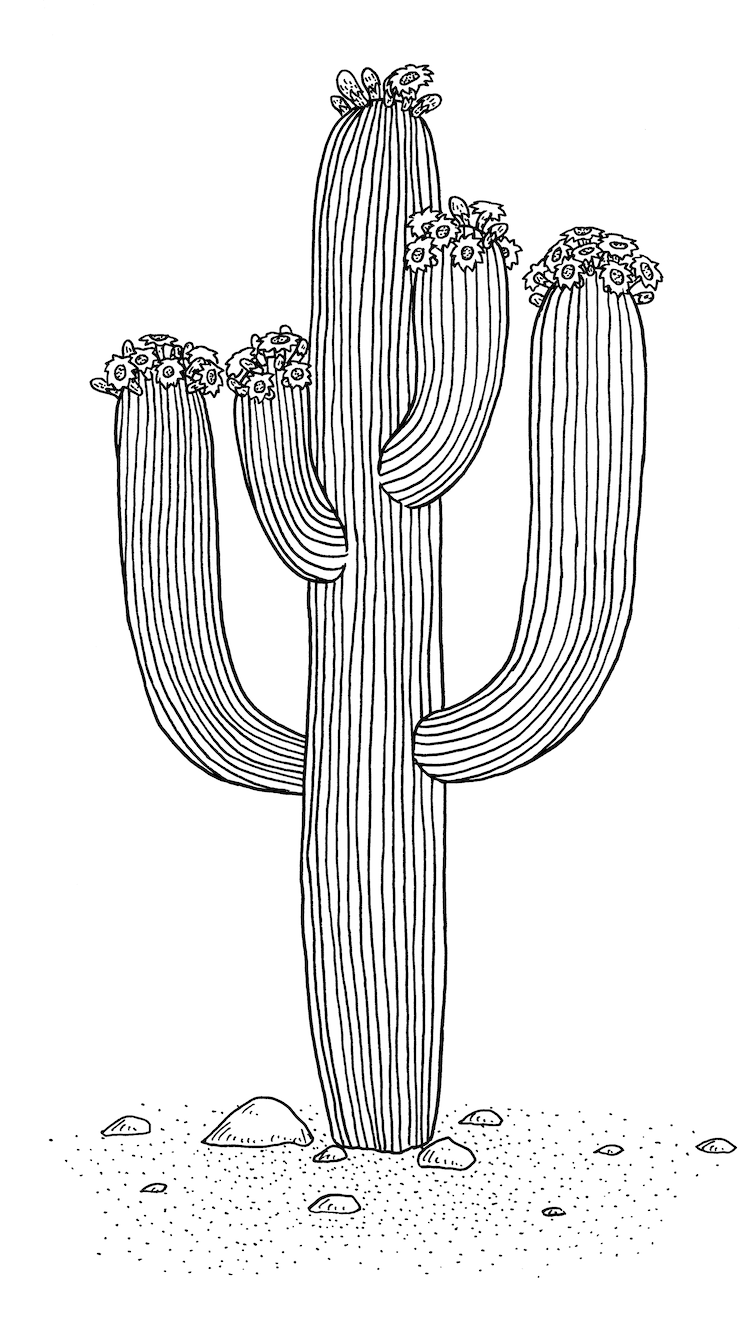
Photo & Art: Margherita Cole | My Modern Met
Now that we’ve reached the final step, we can consider adding a background for our cactus drawing. This doesn’t have to be overly complicated. A simple sand patch can quickly give the impression that your cactus is inhabiting a barren desert.
You can either leave your illustration in black and white, or go over it in color using markers, watercolor paint, or colored pencils.
Related Articles:
Learn How to Draw a Sunflower in 9 Simple Steps
