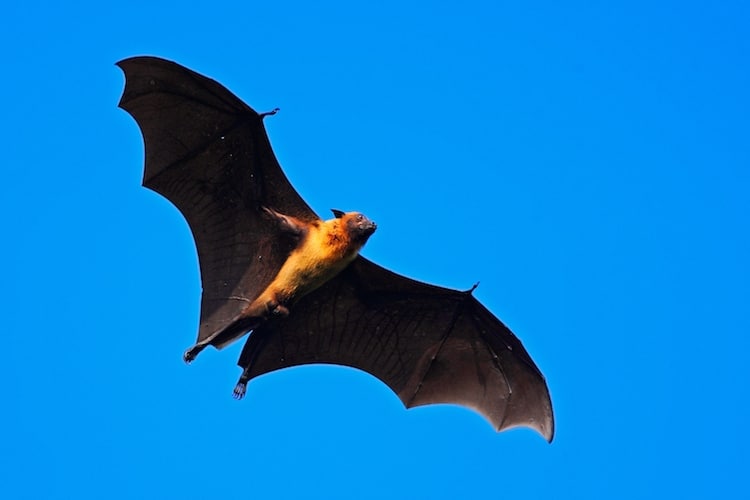
Giant Indian Fruit Bat (Photo: OndrejProsicky/DepositPhotos)
Bats are often regarded as a symbol of Halloween and all things spooky. However, there’s more to this nocturnal creature than its haunting reputation. For instance, they are the only mammal in the world capable of flight, and, as pollinators, they are vital members of the ecosystem.
Follow along to learn how to draw a bat flying through the sky. All you’ll need to get started is a pencil, an eraser, a pen, and some paper. Ready to give it a shot? Then, let’s draw a bat!
Learn How to Draw a Bat Flying in the Sky Step by Step
Step 1: Draw a circle

Photo & Art: Margherita Cole | My Modern Met
Lightly sketch a circle.
Step 2: Add the snout
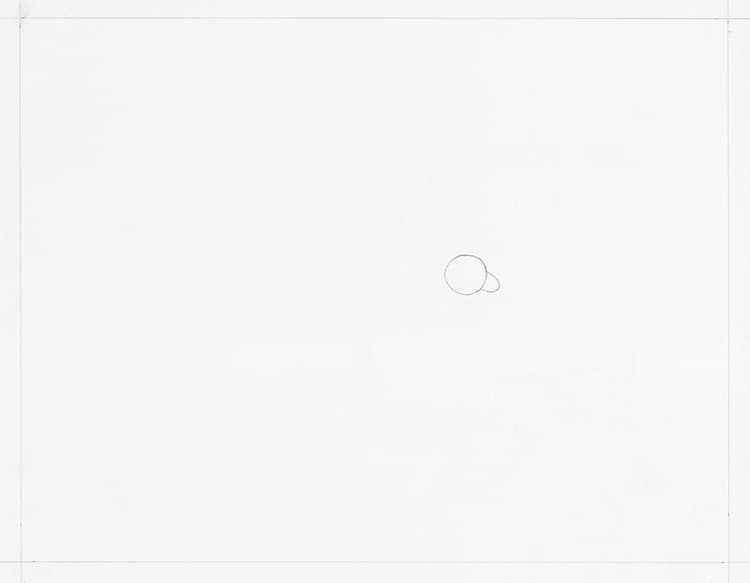
Photo & Art: Margherita Cole | My Modern Met
Next, attach a half-oval to the circle to create the bat’s snout.
Step 3: Draw the ear and face
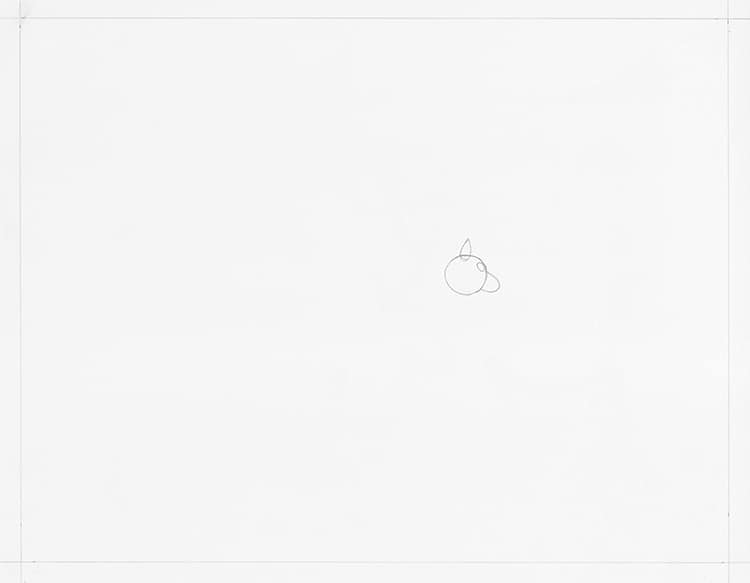
Photo & Art: Margherita Cole | My Modern Met
Afterward, you can sketch a triangle-shaped ear to the top of the circle and draw one oval eye above the snout. Then, add a rounded line inside the snout to create the mouth.
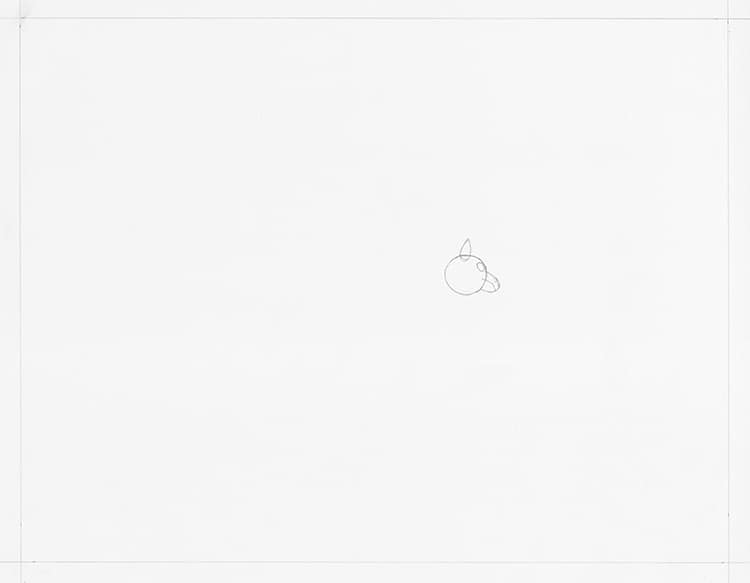
Photo & Art: Margherita Cole | My Modern Met
Step 4: Sketch the body
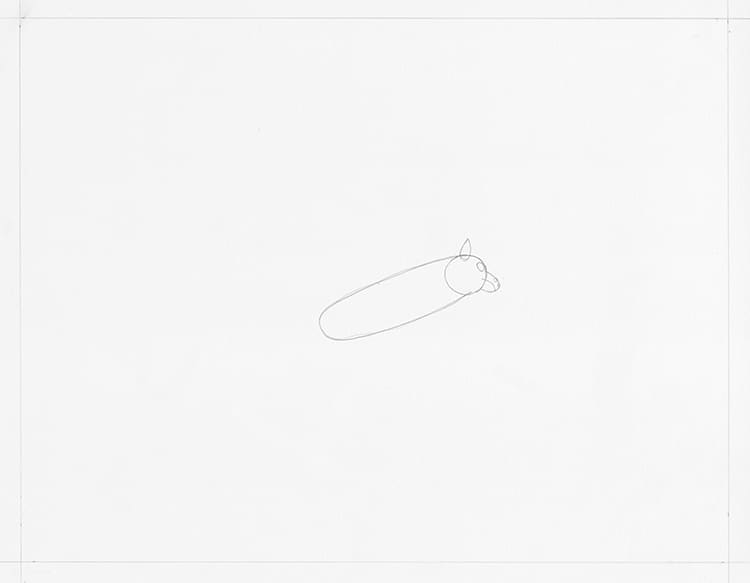
Photo & Art: Margherita Cole | My Modern Met
Next, attach the circle to a long oval—this will be the body of the bat.
Step 5: Add the legs and feet
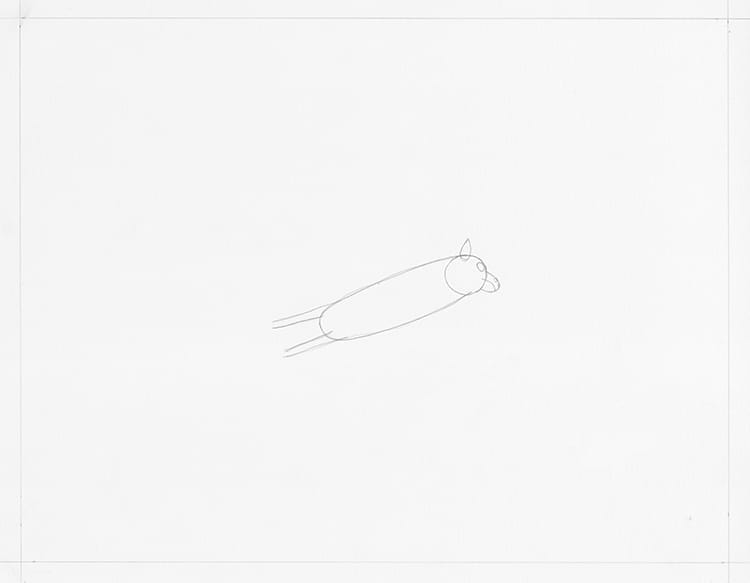
Photo & Art: Margherita Cole | My Modern Met
Now, sketch a pair of thin rectangular legs to the bottom of the bat’s body, and complete them with two rectangular feet.
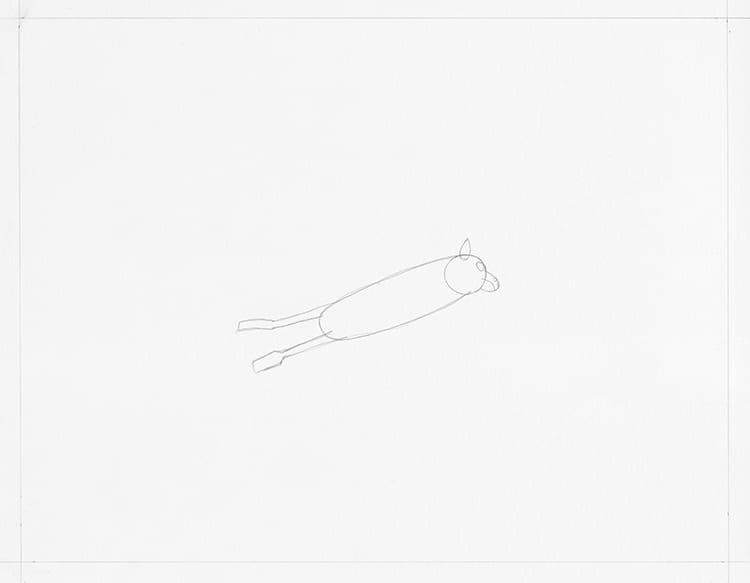
Photo & Art: Margherita Cole | My Modern Met
Step 6: Start the wing
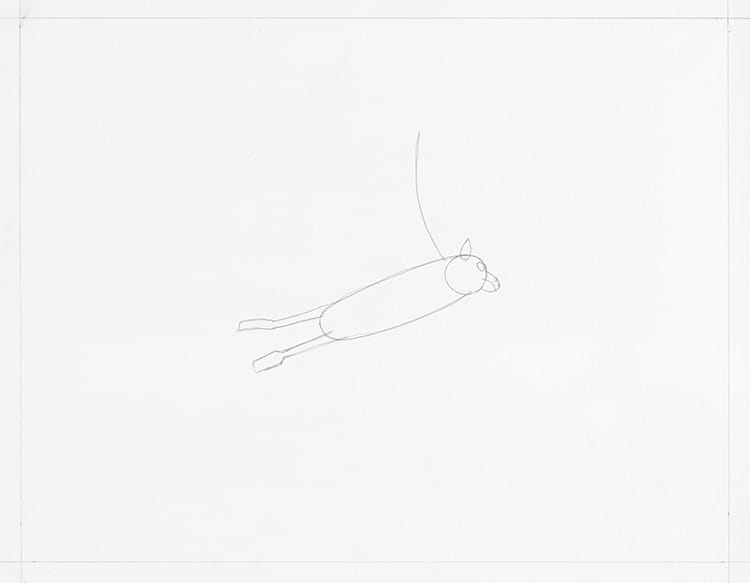
Photo & Art: Margherita Cole | My Modern Met
Bat wings are fairly complex, but it’s easiest if you take it slowly. So, starting just below the head, sketch a long arch-like line.
Step 7: Continue the wing
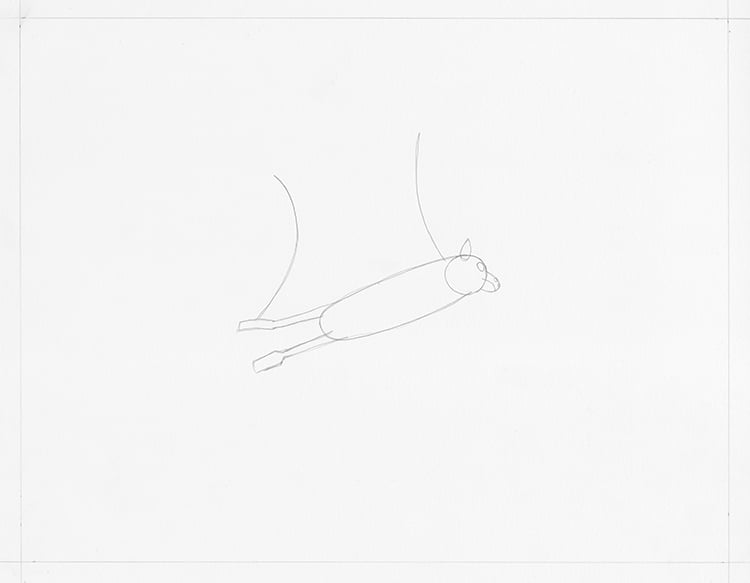
Photo & Art: Margherita Cole | My Modern Met
Move your pencil to the foot of the bat and draw a similarly arched line bending in the opposite direction.
Step 8: Continue the wing
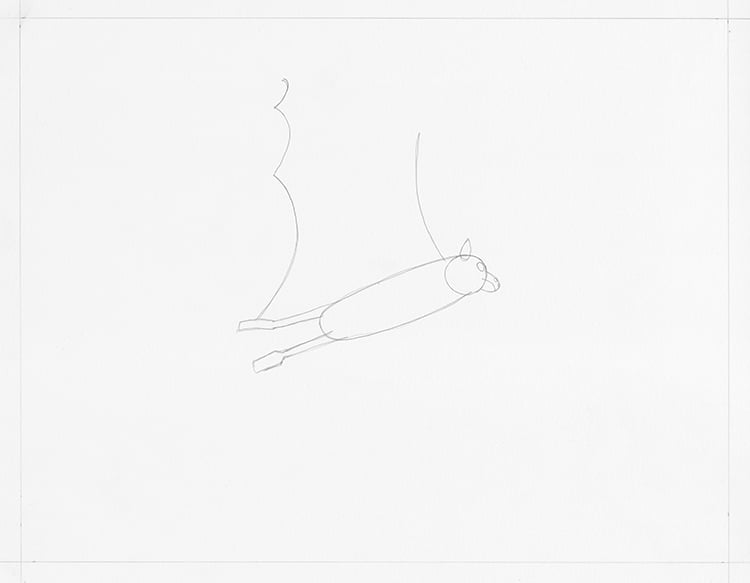
Photo & Art: Margherita Cole | My Modern Met
Stay at the bottom of the wing and sketch two more arched lines in decreasing size.
Step 9: Finish the wing
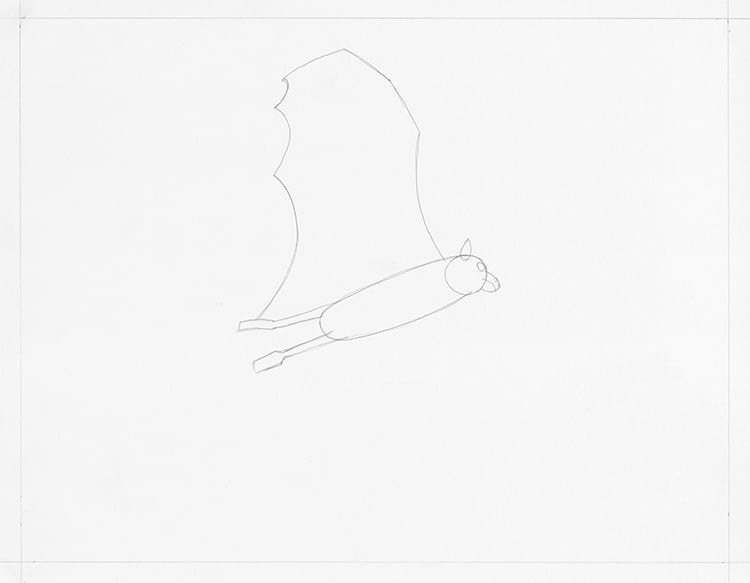
Photo & Art: Margherita Cole | My Modern Met
Complete the wing with two more lines. Compare your sketch with some reference photos to make sure you’re satisfied with the result.
Step 10: Sketch the other wing
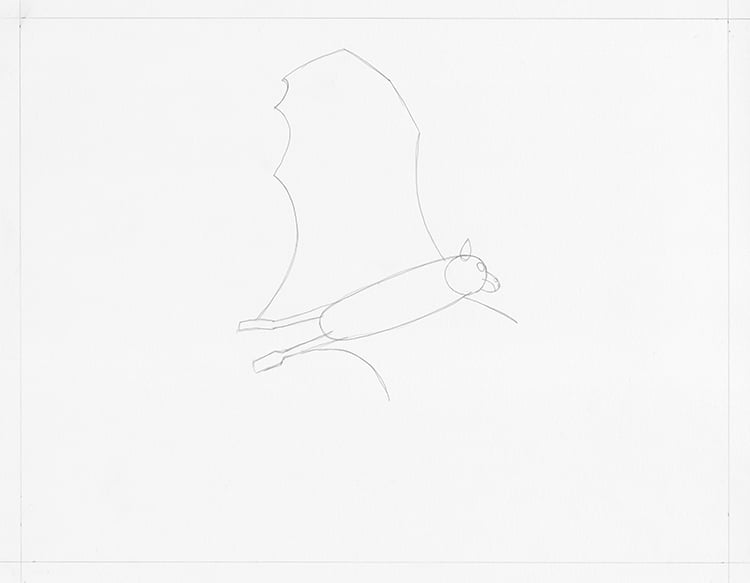
Photo & Art: Margherita Cole | My Modern Met
Begin the other wing by drawing one straight line extending from the neck and one arched line extending from the other foot.
Step 11: Complete the other wing
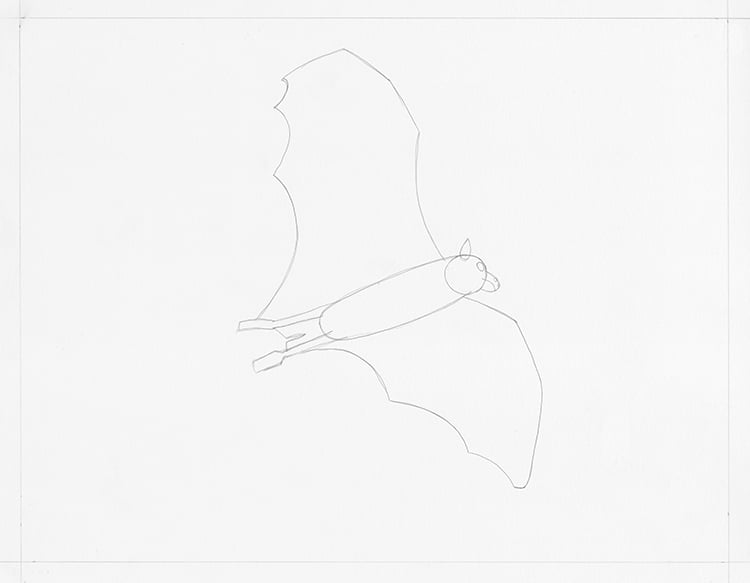
Photo & Art: Margherita Cole | My Modern Met
Finish the wing using the same techniques and shapes used in the first one.
Step 12: Sketch the upper arm
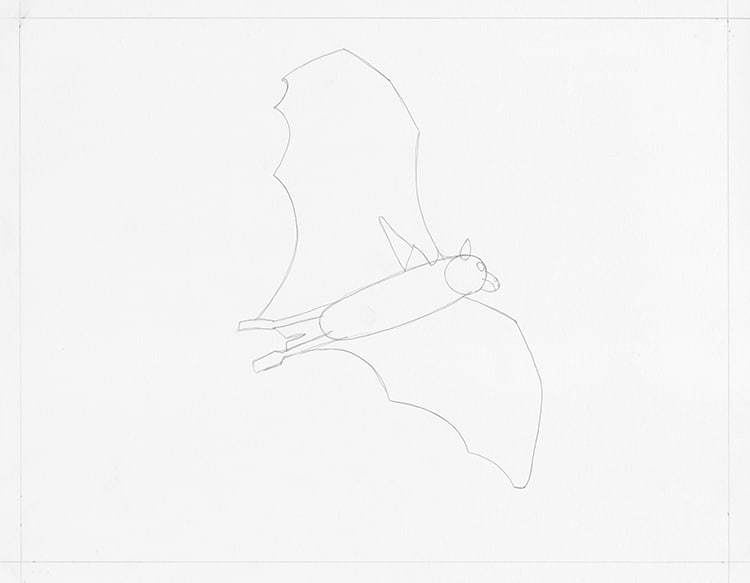
Photo & Art: Margherita Cole | My Modern Met
Now that we’ve drawn the outline of the bat’s wings, it’s time to flesh them out. So, attach a rounded triangle to the body of the bat, just inside the wing. This will be the upper arm.
Step 13: Continue the arm
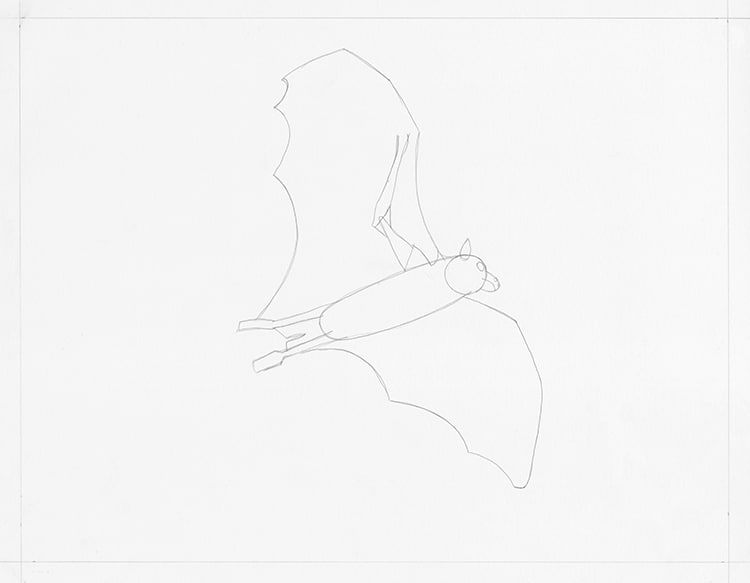
Photo & Art: Margherita Cole | My Modern Met
Now, add a long forearm ending just below the first point at the top of the wing. There, draw a short finger portruding from the wing with a long, sharp nail.
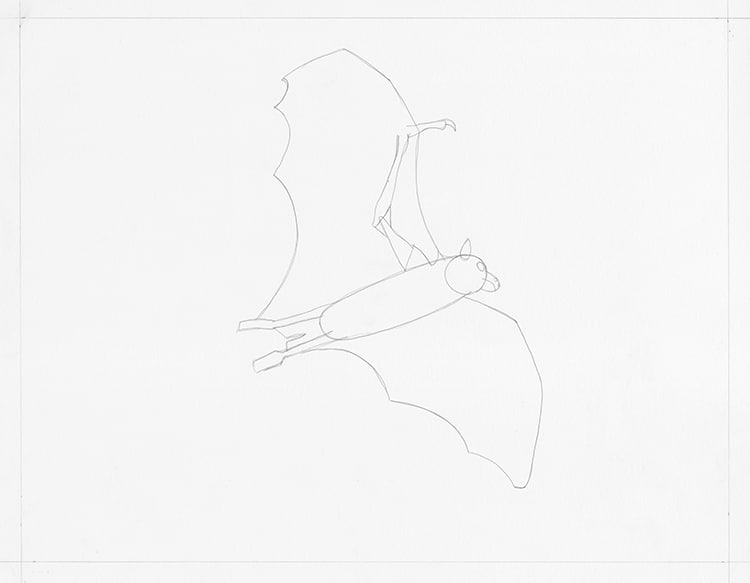
Photo & Art: Margherita Cole | My Modern Met
Step 14: Add the rest of the fingers
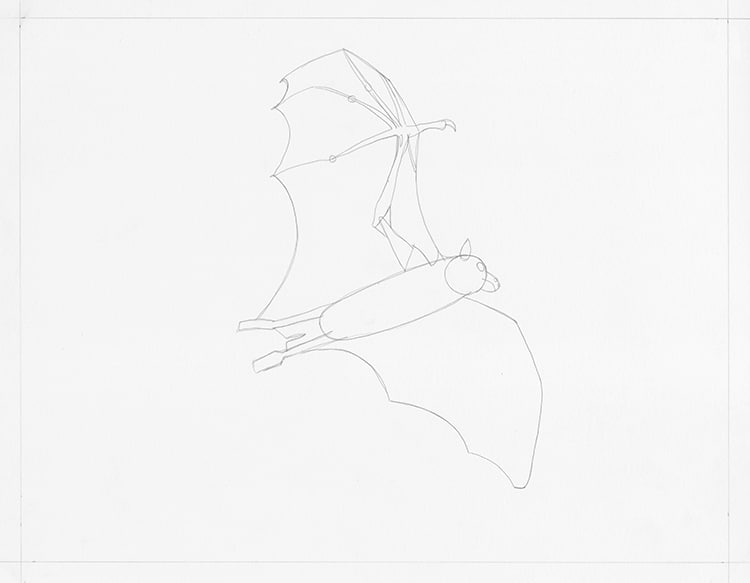
Photo & Art: Margherita Cole | My Modern Met
Next, add the other four fingers. These should extend in the direction of the points in the wing and taper into a fine line the closer they get to that point.
Step 15: Add fingers to the other wing
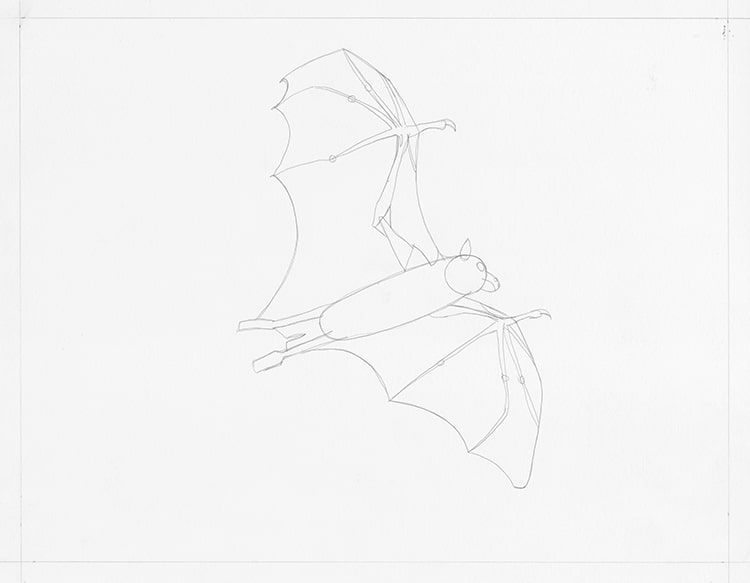
Photo & Art: Margherita Cole | My Modern Met
Repeat steps 10–15 on the other wing. Remember to take into account the foreshortening and adjust the length of fingers when needed.
Step 16: Define the toes
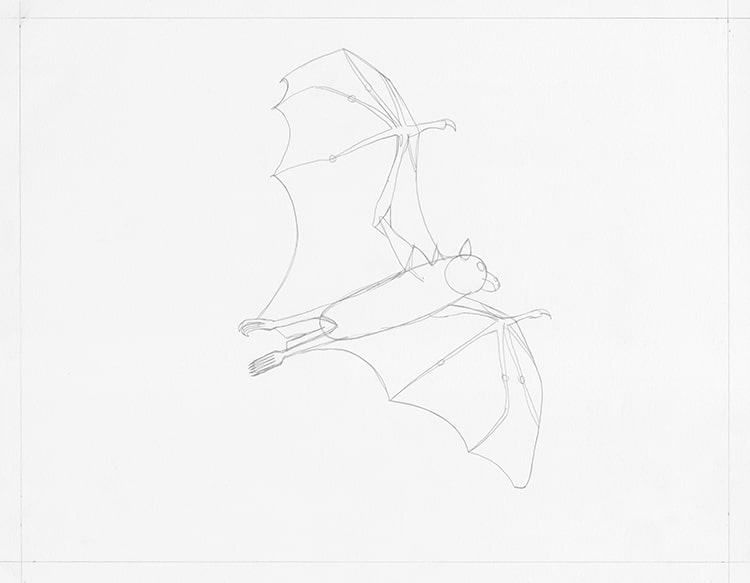
Photo & Art: Margherita Cole | My Modern Met
Now, break up the rectangular feet into five long and slender toes.
Step 17: Refine the drawing
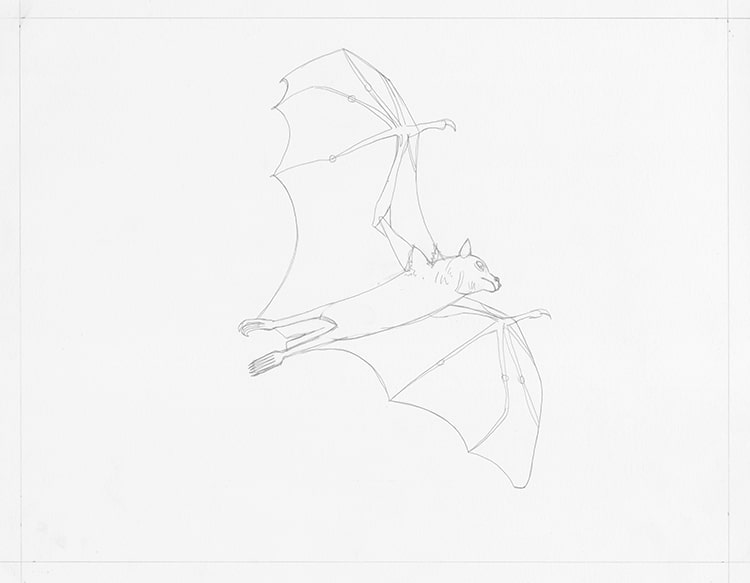
Photo & Art: Margherita Cole | My Modern Met
Continue to refine the drawing by erasing the geometrical shapes and adding textural lines to the body and face. You can also use this time to compare your illustration with some reference photos to see if you need to fix any areas.
Step 18: Add a background
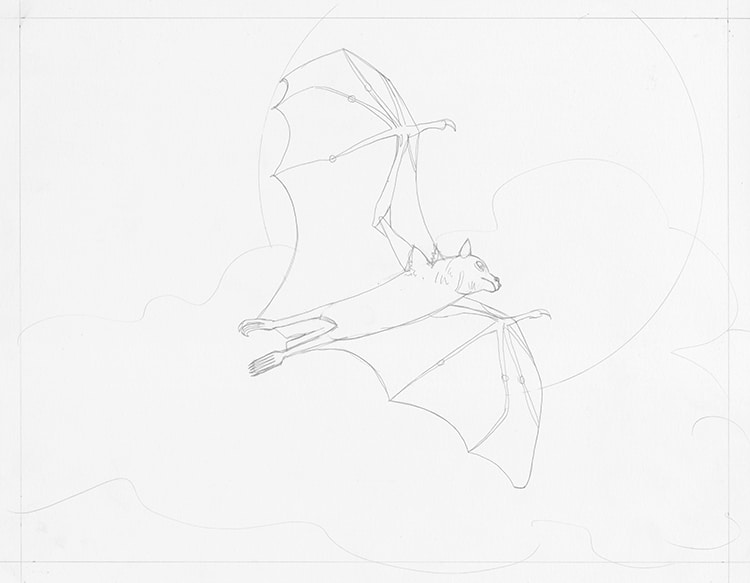
Photo & Art: Margherita Cole | My Modern Met
If you want to give your drawing of a bat a narrative, then consider adding a simple background. For instance, since this bat is soaring through the sky, you can add a full moon and some clouds.
Step 19: Go over the drawing in ink
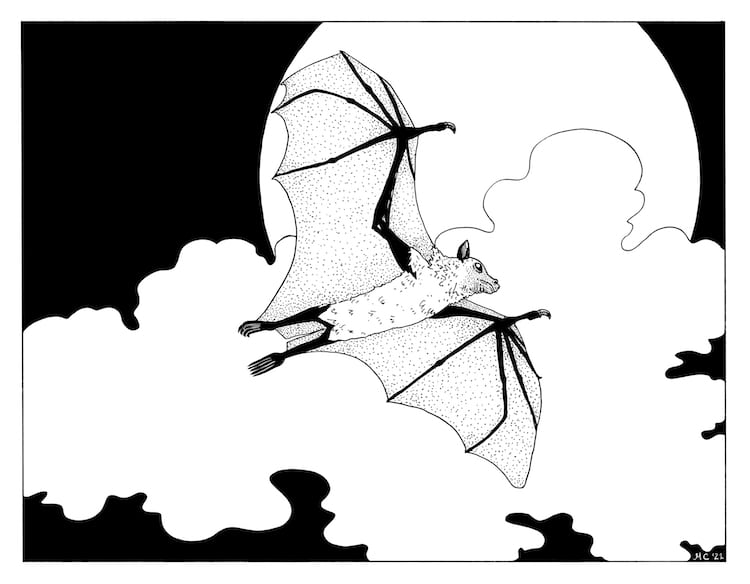
Photo & Art: Margherita Cole | My Modern Met
Finally, it is time to complete your illustration of a bat by going over it in pen and ink. So, using your pen of choice, trace your pencil drawing. Once you’ve gone over all of the lines, consider filling in some of the areas with shading techniques such as stippling or hatching to add texture and depth. Fill in any black areas last so you avoid smearing ink.
Then, erase any remaining pencil marks, and voila! You’ve learned how to draw a bat.
Looking for others who love drawing? Join our Art, Design, Photography, and Drawing Club on Facebook!
Related Articles:
Learn How to Draw a Panda Holding a Piece of Bamboo
Learn How to Draw a Pumpkin in a Few Easy Steps
