Photo: Christopher Folwell
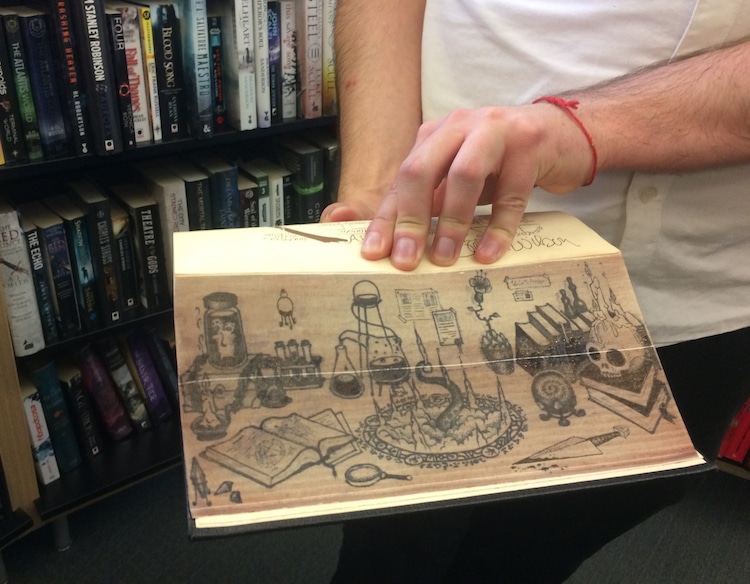
Fore-edge painting books hold a dazzling secret on the tips of their pages. At first glance, these texts look like an ordinary book; but when you fan one of these special tomes, an illustrated scene appears on its edge. This artistic literary tradition dates back as far as the 10th century, and it continues to mesmerize us today. If you’ve ever thought about creating one of these books yourself, artist Christopher Folwell, aka Dabble Dabble, demonstrates how in a step-by-step tutorial.
Making your own set of fore-edge painting books is easier than you think.
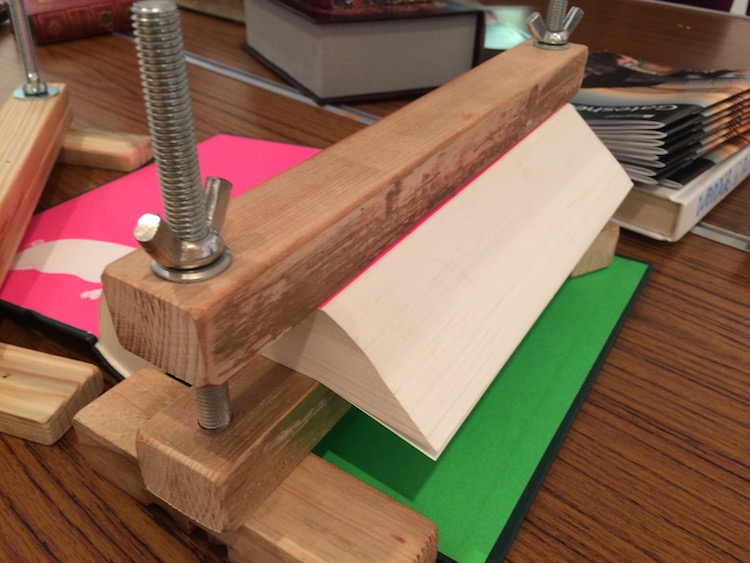
To start the process, Folwell gathers materials including a fore-edging clamp, sandpaper, permanent marker, stiff brush, glue, sponge, and gold foil. He then clamps the book so that the pages are at a flat 90-degree angle, after which he sands them to make them completely smooth. “Once you have finished this stage try not to touch the surface too much with your fingers,” he writes, “they carry a small amount of oil that can stop the stain and gilding from binding.”
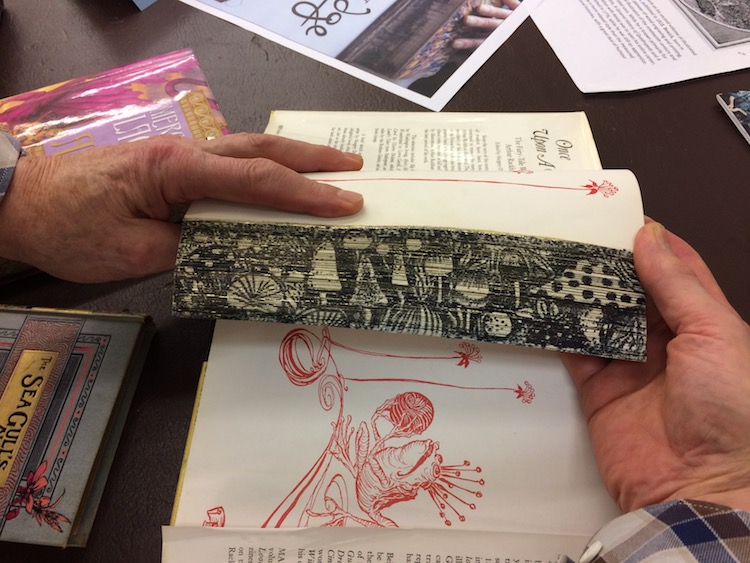
With the sanding complete, Folwell removes the book from the clamp and repositions it at 45-degree angle. “The more sharp the angle the better the reveal of your hidden illustration once gilded,” he explains. When situated properly, you’ll see there’s a “millimeter or two of each page” that’s exposed. This is where Folwell places the illustration using permanent markers, watercolor paint, or fine-line pens.
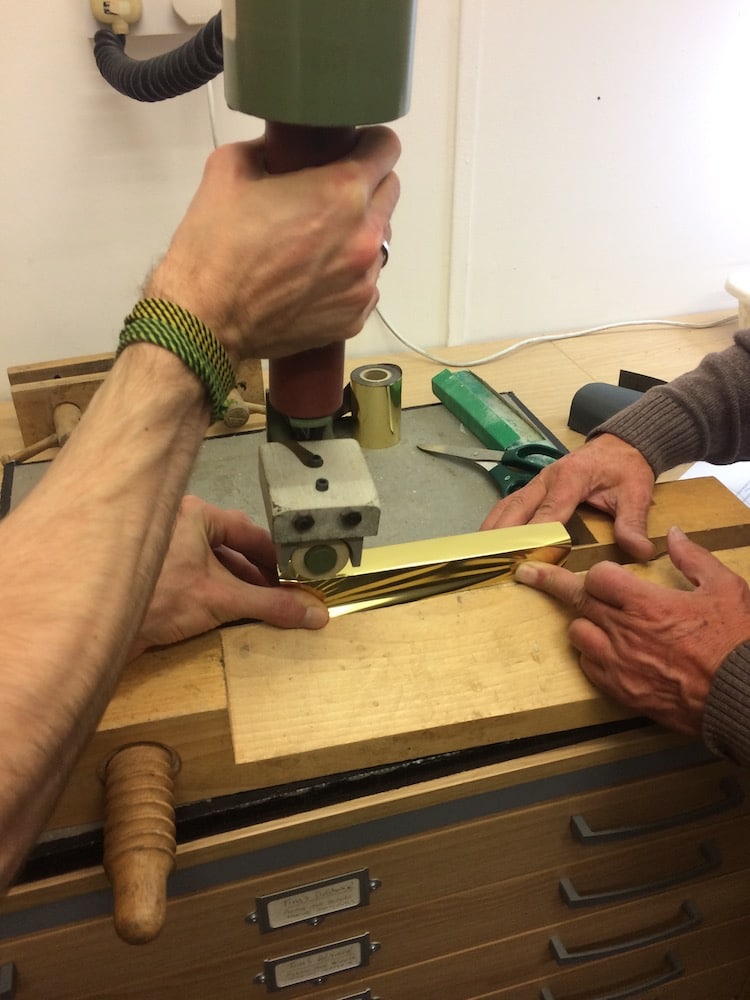
Once the illustration is done, there’s only a couple of steps left. Folwell stains the edges to give them a deep luster, which leads him to the final step: gilding. For this, he mixes glue and water until it has the consistency of milk and then applies it to the edge with a sponge. Then, Folwell quickly lines it with gold foil and smooths any wrinkles. It takes overnight for everything to dry, after which he peels back the foil to reveal the gold along the edge.
Check out Folwell’s detailed post on Imgur to learn how to make your own fore-edge painting.
Artist Christopher Folwell demonstrates the process in a step-by-step tutorial. To begin, clamp the book of your choice at a 90-degree angle.

Photo: Christopher Folwell
Then, sand and polish the pages so they’re even and smooth. The goal is to bring them to a flat plane free of tears or bumps. Afterwards, the book is repositioned in the clamp at a 45-degree angle.

Photo: Christopher Folwell
Once the pages are ready, draw or paint an illustration using watercolor painting, permanent marker, or fine-line pens. “Try to avoid anything which will leave a residue on the surface (such as acrylic paint, or paint markers, charcoal etc),” Folwell says.

Photo: Christopher Folwell
Staining is optional after illustrating, but it offers a “deep luster” to the pages. The final step is to apply the gold leaf. Using a combination of glue and water, sponge the paste over the edges. Then, lay the gold foil down and smooth it over the pages. Wait overnight for it to set.

Photo: Christopher Folwell
Once dry, the fore-edge painting book is complete! Now, when you fan out the pages, it’ll reveal a secret illustration.

Photo: Christopher Folwell
