Photo: MicEnin
This post may contain affiliate links. If you make a purchase, My Modern Met may earn an affiliate commission. Please read our disclosure for more info.
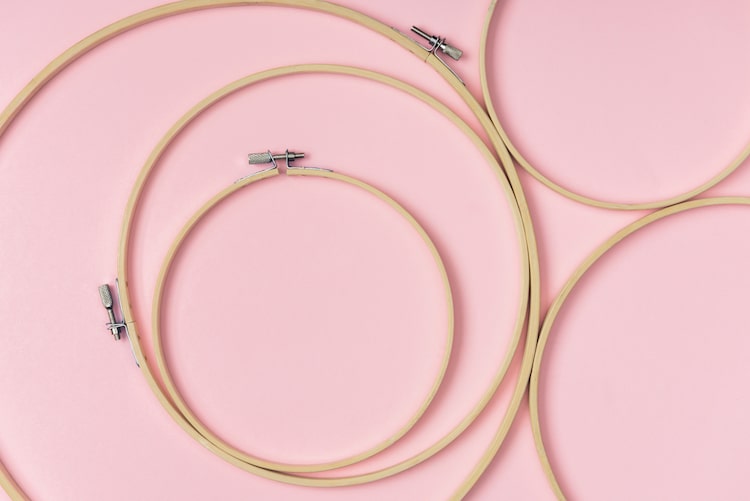
No matter what kind of embroidery you’re stitching, chances are that you are doing it in an embroidery hoop. An embroidery hoop is a vital part of the craft; it helps keep your material taut and makes it possible to stitch quickly and without discomfort. While the embroidery hoop is a straightforward tool, not all are created alike.
Embroidery hoops come in different materials and the quality can vary. Depending on your project, this might not matter much—especially if you’re planning on taking the stitching out of the hoop once you’re done. But in many cases, it’s en vogue to leave your work in the hoop when complete; it doubles as a frame to hang on your wall or give as a gift.
In this article, we’ll discuss the types of embroidery hoops you can buy, the benefits of a hoop stand, and how to “finish” your embroidery inside of a hoop so that it stays there permanently.
Learn about different embroidery hoops, tips and tricks, and how to transform them into framed works of art.
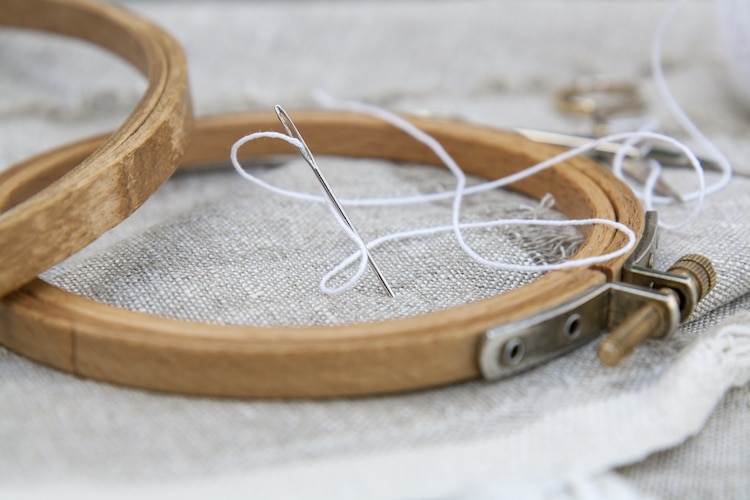
Photo: Vika-mermaid
Popular Types of Embroidery Hoops
When it comes to selecting an embroidery hoop, you’ve basically got two choices in materials: wood or plastic. But within those two materials is a spectrum of quality. You can often find inexpensive embroidery hoops, but whether they will be of good quality—easy to adjust, stays taut, won’t leave permanent marks on your fabric—is something to consider. From the color of wood to the shape of the frame (not all are a perfect circle) to the type of closure for the hoop (most use a screw to tighten the fabric, but others might have a clamping feature), you’ll want to take a look at all of the characteristics of the material.
Wooden Embroidery Hoops
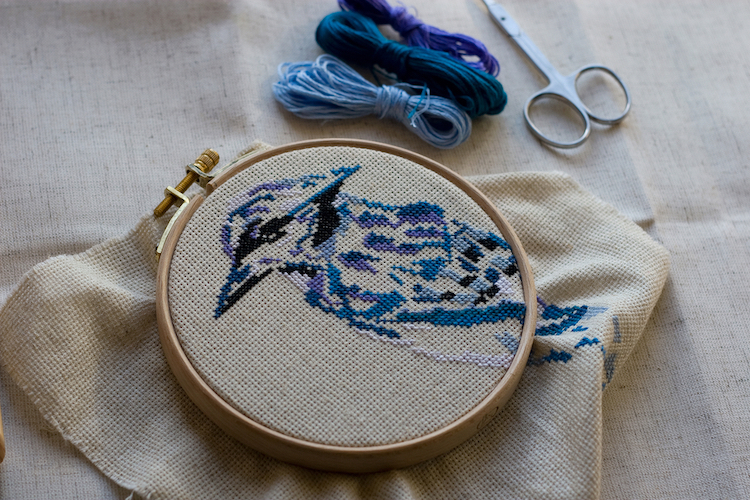
Photo: Lesyanovo
Bamboo hoops – This type of hoop is one of the most popular embroidery hoops you can buy. Available in bulk quantities and in a variety of sizes, they are easy to find at most craft stores as well as online. Not all are made equal, however. You’ll want to look for hoops where the wood feels sturdy and will keep your fabric taut as you work on your project.
Try this: Similane Hoops
Mini hoops — Miniature hoops come in handy if you want to create embroidered jewelry. These hoops are meant to be worn and displayed on a string or turned into a brooch. Alternatively, you could mount them in a small shadow box to display on a desk.
Try this: Mini Embroidery Hoop by Zocone, Set of 10
Plastic Embroidery Hoops
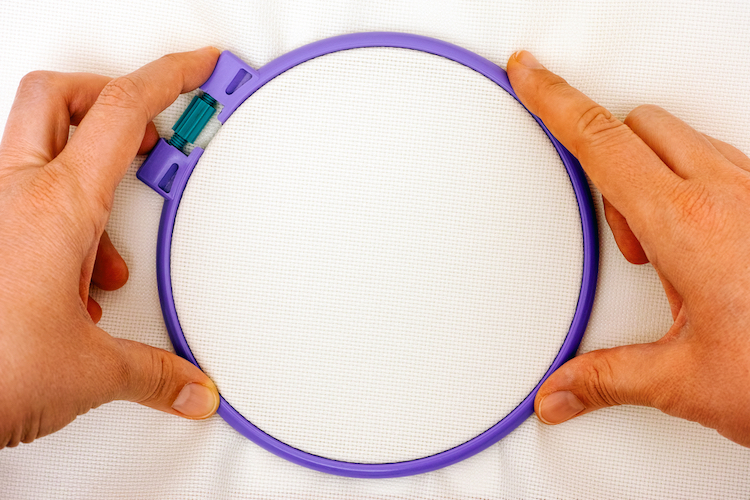
Photo: Rosinka79
Retro-inspired plastic hoops — Like a retro-inspired design? This style of hoop mimics the appearance of dark-stained wood but it’s a convincing plastic design. If you go for the Caydo-brand of this hoop, the top of the hoop has a hanging ring that makes it easy to display.
Try this: Caydo Hoops, Set of 6
Colorful hoops — If you’re not feeling the wood and like the ease of plastic, these types of circular hoops come in a variety of bright hues.
Try this: Similane 6-Piece Set of Hoops
Rectangular hoops — Sometimes, a circle just won’t work for what you’re trying to stitch. In that case, look for a rectangle hoop. Like the colorful circular hoops, this variety is often sold in sets and comes in multiple hues and sizes.
Try this: Caydo 5-Piece Set

Photo: Ndwarraich.gmail.com
Embroidery Hoop Tips and Tricks
It’s not hard to use an embroidery hoop, but sometimes, it can feel like it’s working against you. To make sure that doesn’t happen, follow these tips and tricks.
- Select the right hoop size. You’ll want the size of your design and the size of your hoop to be as close to one another as possible. Doing this means that your hoop will offer the most stabilization and ensure your fabric won’t move around too much while you work.
- For extra stability, use a hoop stand. If you’ve got a dedicated workspace and plan on only embroidering there, a hoop stand—which clamps the hoop like a vice—can offer extra stability. It also allows you to stitch much faster as the hoop is held with a rigid force.
- Avoid stretching your material. In an effort to make your fabric taut like a drum, it will be tempting to stretch your material as much as possible. But, beware: it can cause puckering of your stitches and ruin a perfectly smooth surface of your fabric. Additionally, too-tight stretching can cause “hoop burn,” which leaves a mark on your fabric after the hoop is gone.
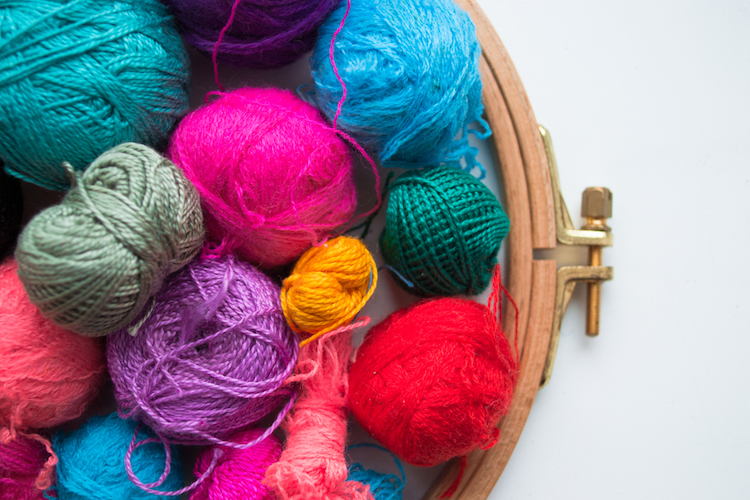
Photo: umochka111
Finishing Your Embroidery Hoop
One of the big embroidery trends is to leave your stitching inside the hoop. After all, the hoop is a frame and it’s easy to hang it on the wall. (This makes it a great gift option!) But what about that extra fabric around your hoop? Don’t trim the excess fabric; instead, use one of these easy DIY methods to finish your embroidery project.
Related Articles:
10 How-To Embroidery Books Filled With Creative Stitching Projects
Embroidery Artist Sarah K. Benning on Her Vivid Floral Pieces and Growing as an Artist [Podcast]
6 of the Best Pairs of Embroidery Scissors That Avid Stitchers Love to Use
