View this post on Instagram
Baseball caps will always be in style. Maybe you’re rooting for a sports team, or maybe you just like how they look. But if they’re feeling a little flat for you, you’re in luck; there’s a crafty trend that is reimagining these everyday caps. Embroidery—particularly flowers—are adorning cotton baseball caps and offering some stitchy flair to the accessory.
While many wearers of embroidered caps chose to buy them already stitched—and that’s perfectly fine—you might want to try and make your own. After all, it’s easy to find the materials needed for this DIY project. You can get everything you need at a local craft store. And because embroidery is a forgiving craft, if you’re not happy with how your hat looks, you can remove the stitches and start again.
Scroll down for a supplies list, patterns and tutorials, and buy-it-now options for embroidered hats.
Embroidered Hats Supplies List
View this post on Instagram
This craft requires very little in the way of supplies needed. In fact, if you already embroider, you might only need the hat!
- Cotton cap — Baseball caps are the most popular type of hat to use, but you’ll be able to easily stitch onto any hat that’s made of cotton. Look for a “washed” cap for a vintage look.
- Embroidery floss — When it comes to embroidery thread, the brand DMC is the most popular. It’s not hard to see why—they have over 400 hues to choose from. You’ll want to select five to 10 colors (depending on your design) and use those in your stitching.
- Embroidery hoop — A hoop will hold your stitching surface taut and make it easier to sew. Look for something that’s on the smaller side, as your hat won’t be that big. Get looped into embroidery when you check out our guide all about embroidery hoops.
- Embroidery scissors — If you’re investing in embroidery, look for a good pair of scissors. A pair with short, sharp blades will ensure your thread is easy to cut and won’t fray on the ends, making it harder to thread a needle. Check out our comprehensive guide to embroidery scissors.
- Needle — Because you’ll be stitching through a stiffer fabric, you’ll want to secure a sharp needle. Look for needles that are specifically geared towards embroidery.
- Disappearing ink pen — There are several ways to transfer a design onto a cap, but the most effective might be the disappearing ink marker. This special pen contains ink that will disappear after a couple of days or when it comes in contact with water. Either way, it’s not permanent, so no one will see your marks when your stitching is done.
Patterns and Tutorials to Make Your Own Embroidered Hats
Little Garden Hat Kit
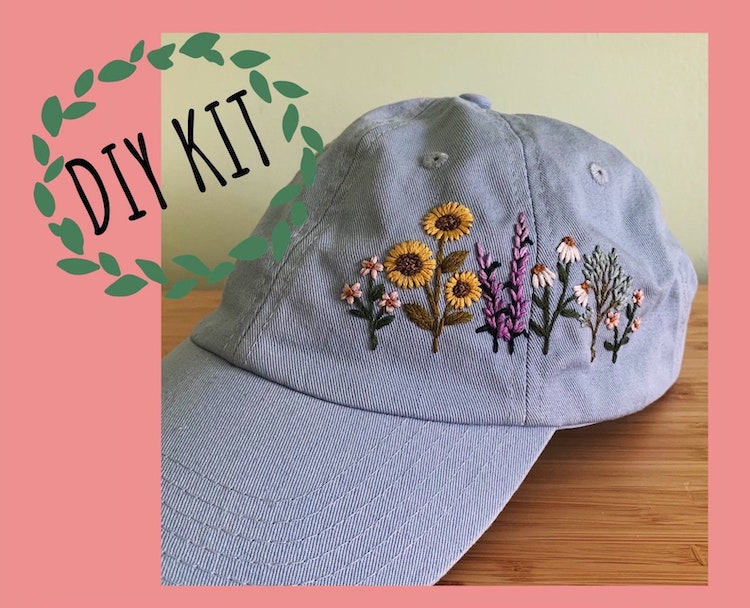
River Birch Threads | $35.37
Floral Embroidery Hat Kit
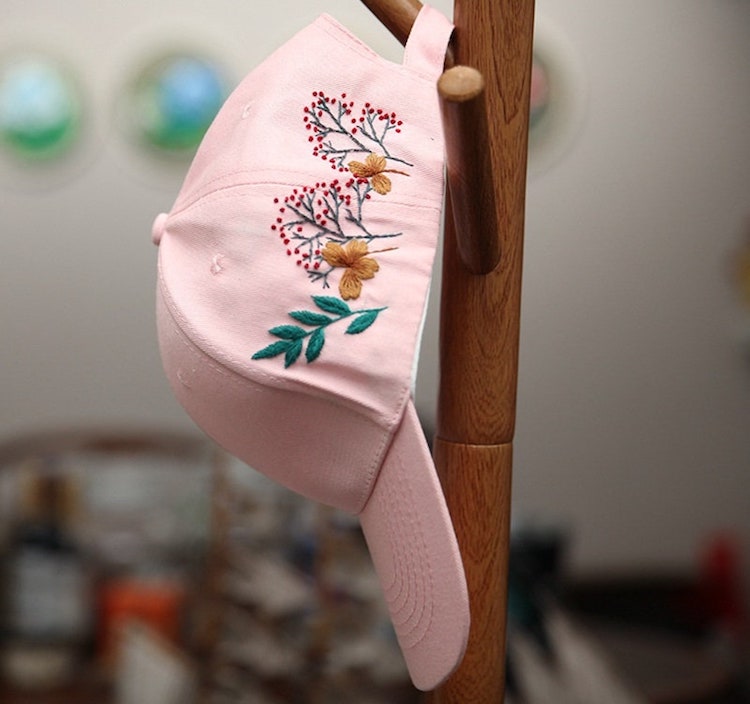
The Cherry Blossom | $16.99+
Spring Flower Hat Kit
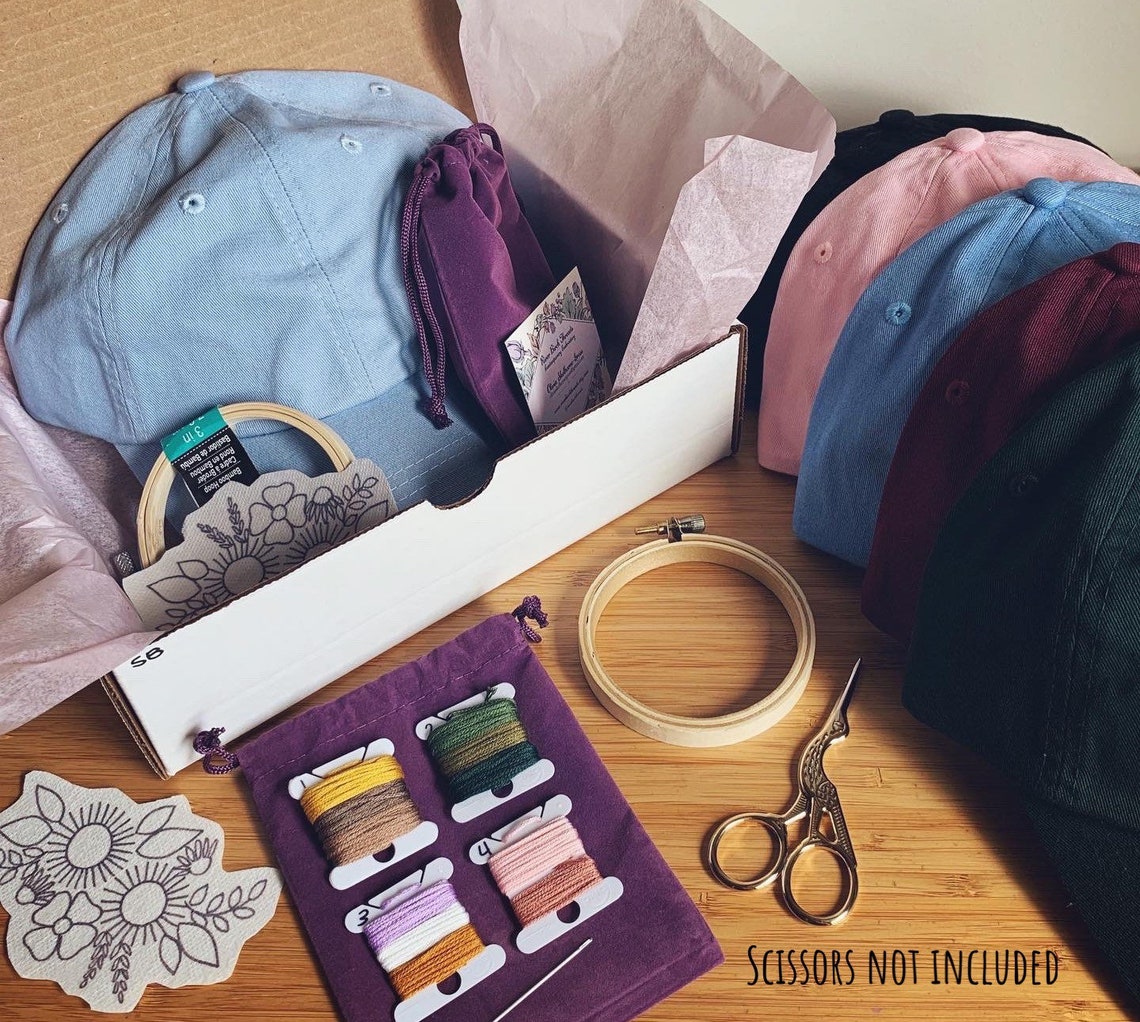
River Birch Threads | $35.37
How to Embroider the Spring Flower Hat Kit
Embroider a Peach Cap
Stitch a Daisy Cap
Embroider the Front and Back of a Dad Hat
Ready-Made Hand Embroidered Hats You Can Buy
Hand Embroidered Hat
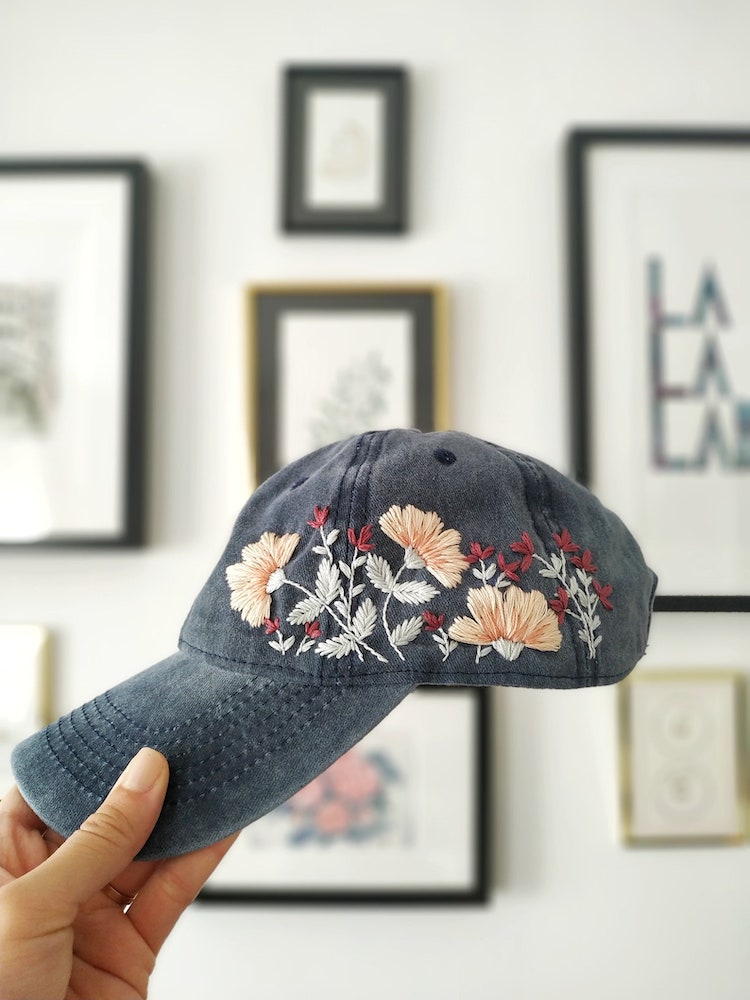
My Craft My Stuff | $65
Gardner Baseball Cap
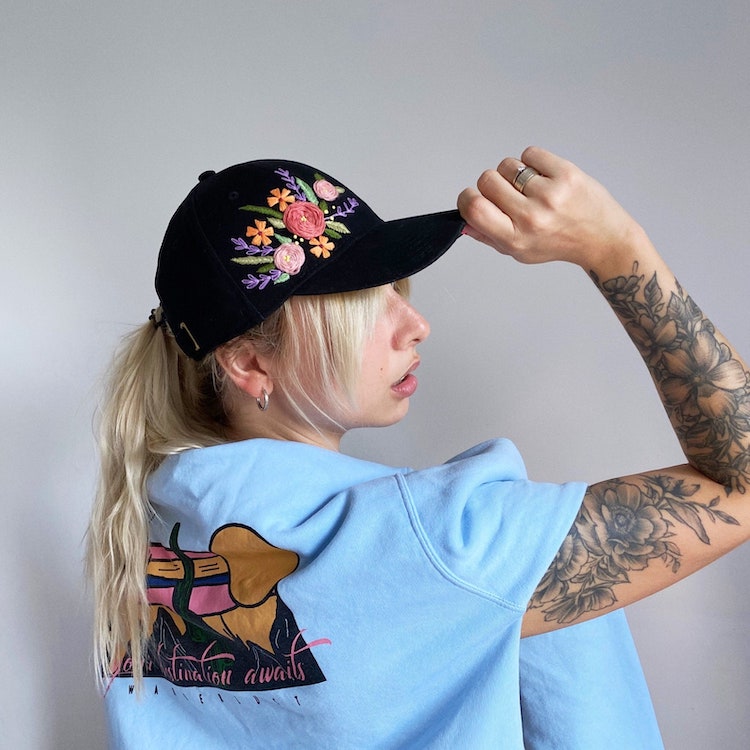
Vyshyto | $45
Hand Embroidered Baseball Hat
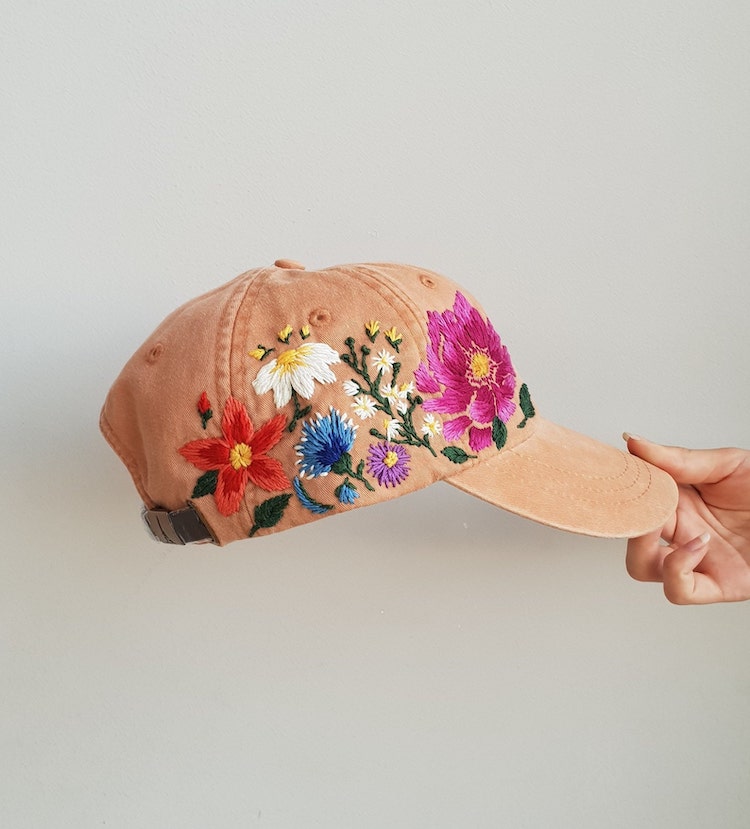
Kazkova Embroidery | $60
Flower Ladies Baseball Cap
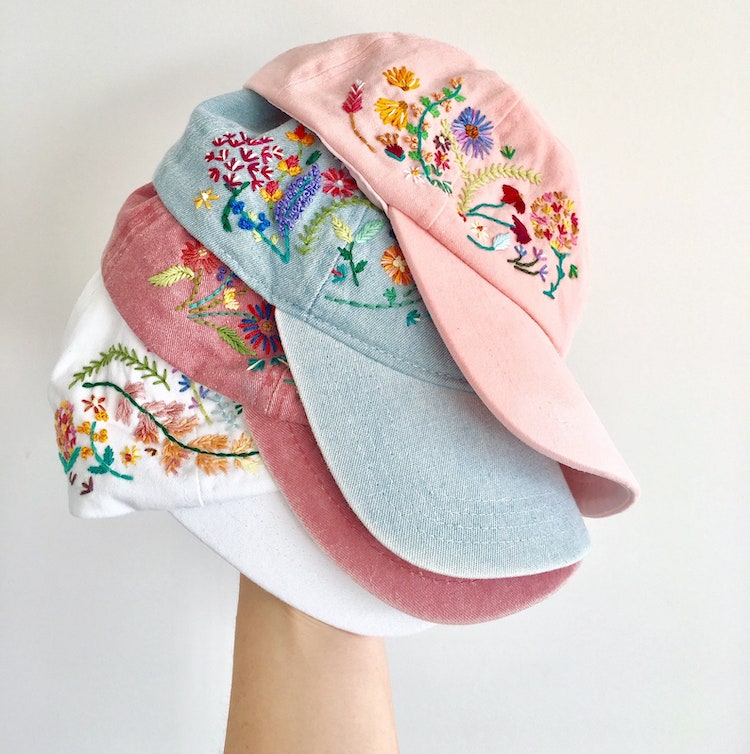
Thimble & Bobbin | $56.84
Embroidered Cap
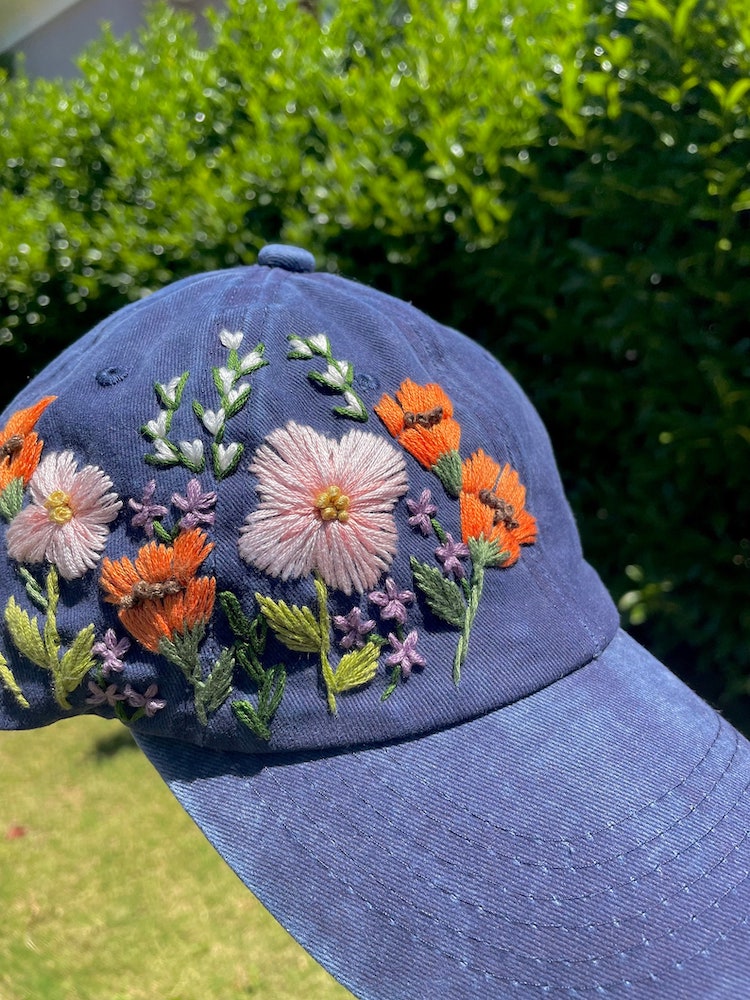
Honey Headpieces | $65
Floral Mountain Cap
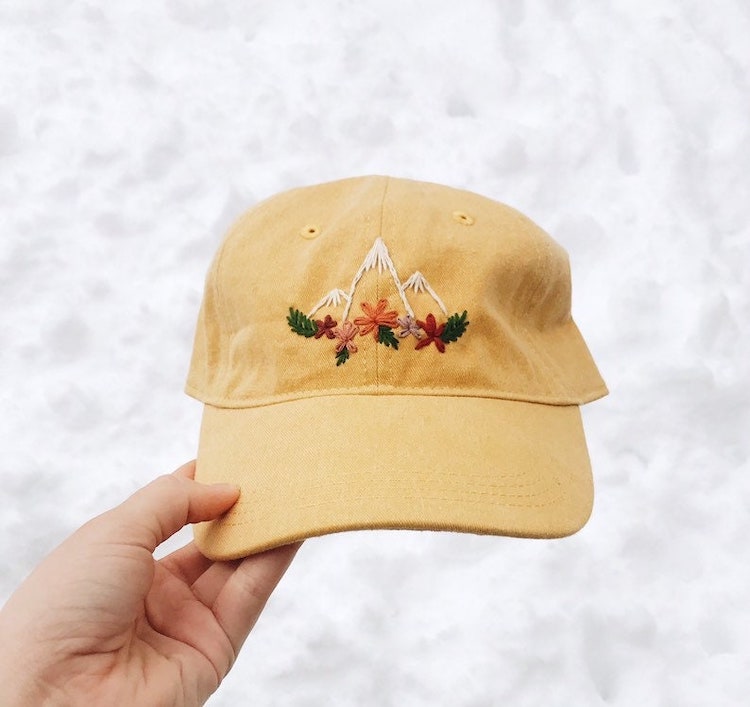
Joy in Every Stitch Co. | $25
Embroidered Bucket Hat

Kazkova Embroidery | $45
Strawberry Starry Field Hat
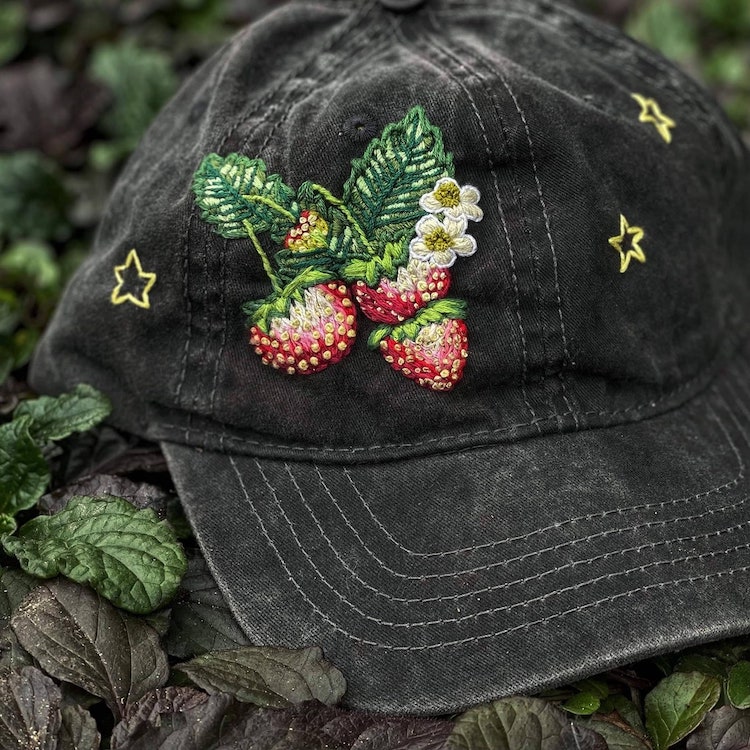
Discomposedflame | $37.50
Llama Hat
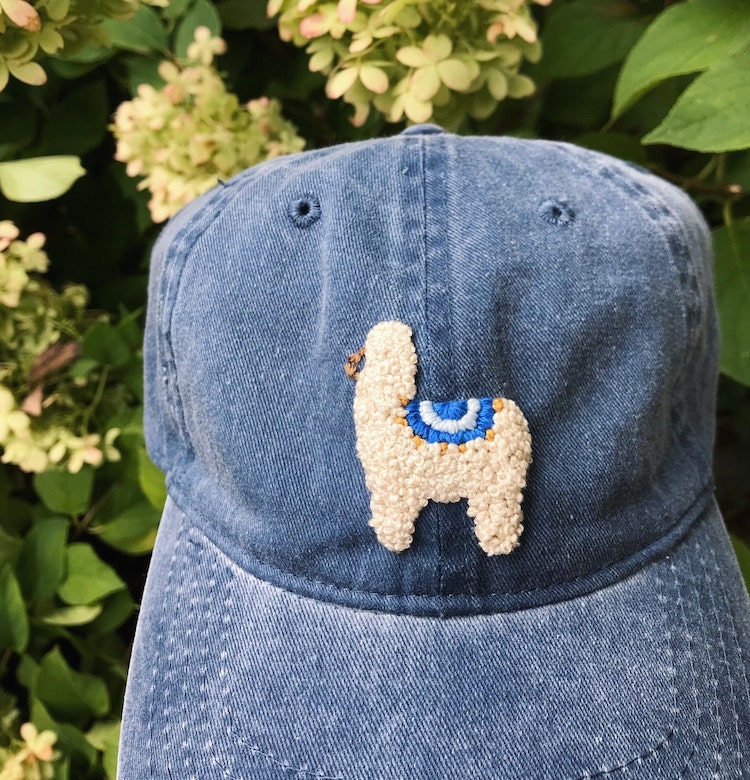
A Green Daisy | $38
This post may contain affiliate links. If you make a purchase, My Modern Met may earn an affiliate commission. Please read our disclosure for more info.
Related Articles:
10 Punch Needle Embroidery Kits and Patterns To Try
10 How-To Embroidery Books Filled With Creative Stitching Projects
12 Online Embroidery Classes That Make It Easy to Learn Creative Stitching of All Kinds
