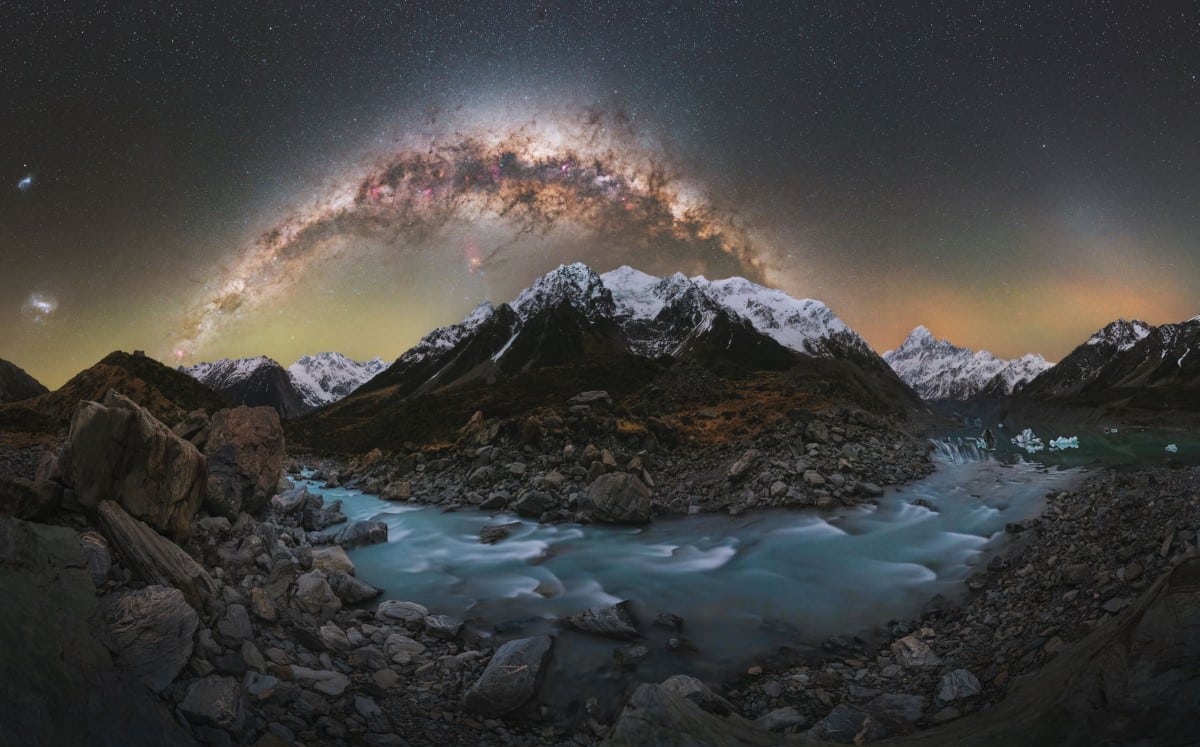
Photographer Dan Zafra is an expert at traveling the world to capture stunning images, including exceptional shots of the Milky Way. Through his company, Capture the Atlas, Zafra and his partner Ascen share their love for adventure and photography by leading photo tours in some of the world’s most scenic sites. But if you can’t make it on location with them, you can still learn some of Zafra’s tricks for photographing the Milky Way with his excellent tutorials.
Recently, Zafra spent time in New Zealand, where he captured a mesmerizing image of our galaxy arching over a glacier valley in Aoraki / Mount Cook National Park. The image, titled Aoraki Starlight has a foreground made from seven vertical images and a sky formed from 10 tracked vertical images.
Zafra’s planning to bring the image to life was extensive and began a year prior to touching down in New Zealand. He long dreamed of taking his astrophotography to the area, particularly as the park has the largest international dark sky reserve in the world.
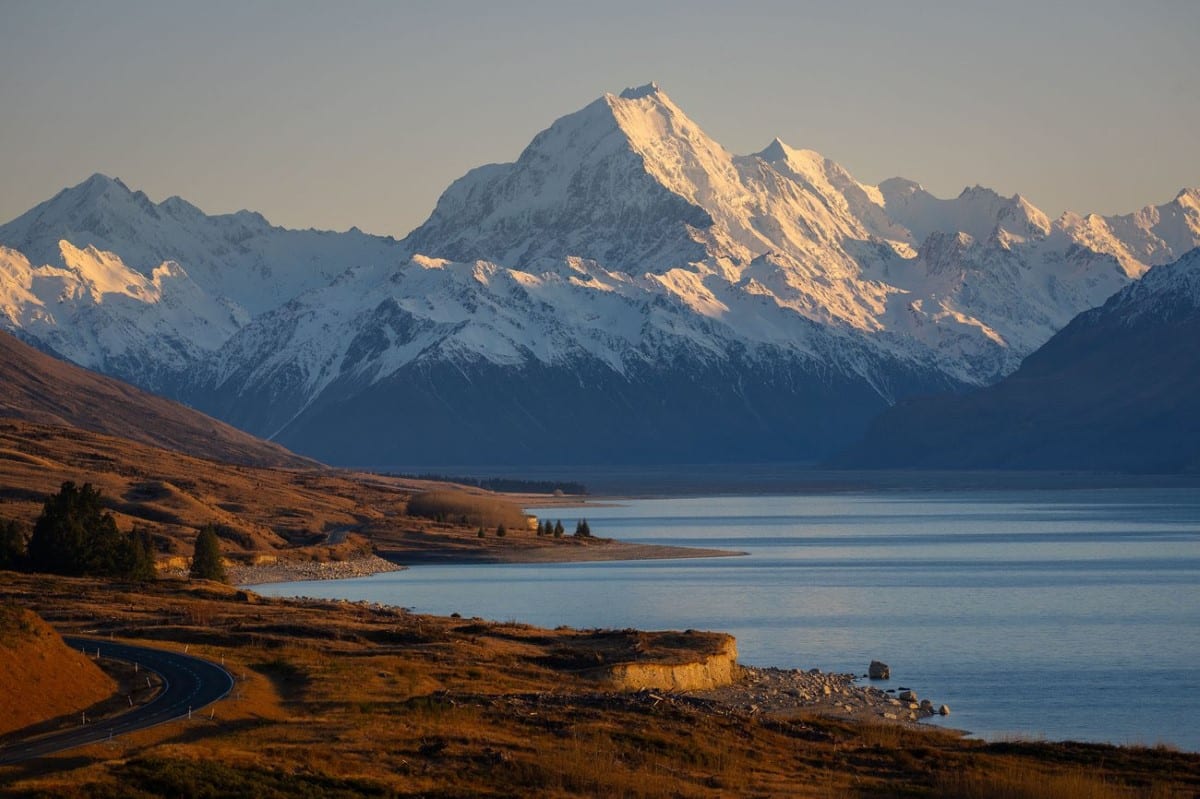
Using Google Earth Pro, Zafra began to scout locations where he might be able to view the Milky Way. In particular, he was keen to shoot in the Hooker Valley, a popular walking track that affords breathtaking views. Zafra honed in on Hooker Lake, where it’s possible to see Mt. Cook and the lake together with glaciers.
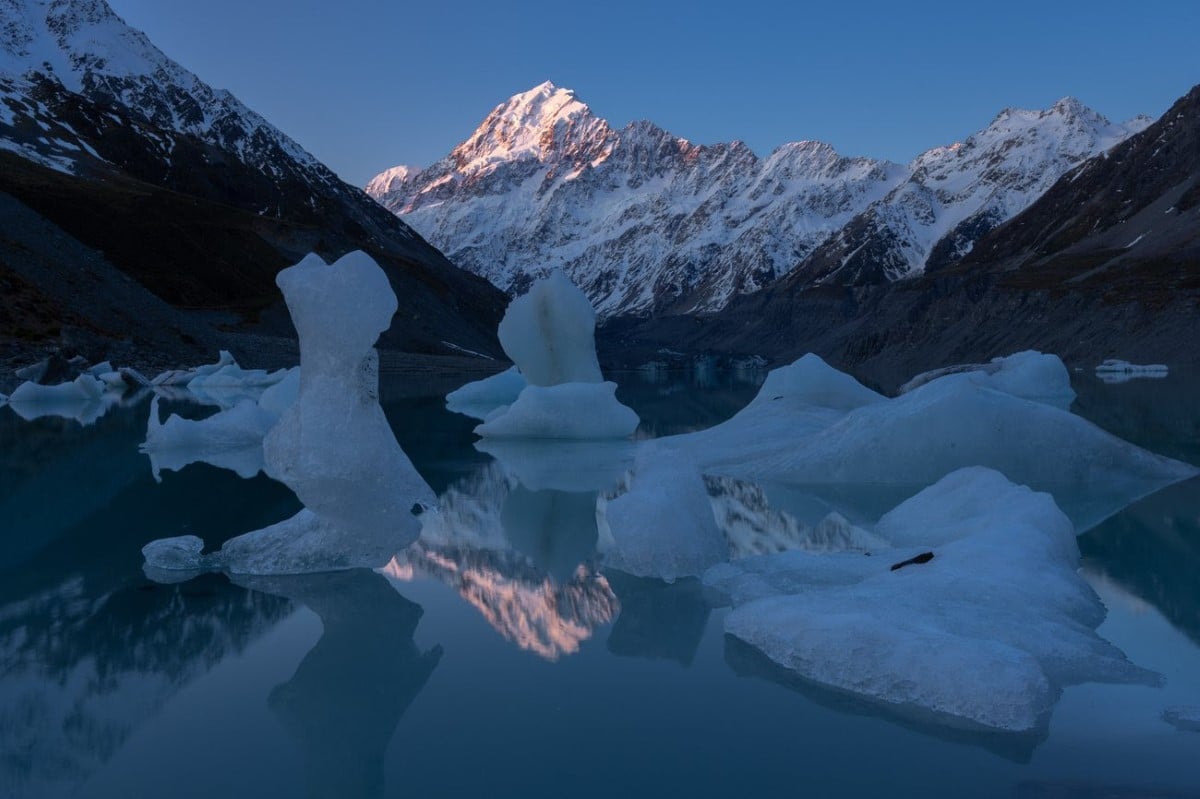
Mt. Cook and Hooker Lake at sunset
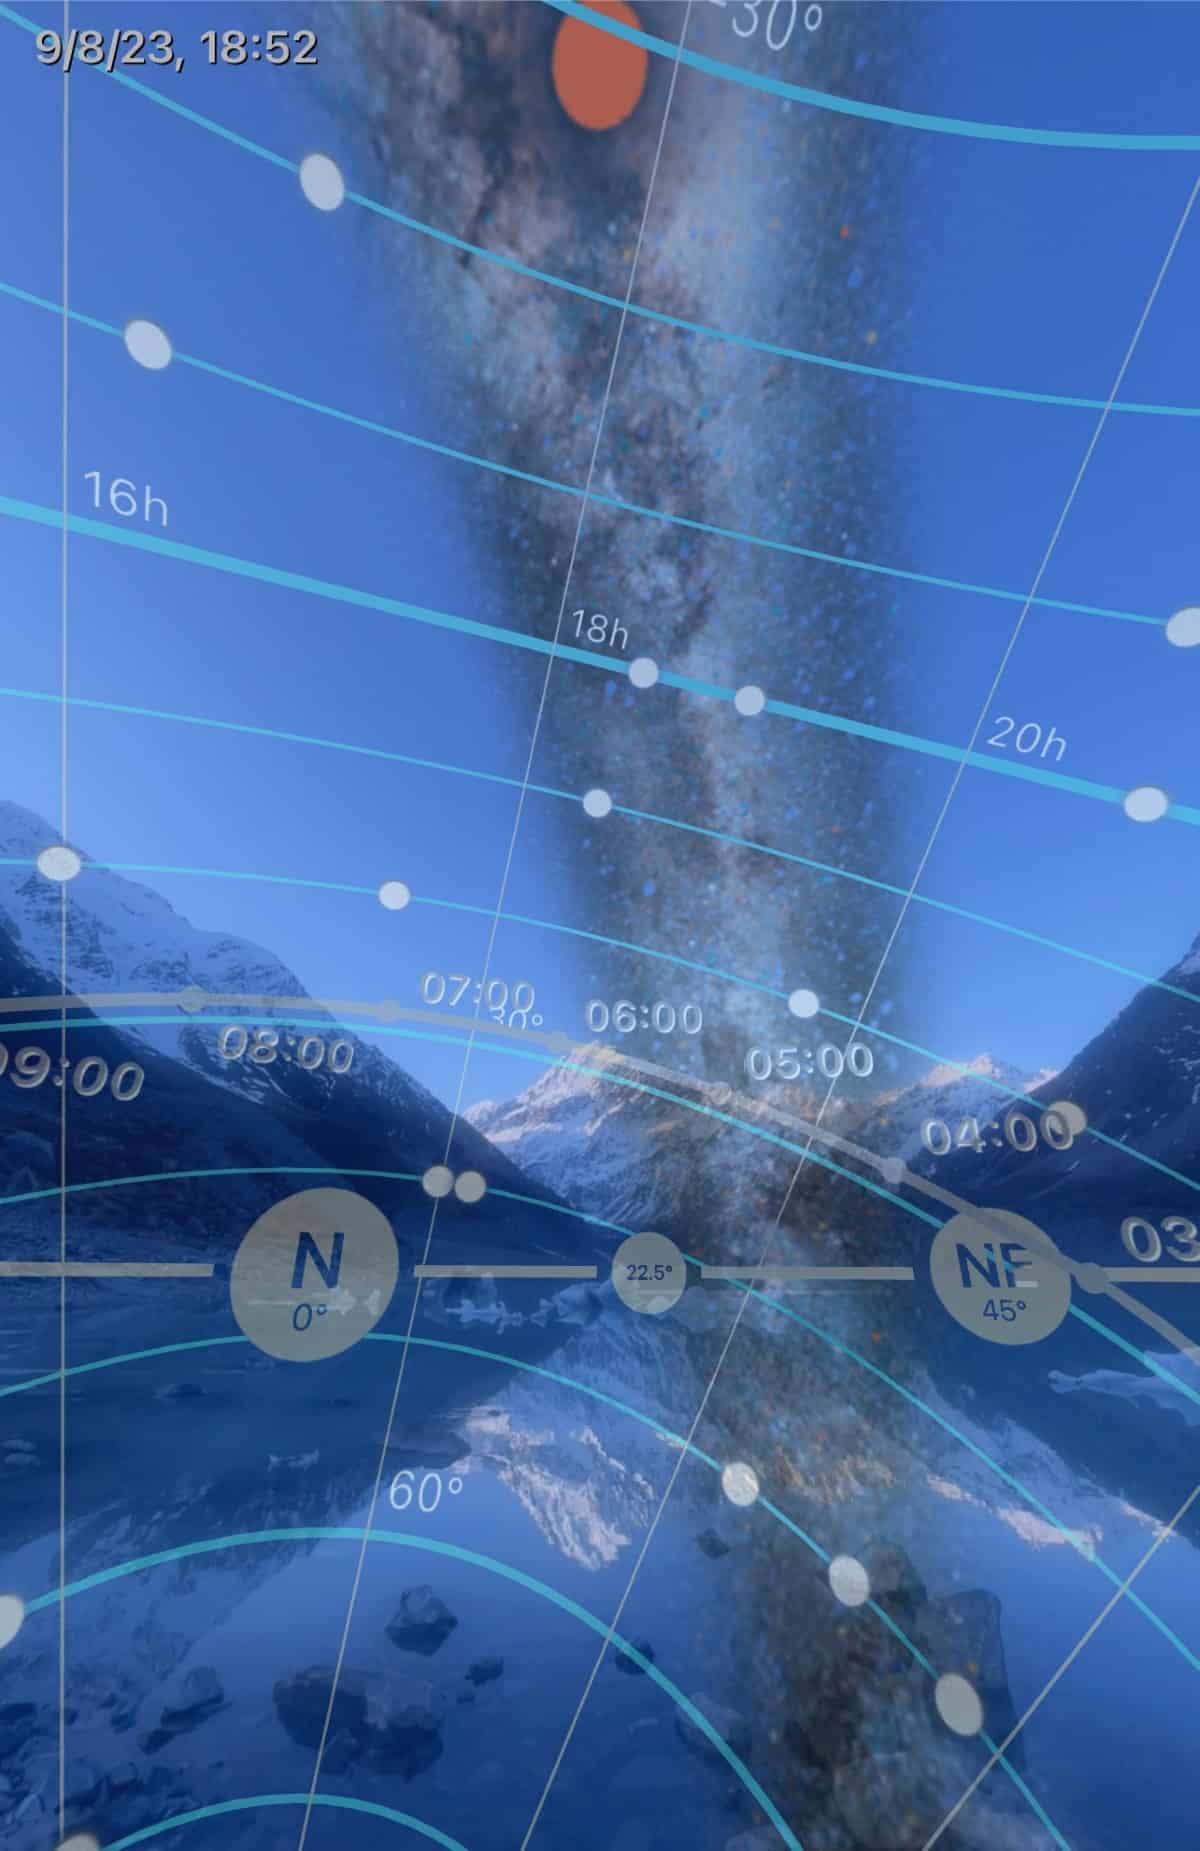
Google Earth showed a potential composition that would allow Zafra to take a photo of the Milky Way arch with the Hooker River running below it. He then turned to the popular Photopills app to verify what he’d seen in Google. It all appeared to line up, so all he had to do was wait until he was on location to see if his research was correct.
After hiking to the location just before sunset, he used Photopills in augmented reality mode to verify where the Milky Way would sit. And, to his delight, his research was correct. He then hiked up a rock by the river to have the perfect vantage point and waited for the night sky to start its show.
Using long exposures and a star-tracker, he was able to capture the night sky even with total darkness. For equipment, he had his astromodified Sony A7III and his go-to lens for Milky Way photography—the Sony 20 mm f/1.8. Once the night sky imagery was underway, he set up a second tripod. Using a Sony A1 and the Sony 14 mm GM f/1.8, he photographed the foreground.
In less than 30 minutes, he had all the images he needed. Now it was time to get to the computer and edit the photo together. After adjusting the exposure and white balance, he created two panoramas—one for the foreground and one for the background. He then used Starnet+ in Pixinsight for specific star reduction before jumping into Photoshop.
Once Zafra was in Photoshop, he had the difficult task of seamlessly blending together the panoramas so that the end result would be one uniform photo. Once the photo is blended, Zafra takes care to apply special filters and adjustments to make the Milky Way pop while still maintaining the natural look and feel of the image. He usually takes a day away from the photo and then, with fresh eyes, comes back and finishes it off.
All of Zafra’s efforts certainly paid off with a dreamy final result that leaves a lasting impression. To get more news and behind-the-scenes tips from Zafra, check out Capture the Atlas’ photography guides. And, if you can’t make it out in the field with Zafra, he also has an online Milky Way photography course that you can follow at your leisure.
When photographer Dan Zafra was planning a trip to New Zealand, he knew that he needed a photo of the Milky Way at Aoraki / Mount Cook National Park.
After extensive online research, he used the Photopills app in augmented reality mode to ensure the Milky Way would appear as he hoped.
Then he hiked up a rock near Hooker Lake and set up his gear.
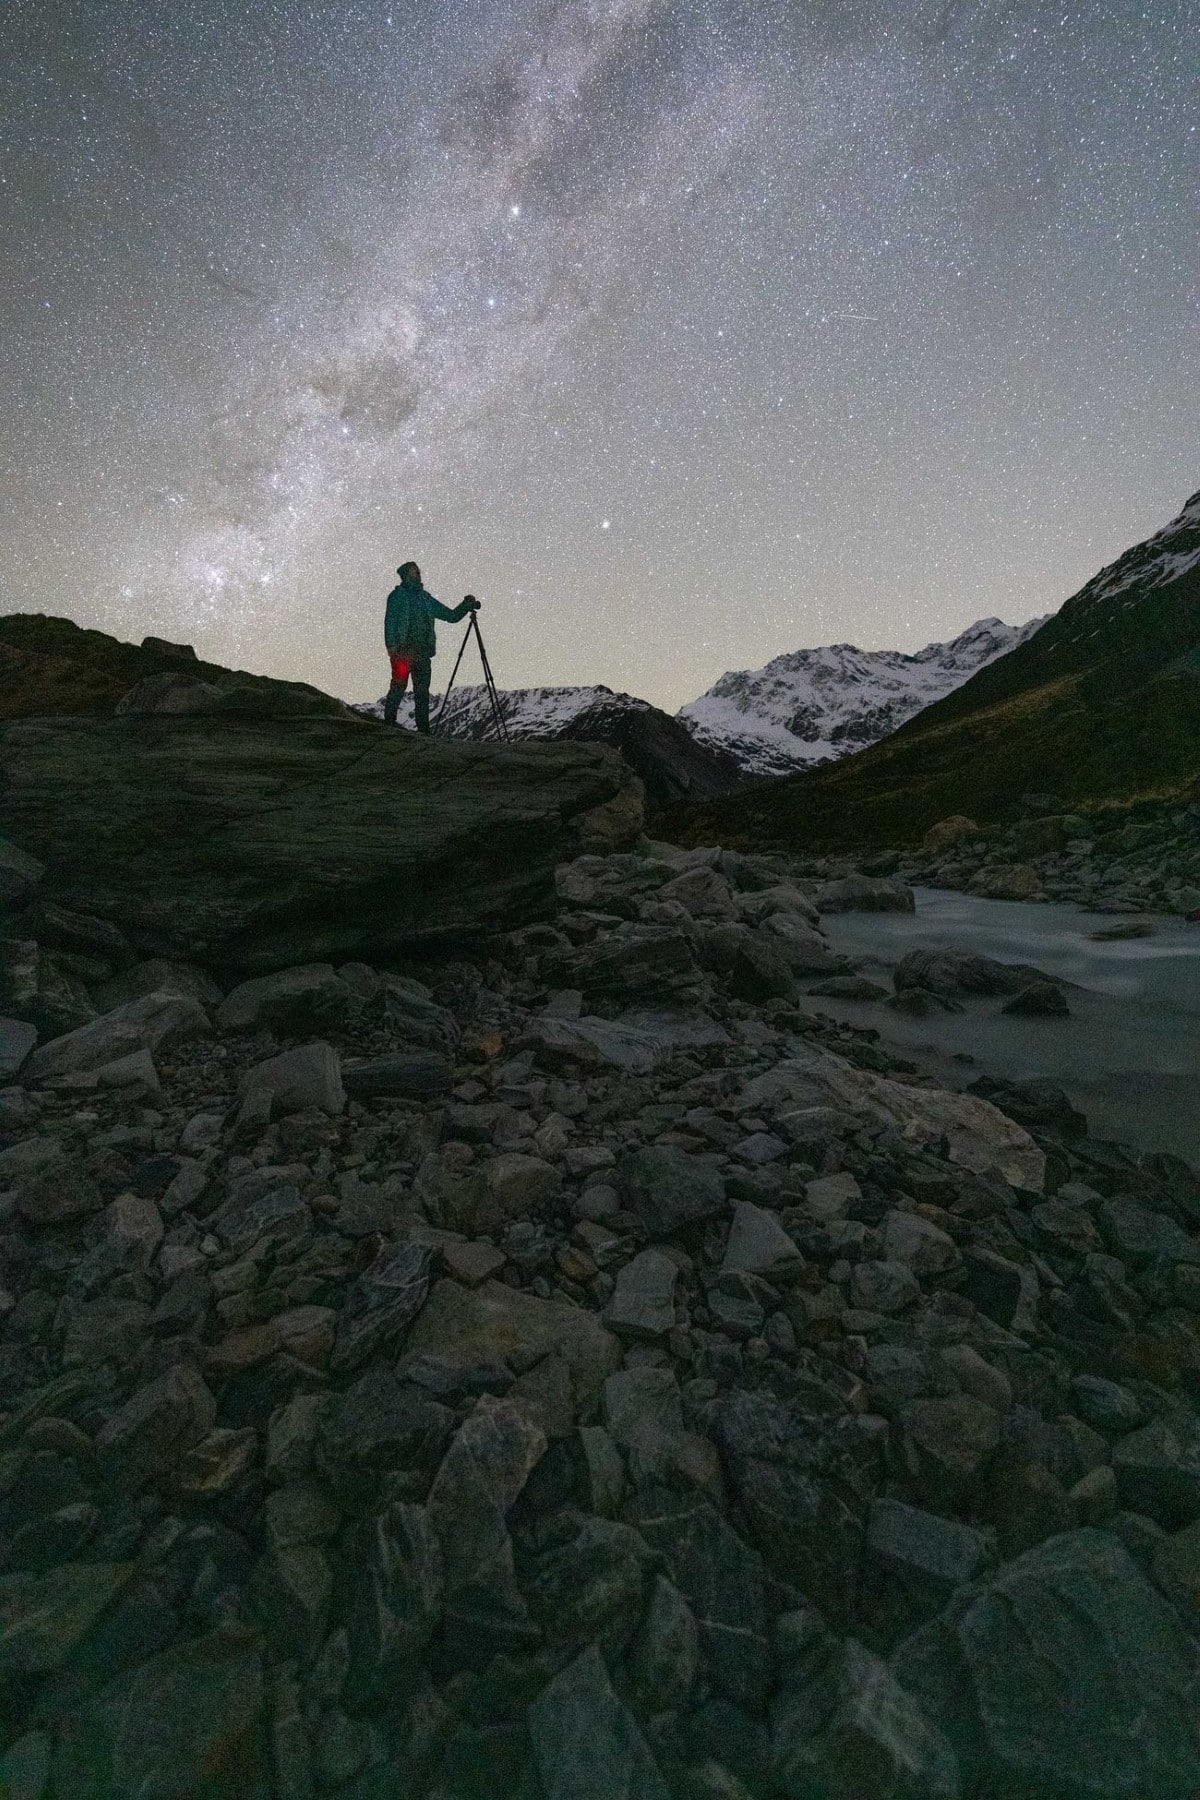
He shot the foreground and background separately using different gear.

Background test shot
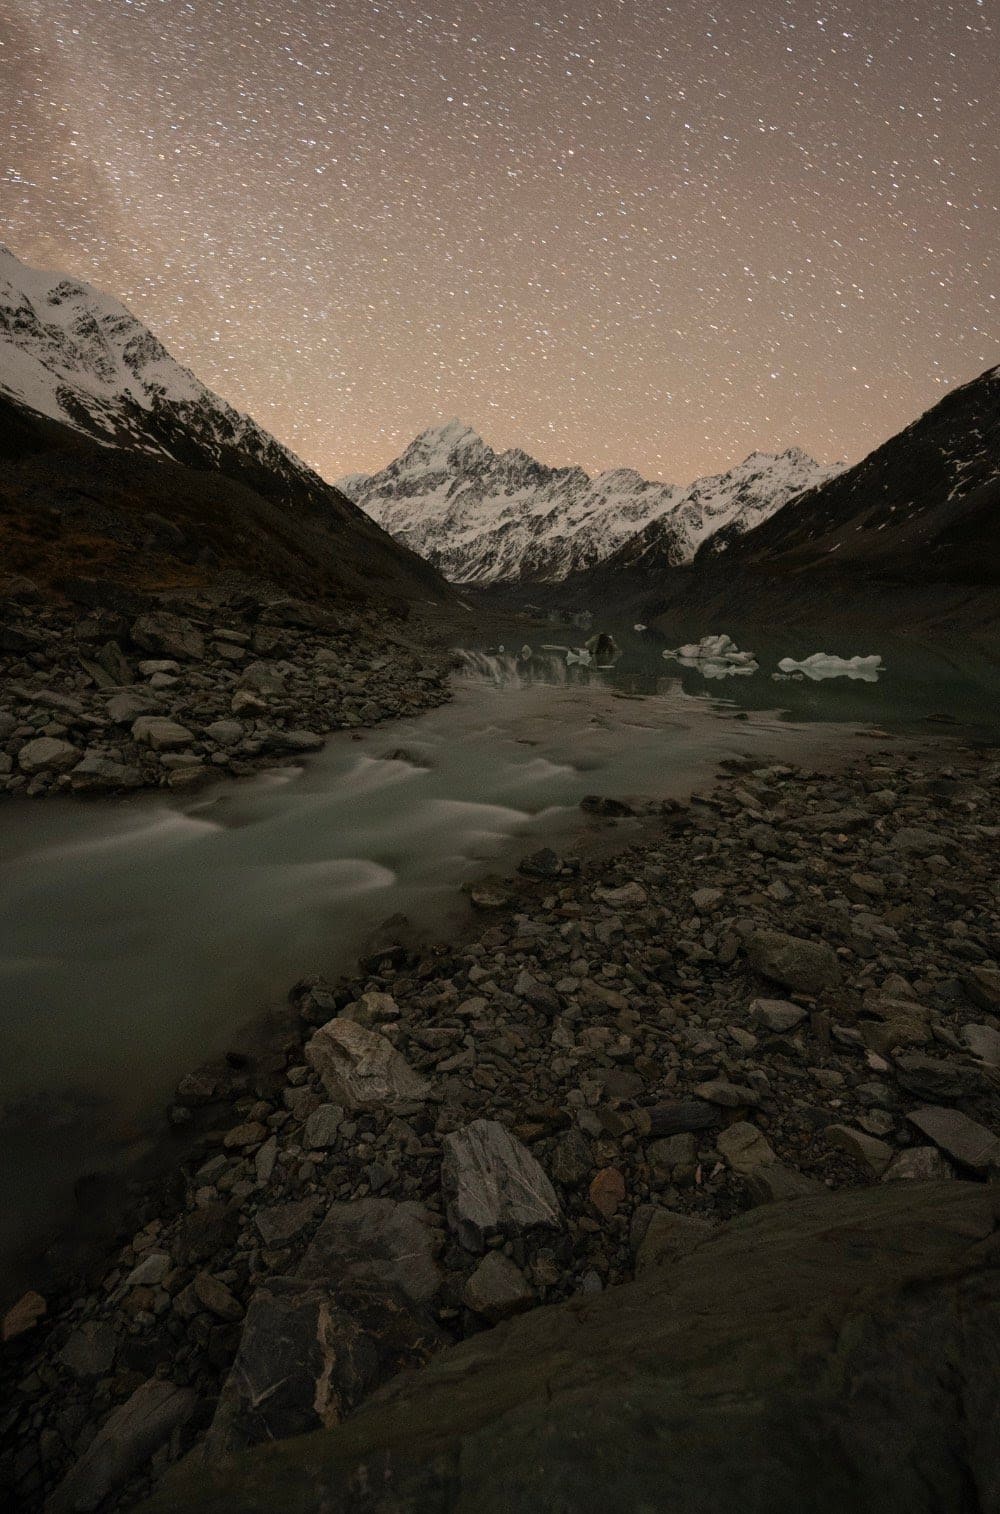
Foreground test shot
Once he was at home editing, he created two panoramas from the images he’d shot on sight.
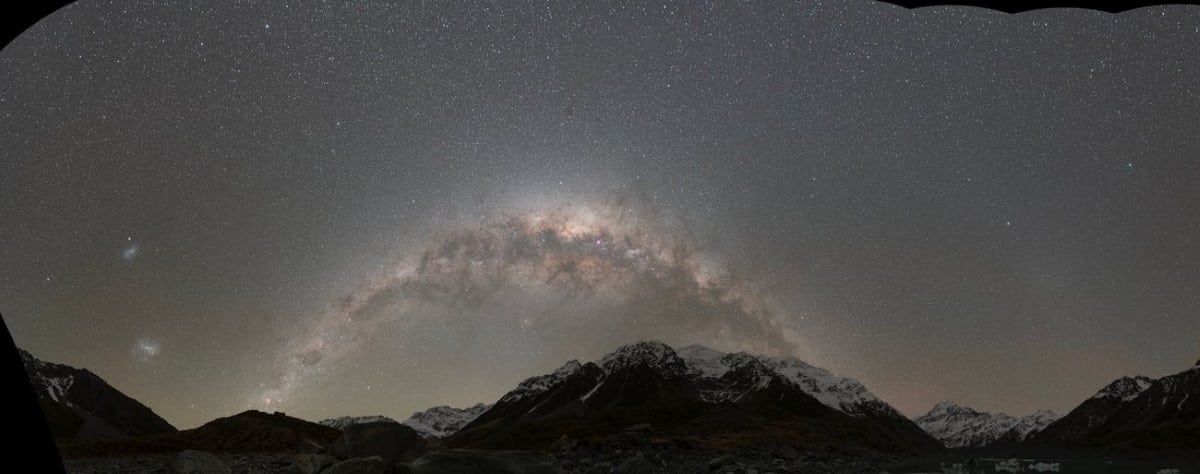
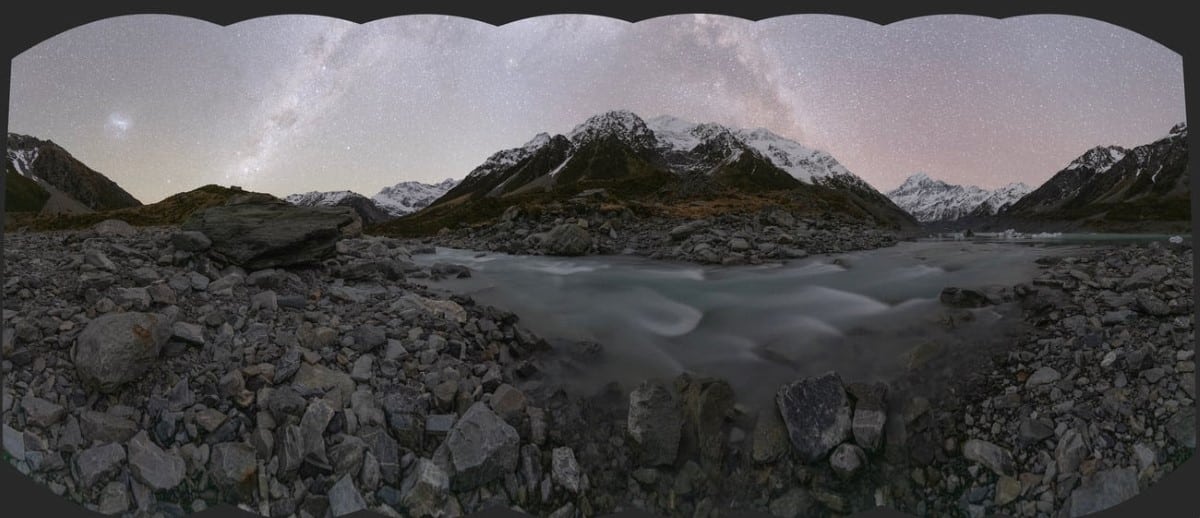
He then blended the images together in Photoshop, making small adjustments to the vignetting and color until he was pleased with the result.
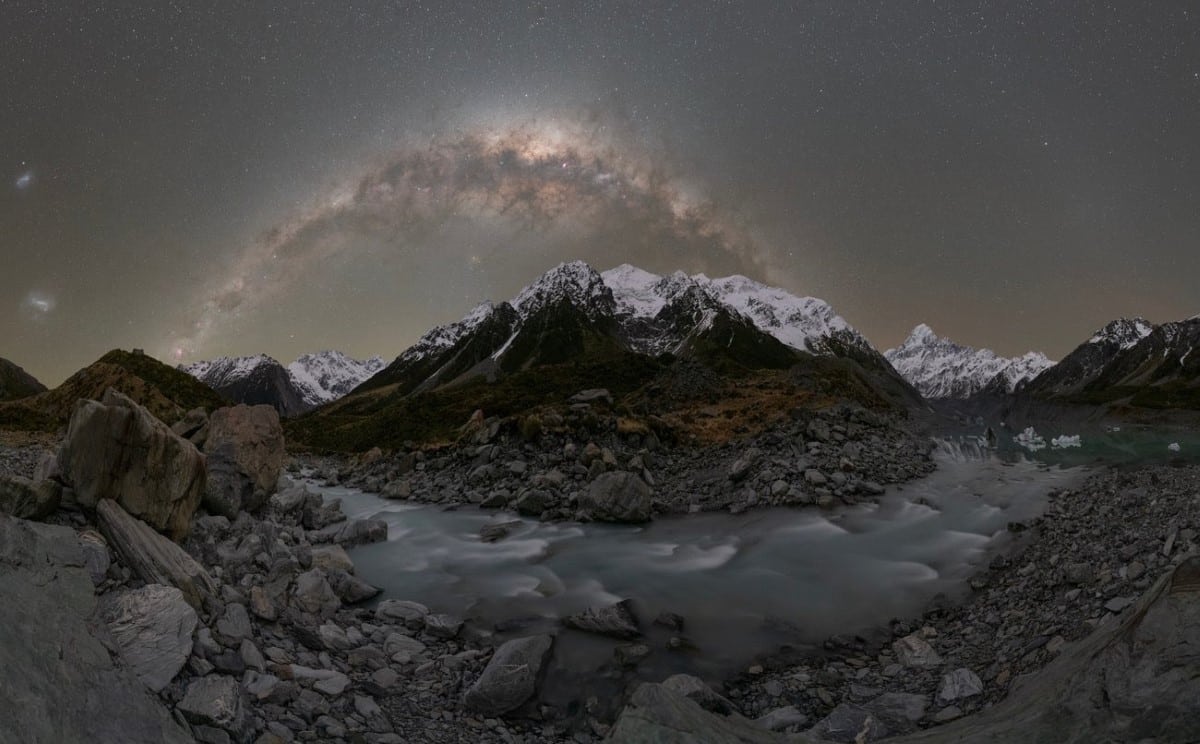
Blended photo
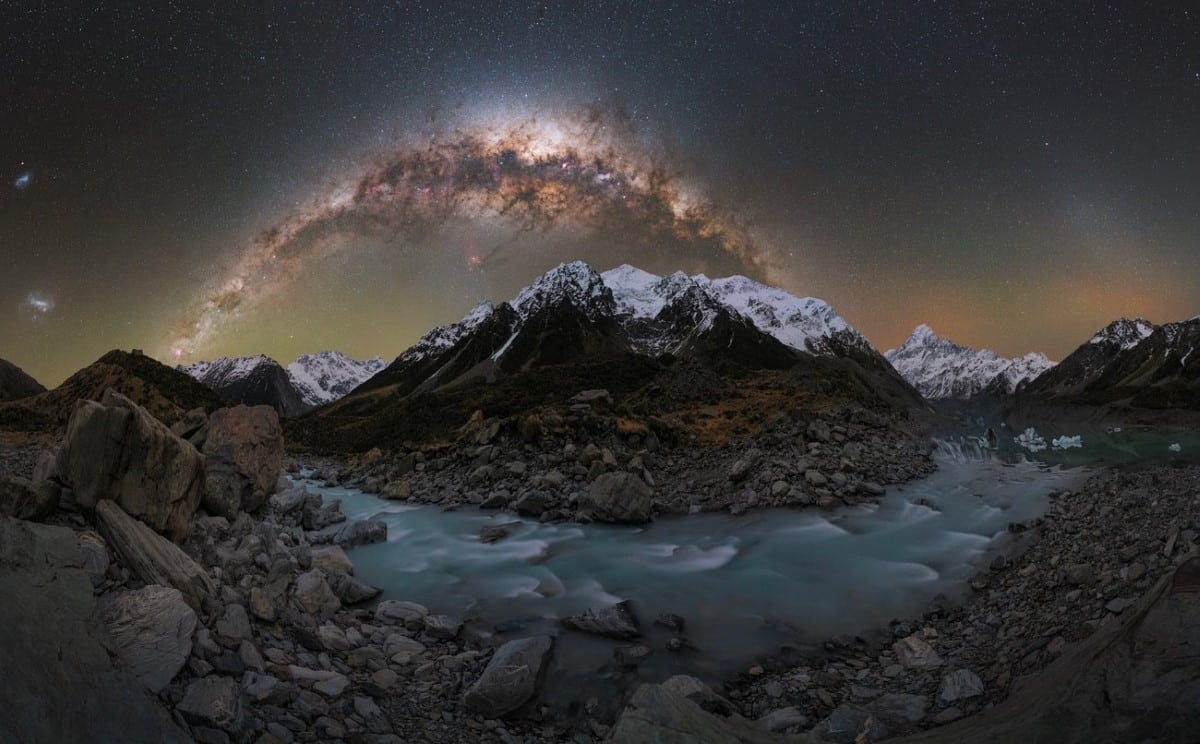
Photo with vignetting adjustments
