Learn how to draw a cat in a realistic way.
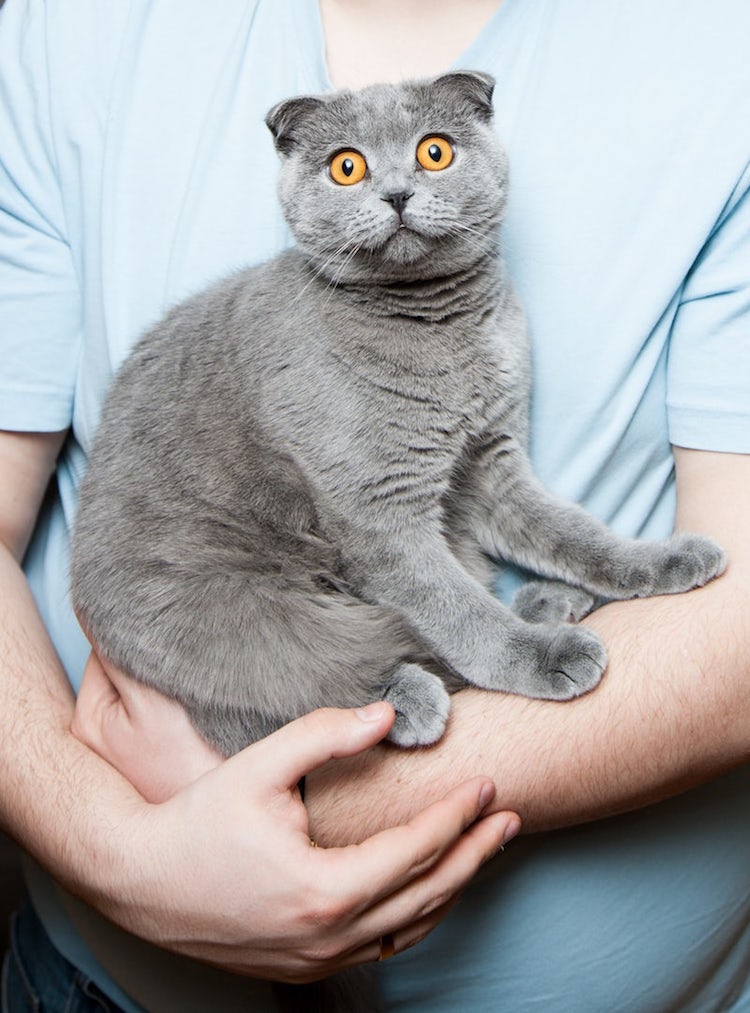
Photo: Andrew Umansky
The best way to learn how to realistically draw a cat is to observe from life. Sketching a live cat can be tricky, so a photograph is your best bet for observing their characteristics.
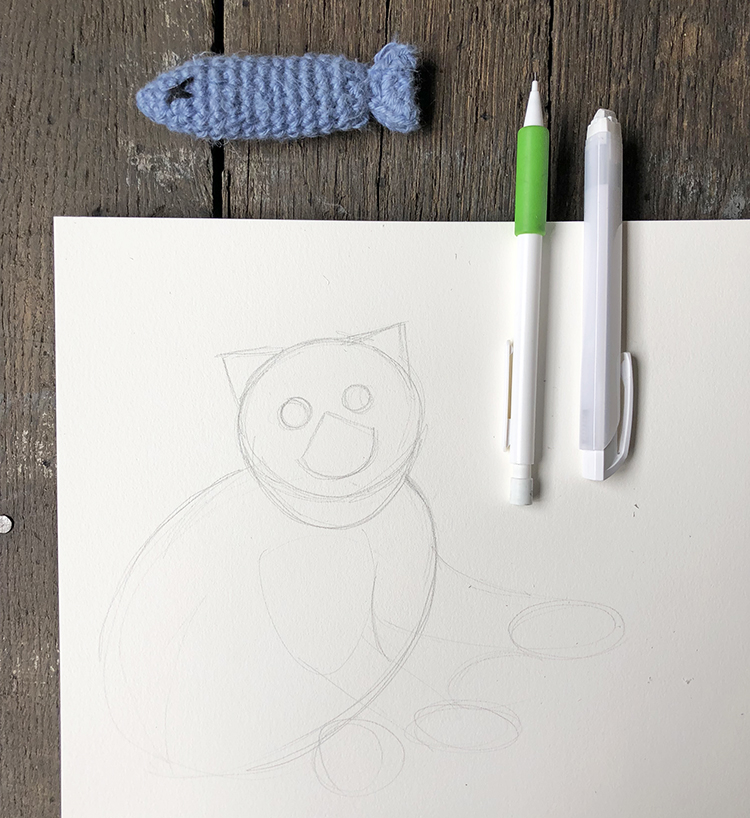
Begin by studying your source image. Then, consider: if you were to express it in simple shapes, what would those forms look like? Start with the biggest shapes and end with the smallest ones. Sketch an oval for the body, circle for the head, and triangles for the ears. As you do this, draw lightly and don’t press too hard on your paper. Chances are you’ll be erasing some of your work. If you make marks too dark, they won’t fully erase and will still be visible on your paper.
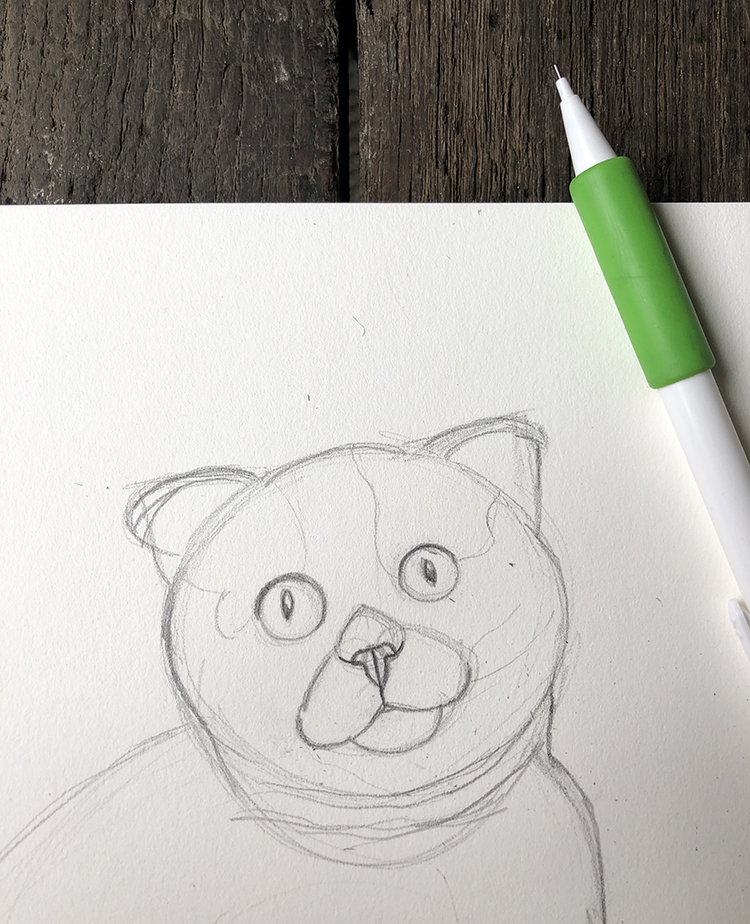
Once you’ve got the initial sketching out of the way, study your source photo again. What’s inside of the shapes you already drew? On the face, there are small circles for the eyes and a triangle for the nose. Sketch those forms onto your big shapes, and you’ll see a cat starting to emerge.

Continue to refine your drawing by adding more details—as much as you can without shading. The sketching process can take a while, but it’s vital to creating a realistic-looking work of art; it will act as your roadmap for how you will color or add shading to the feline.
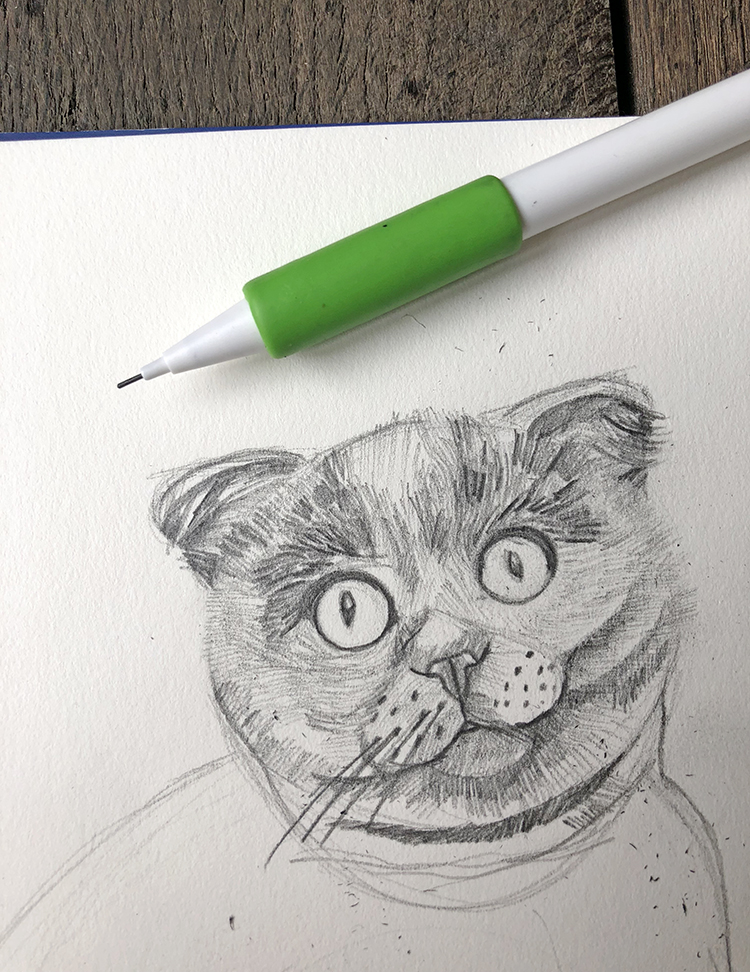
Shading adds depth and form to a subject. In the case of drawing a cat, fur is what defines its dimensionality. Be sure to study the feline and the idiosyncrasies of its fur. Notice the direction that it points, the length of the hair, and the patterns or coloring. Then, based on what you observe, begin to make light marks over your sketch.
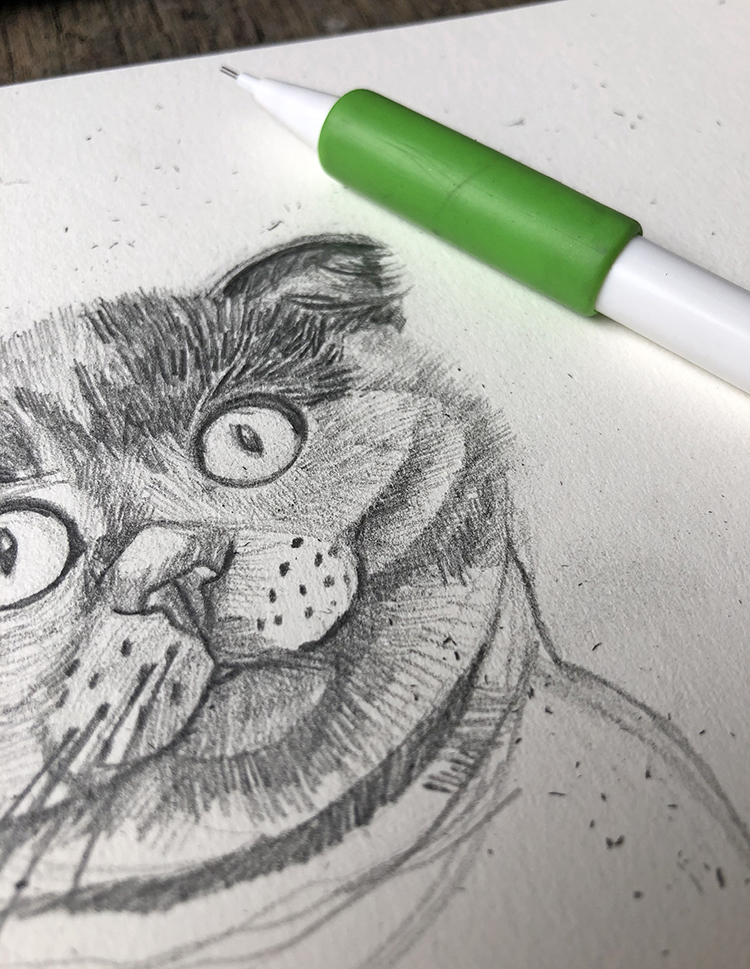
To give your hair a sense of weight and depth, layer your mark making. This will give the illusion of countless hairs on the creature’s body.
Artist Patricia Otero shares how the meticulous technique of layering tiny marks create the illusion of depth and form.
Next up: How to Draw a Cat in a Stylized Way.
