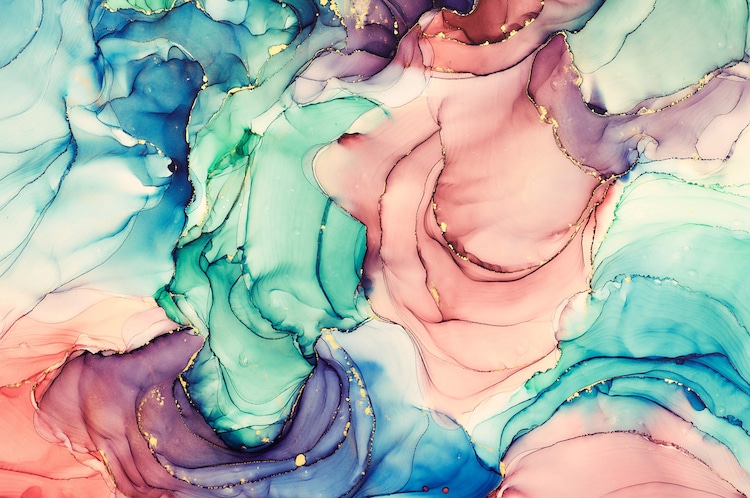
Photo: xyligan_987/Depositphotos
This post may contain affiliate links. If you make a purchase, My Modern Met may earn an affiliate commission. Please read our disclosure for more info.
Alcohol inks have become an increasingly popular medium for artists and makers to express themselves. Made from dye and alcohol, they are highly fluid and brightly colored. They also dry quickly as the alcohol evaporates. By using them, it’s possible to achieve layers of colors similar to when watercolor paint is used.
What really makes alcohol ink special is its versatility as a fluid painting technique. Non-porous surfaces like ceramics, metal, and glass all work well with alcohol ink. This makes them ideal for decorating vases, mugs, tumblers, and wine glasses.
But, there’s so much more you can do. Alcohol ink art differs widely, whether you are making an abstract background for a mixed media artwork or incorporating them into crafts. Let’s take a look at what you need to know about alcohol ink to get started, including all the essential supplies.
Advantages Of Alcohol Inks Over Ordinary Inks
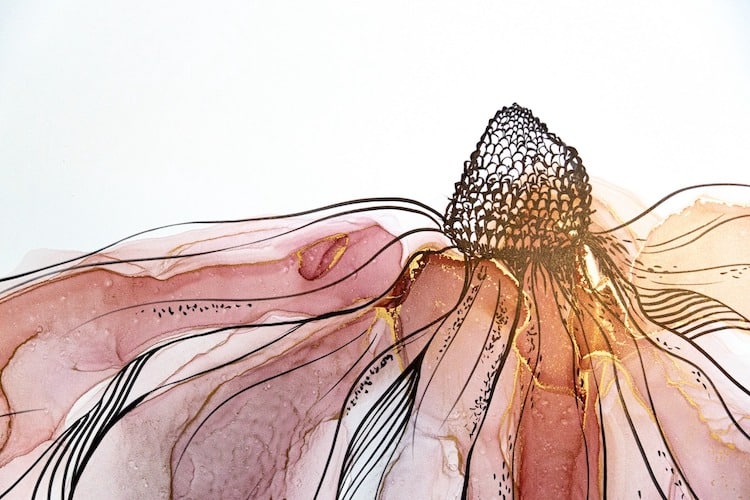
Photo: viktoryiaklimkovich/123RF
So, why should you select alcohol ink for your project? It’s great for working on non-porous surfaces and is so versatile that you can use it on a wide range of items from tile to leather to metal and glass. It’s extremely fluid when wet—which means that you can create some incredible effects—and the colors are vibrant. Once dry, they’re permanent and will resist moisture damage, but importantly, they can still be reactivated with alcohol. This means you can continue to rework things in a way that isn’t possible with something like acrylic inks.
Alcohol ink is popular for mixed-media art because of its unique properties. Many artists will create a stunning abstract background with alcohol art and then go over it with acrylics, pens, or stamps.
There are many techniques to try with alcohol inks, all of which give different final effects. Whether you want to achieve a marble look or create the look of watercolor paint on a glass surface, anything is possible. And since there is a quick drying time, you won’t have to wait long to see the results of your work.
One word of caution, however. You won’t want to use alcohol ink on normal paper. As papers used for watercolors or acrylic paint are porous, they will suck in the color of the ink and you’ll end up with something that is quite faded (though sometimes, this can also be a stunning effect). Luckily, there are special items like Yupo paper, which is made from synthetic materials. Waterproof and tearproof, it’s the perfect medium for alcohol ink. You’ll also find waterproof art boards that can act as a canvas for alcohol inks.
Another consideration is also where you want to place your final project. As alcohol inks aren’t lightfast, they will fade over time when exposed to the sun. One way around this is to use a UV protective varnish over the finished work.
Essential Supplies For Alcohol Ink Painting
So, what do you need to get started with alcohol ink? Well, besides the ink itself, there are a few good supplies that are worth picking up. This includes gloves to keep your hand clean, as well as a blending solution. Blending solution will allow you to move around your ink, alter the color, and increase the drying time. While you can use rubbing alcohol as a blending solution, it’s worth investing in something purpose-built for the job, particularly as rubbing alcohol will quickly dry and leave you little time to make the changes that you’d like.
Most alcohol inks come in small bottles with a dropper tip. Tim Holtz, Jacquard Piñata, and Brea Reese are some of the most well-known brands. Depending on the project, you may also want to use alcohol-ink markers. This will give you fine control over the result and the good news is that these markers are often refillable. And while you can make your own alcohol inks and save some money, particularly for beginners, it’s a good idea to invest in store-bought inks.
Best Alcohol Inks
Tim Holtz
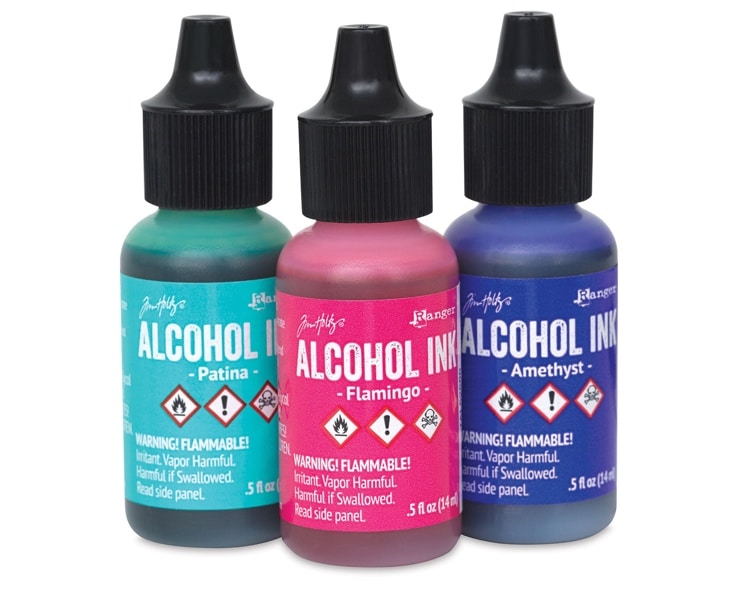
Ranger Tim Holtz | $3.70+
Jacquard Piñata Colors
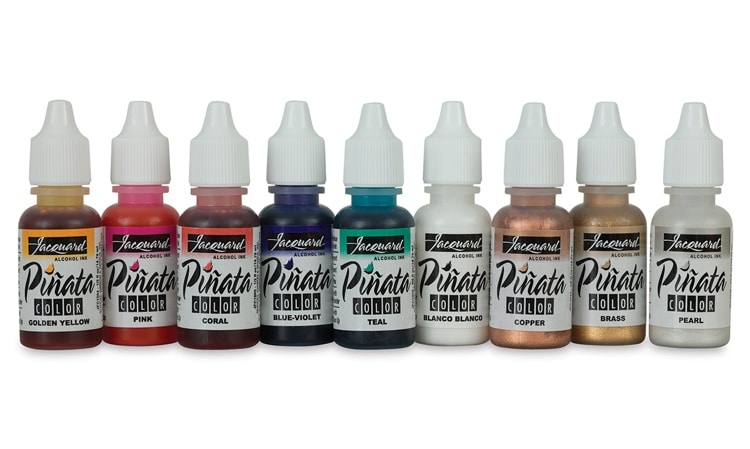
Jacquard Piñata | $3.38+
Brea Reese Alcohol Inks
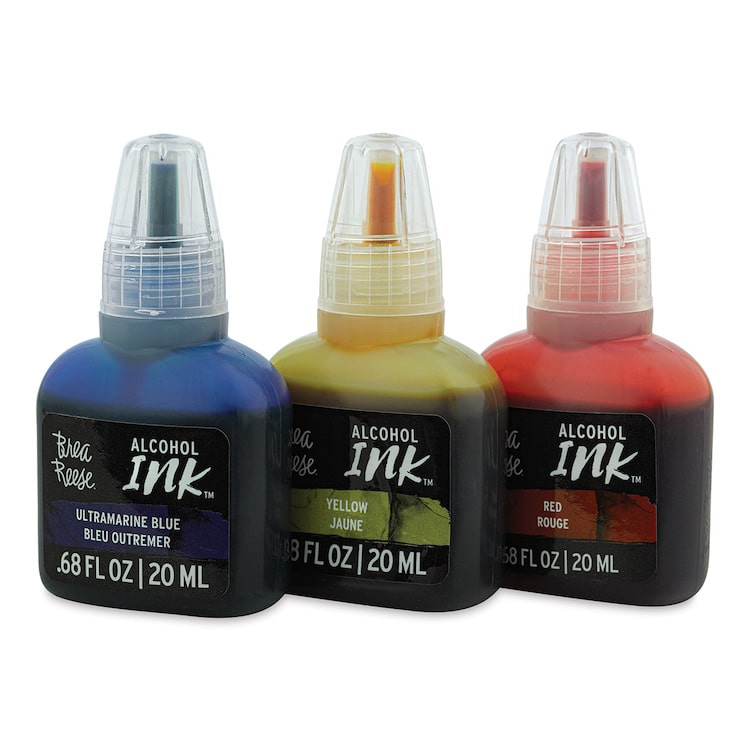
Brea Reese | $3.99+
Alcohol Markers
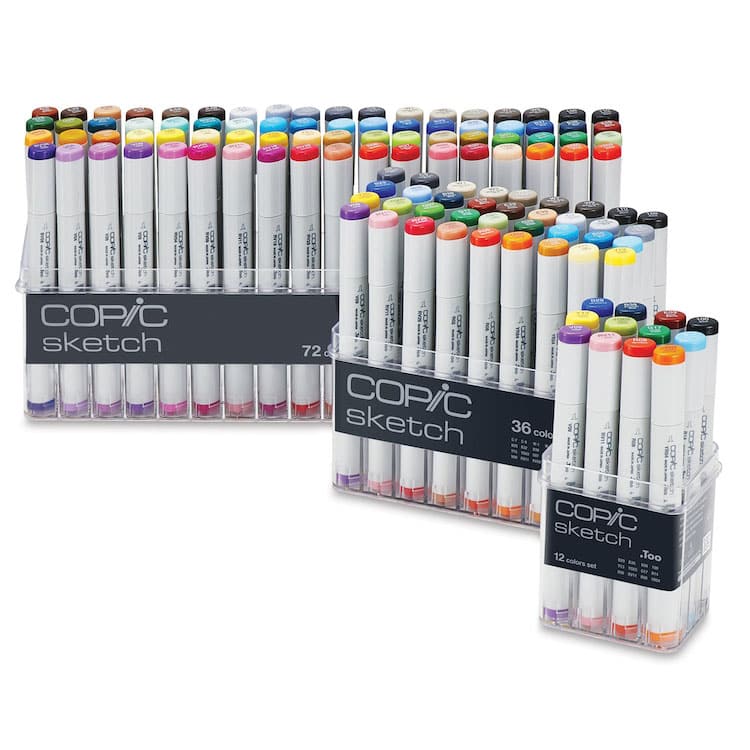
Copic | $5.85+
Optional Alcohol Ink Accessories
Alcohol Blending Solution
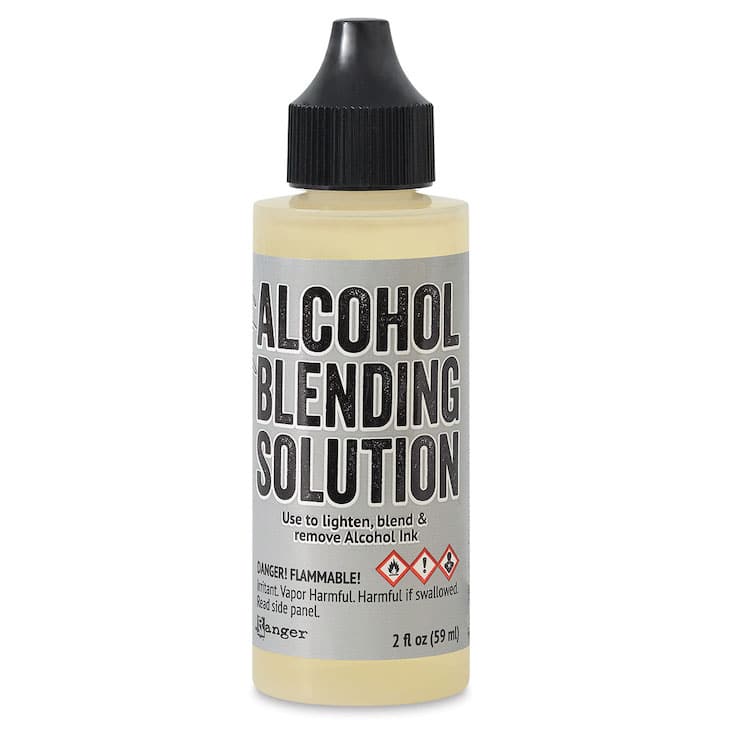
Ranger Tim Holtz | $5.76
Blending Tools
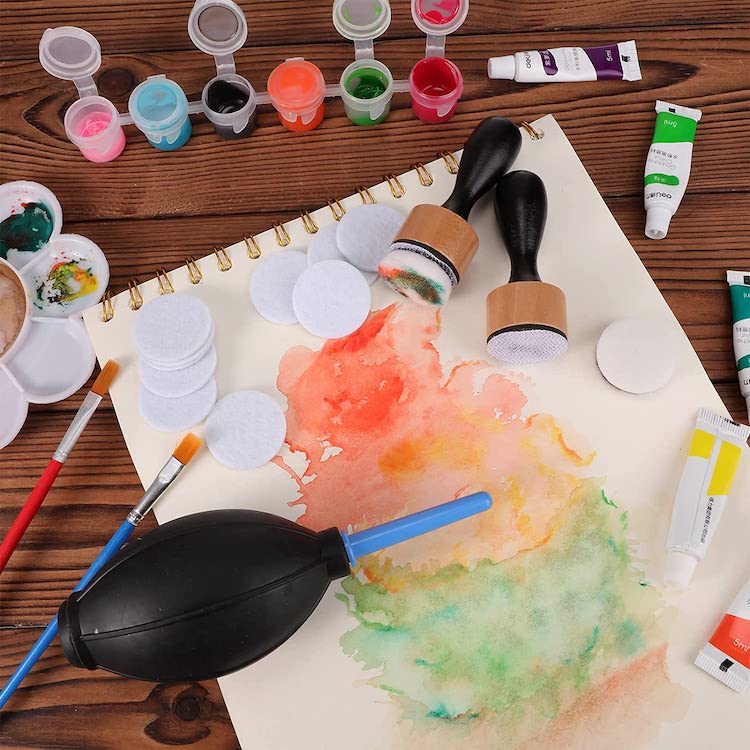
Outus | $9.99
Yupo Paper
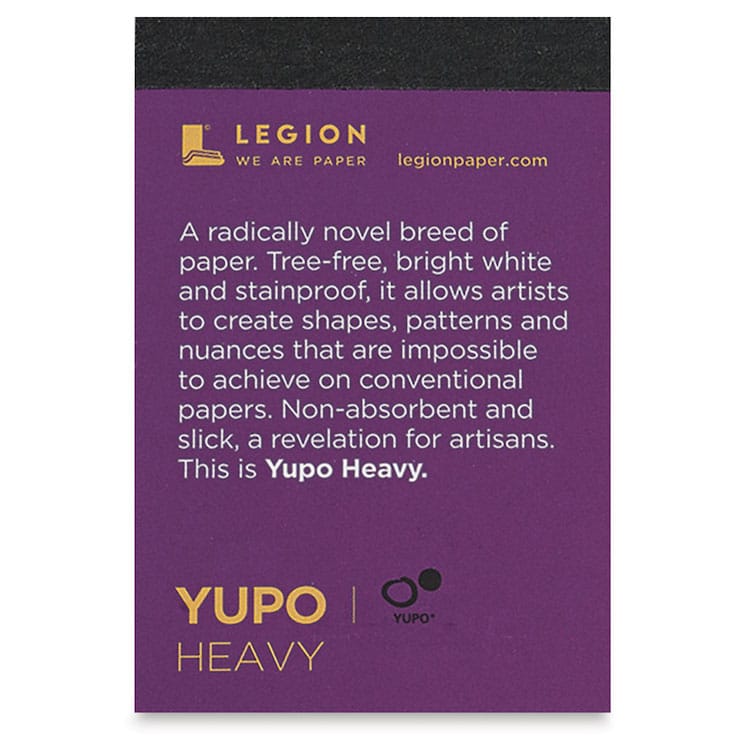
Legion Papers | $2.04
Alcohol Ink Art Panel
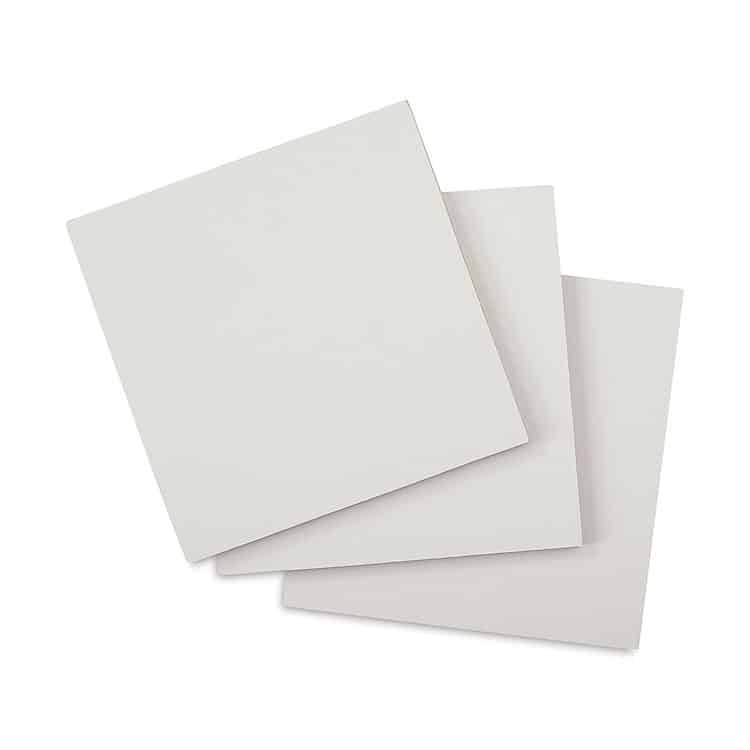
Masterpiece | $5.30+
Alcohol Ink Cardstock
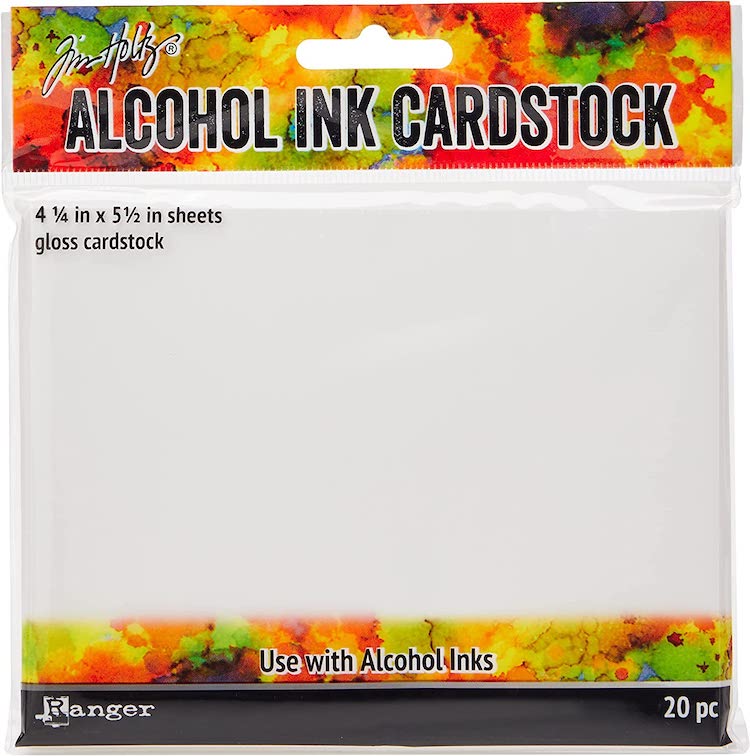
Ranger Tim Holtz | $5.56
Krylon Varnish
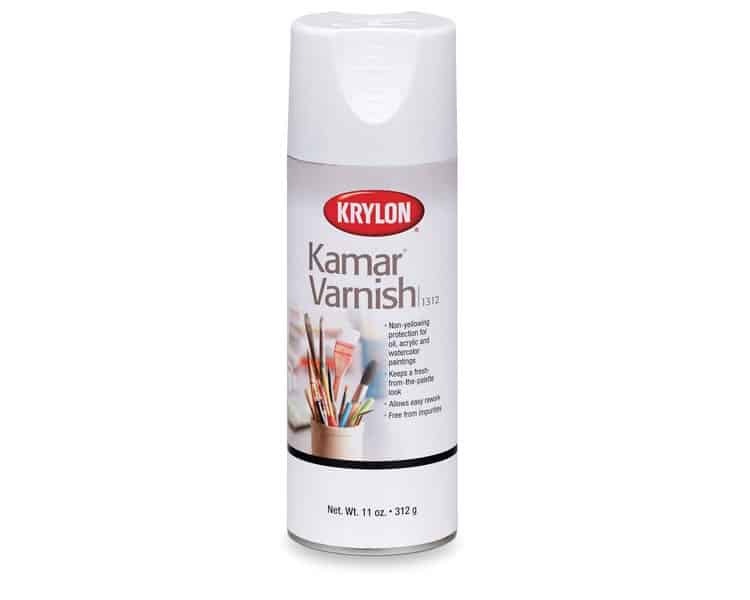
Krylon | $11.73
Dishwasher-Safe Mod Podge
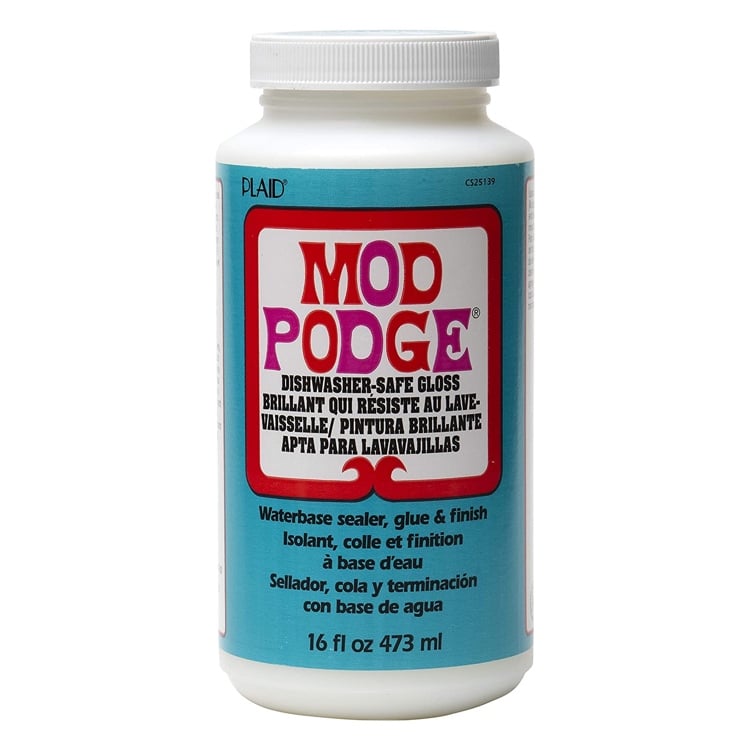
Mod Podge | $17.96
Gloves
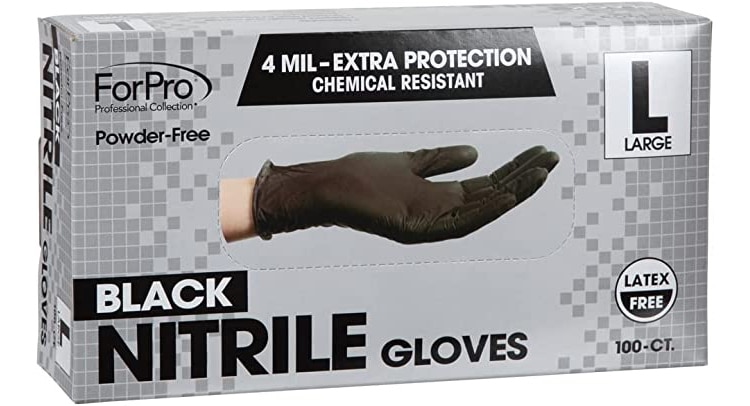
ForPro | $11.99
Choosing Your Surfaces
The surface you choose to work with really depends on what type of art you want to create. Again, keep in mind that alcohol ink works on a wide variety of non-porous surfaces, so the sky is the limit when creating alcohol ink art. Ceramics, glass, and metal all make excellent options. But even fabric can be used with alcohol ink to great effect. The final look will be like a muted tie-dye. Synthetic papers, as mentioned previously, will also allow you to use alcohol ink to create backgrounds for hand-lettering projects or cards. For hangable artwork, you can use aluminum canvas or even regular canvas, as long as it’s been prepped properly.
Alcohol ink is also a popular choice to combine with resin. You’ll get some interesting effects when using these inks to create resin art. Working with alcohol ink you can “capture” the inky effect as it spreads through the resin and make fun charms. Or, you can try the popular petri dish technique to end up with some colorful coasters. All in all, with alcohol ink you make hangable art, decor items, fashion, and accessories.
Check out some inspiration below on different surfaces to use with alcohol ink.
Ceramics
View this post on Instagram
View this post on Instagram
View this post on Instagram
Cards
View this post on Instagram
View this post on Instagram
View this post on Instagram
Metal
View this post on Instagram
View this post on Instagram
Glass
View this post on Instagram
View this post on Instagram
Fabric
View this post on Instagram
View this post on Instagram
Resin
View this post on Instagram
View this post on Instagram
View this post on Instagram
How To Be Safe With Alcohol Inks
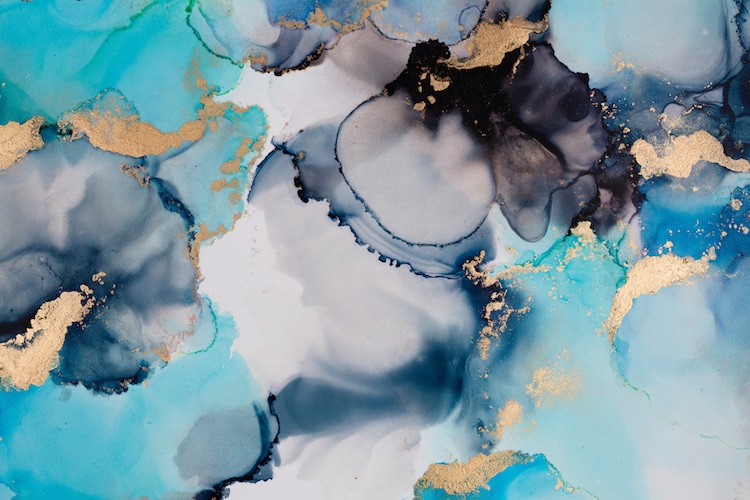
Photo: Geartooth/Depositphotos
It’s always important to be safe when working with alcohol inks. That’s why it is essential to work in a well-ventilated area and use a respirator to make sure that you aren’t inhaling the vapors. It’s also suggested to use these respirators when adding a varnish to your finished piece.
You’ll also want to take care not to get the alcohol ink on your hands and fingers, as it will stain. This can be difficult to achieve without the use of gloves, so it’s highly recommended to purchase gloves. Nitrile gloves are best, as they are designed to be worn while wearing chemicals. Latex, on the other hand, helps protect against bacteria and viruses, so does not always provide an adequate barrier.
Now they you’ve gathered all of your supplies, it’s time to get creative. So, let’s see different ways you can use alcohol ink in your next artistic project.
How To Paint With Alcohol Inks
There are many different alcohol ink techniques and we suggest experimenting with all of them. Of course, the project you are working on and the surface you will use might dictate the techniques you employ. But part of the fun in working with alcohol ink is that you can quickly see the result and, if you want to make changes, just reactivate and try again. Below we’ll list some of our favorite techniques to try, along with alcohol ink tutorials to follow on YouTube.
Single Drop Technique
This is one of the easiest fluid painting techniques to begin with. Just turn over your bottle of ink and place a single drop on your surface. From there, you can start layering different drops of color to see how they spread out and blend together. As with a lot of alcohol art techniques, having some knowledge of color theory helps so that you don’t end up with muddy colors. If you aren’t feeling confident about your ability to pick out complementary colors, Tim Holtz alcohol ink is available in sets of three colors that blend well together.
Flood Technique
Mastering the flood technique will open up a lot of creative avenues, as it’s the basis for more advanced techniques. Here, you’ll want to cover the surface with a generous amount of alcohol ink or blending solution before dropping other colors. When the colors drop on the slick surface, you’ll see how they swirl and blend in unique ways. You can even add a single drop of alcohol to add some negative space.
Air or Mist Technique
Using air to manipulate alcohol ink is one of the most popular techniques for working with this medium. Whether you use a straw, hair dryer, heat gun, or an air-blowing tool, the results are endless and you can end up with some beautiful, wispy effects. Beyond the abstract, the technique is also a favorite for making flowers.
Ripple Technique
For this technique, you’ll need isopropyl alcohol and a hair dryer in addition to your ink. First, you’ll mix the alcohol ink and isopropyl alcohol in a cut. You’ll then pour the mixture onto the surface and move a hair dryer slowly back and forth, always keeping the hair dryer on the same side. As the mixture begins to dry, you’ll see little ripples form on the surface and you can even continue layering different colors for a beautiful effect.
Applicator Technique
Whether you want to use felt pads, a sponge, a brush, or cotton balls, applicators can add texture, define shapes, and provide even smoother blends. Get creative with what you attempt; you don’t need to invest in fancy materials. Even an old piece of styrofoam or a crumpled piece of plastic can be used to great effect.
Ink Lift Technique
The ink lift technique takes advantage of the fact that alcohol ink can be reactivated after drying and is especially useful for making cards. This technique first involves making a background using alcohol ink. Then, you’ll place a stencil over the background and dab isopropyl alcohol or blending solution. This will lift up some of the ink and when your stencil is taken away, you’ll see the imprint of your stencil.
Flame Effect
If you are working on a flame-resistant surface like ceramic tiles and want to take advantage of alcohol ink’s highly flammable properties, this technique is for you. There is obviously some fire safety involved, so be sure to take precautions and remember to work outdoors on a non-flammable surface like a grill.
The flame technique involves first using the flood technique to fill your surface with ink and isopropyl alcohol. Then, using a long lighter, you’ll set the surface aflame. Once the flames dissipate, you’ll be left with an incredible design in colors that are more vibrant and have more depth. If you don’t want to work with fire, you can also attempt this technique with a heat gun. The end result will be slightly different but is still worth attempting.
Frequently Asked Questions
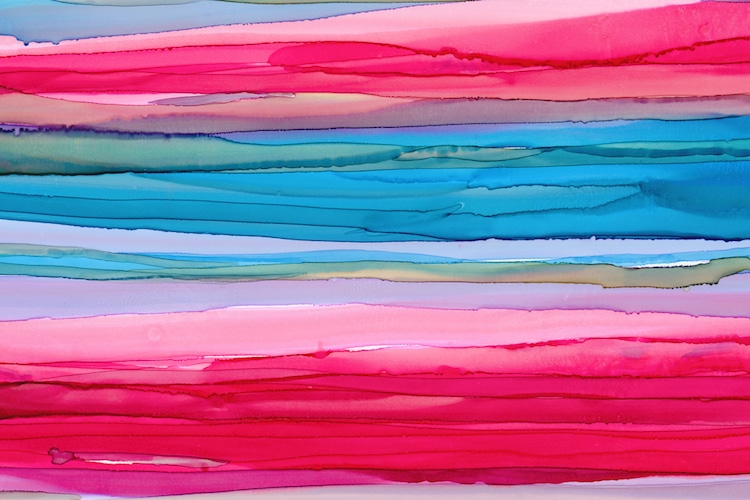
Photo: gevko93/Depositphotos
What do you seal alcohol ink with?
To keep your work looking at fresh as possible, there are several steps you can take. Krylon Kamar Varnish is the most common sealant to start with. Then, you’ll want to seriously consider a UV protectant like Krylon UV Archival spray is a good choice. Many people also use dishwasher-safe Mod Podge for projects, though if you want to seal a mug, wine glass, or anything touching food, it’s highly recommended that you seal the piece with food-grade resin.
Do you need special paper for alcohol ink?
As alcohol ink works best on non-porous surfaces, it’s ideal to work with synthetic papers that are waterproof. Yupo paper, a type of plastic paper, is the most popular, though there are other brands that will work. Glossy paper also makes a good alternative, as it’s not porous.
Can I use rubbing alcohol as a blender with alcohol ink?
Yes, but the quick drying time will give you a smaller window to work with when moving color. There will also be a harsher blend between colors, as isopropyl alcohol is missing the liquid glycerin in blending solution that makes for smooth transitions.
Does alcohol ink work with resin?
Yes, in fact, alcohol inks are the only type of inks that can be used with resin. Water-based inks can cause major problems during the resin curing process, so you want to stay away from those.
Related Articles:
How to Customize Your Clothes Using Colorful Fabric Paints
26 Cool Craft Supplies to Take Your Creativity to New Heights
Learn How to Fuse Abstraction and Realism in This Online Painting Class
15 Best Art Marker Sets for Coloring Enthusiasts and Professional Creatives
