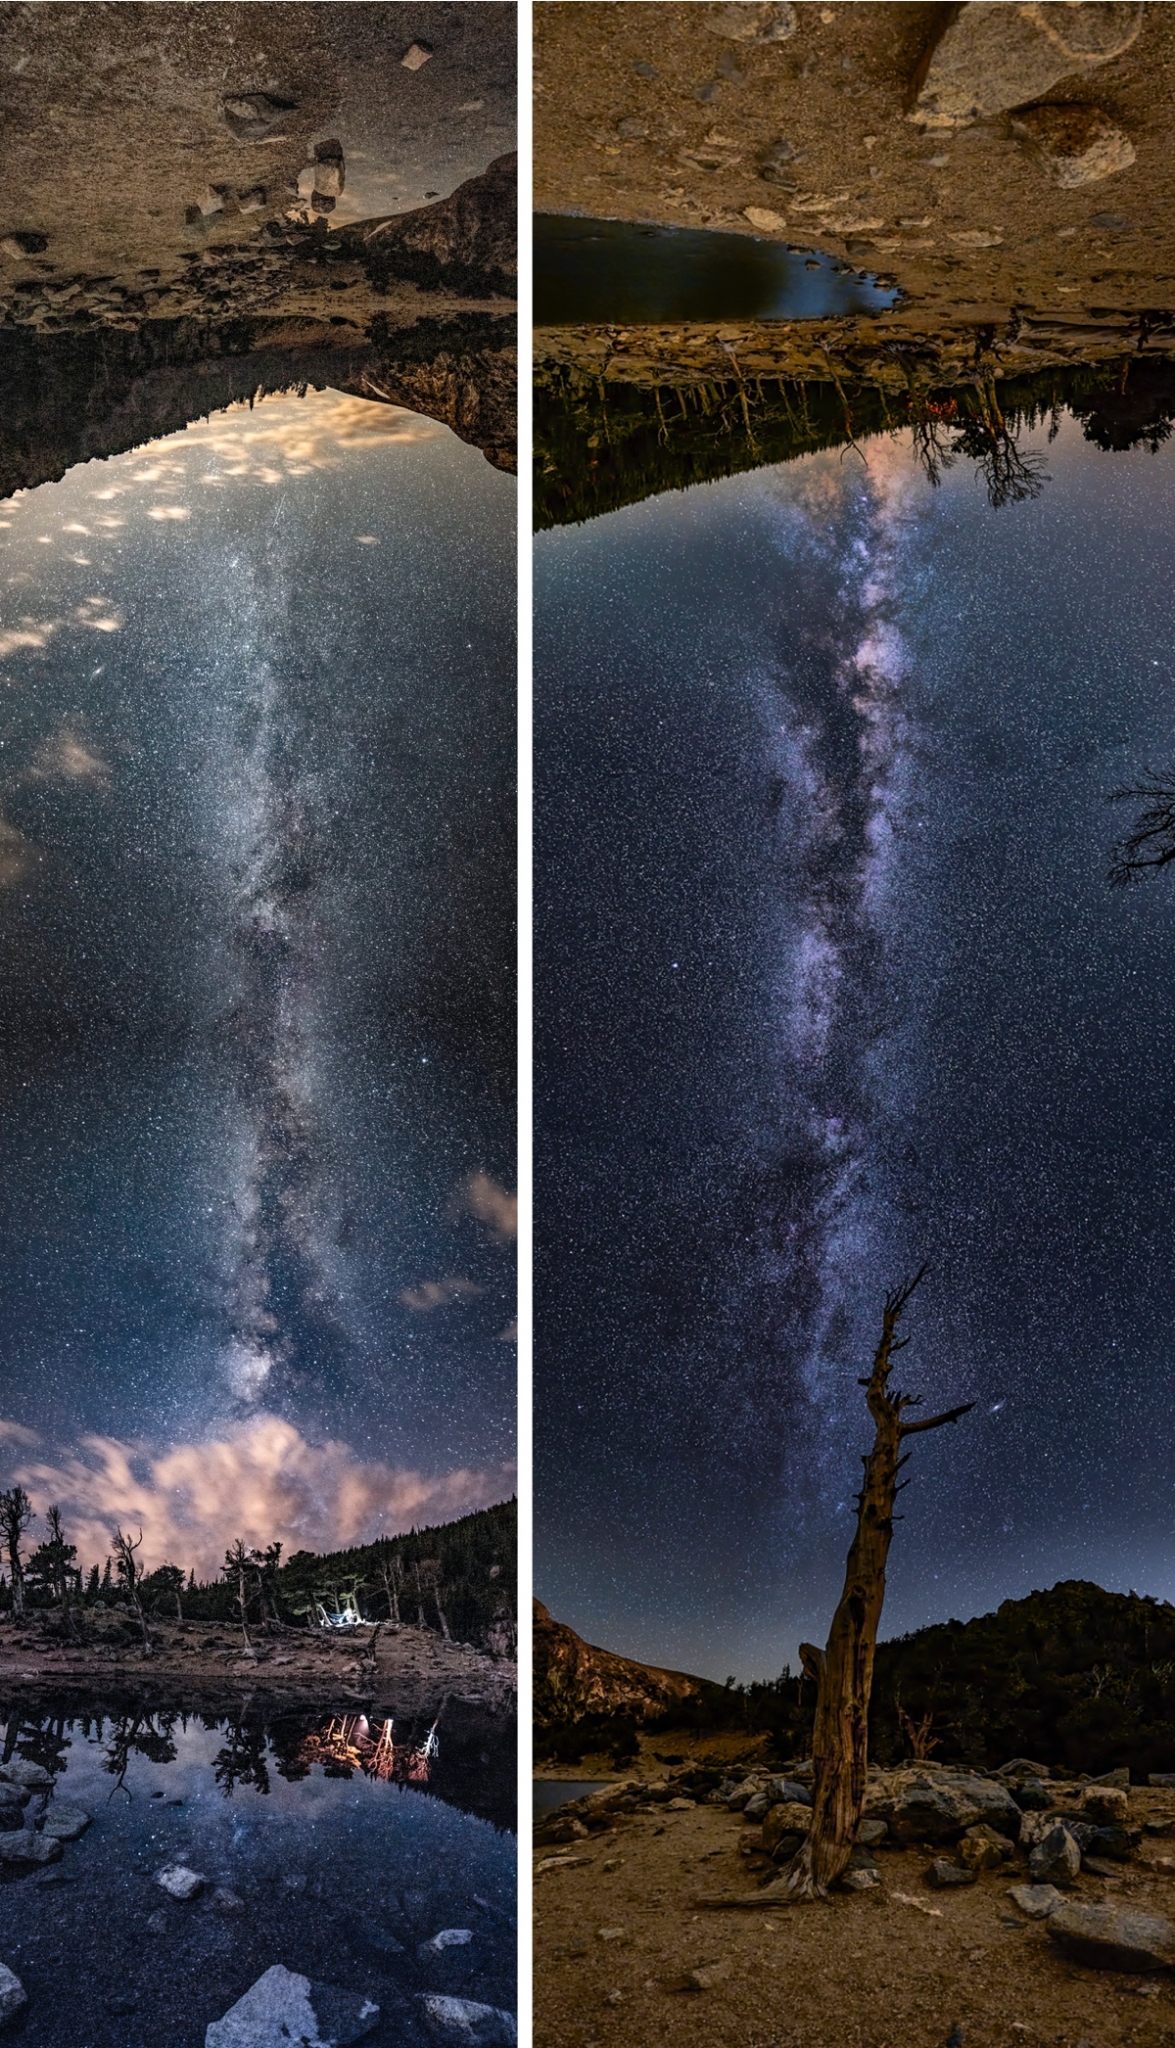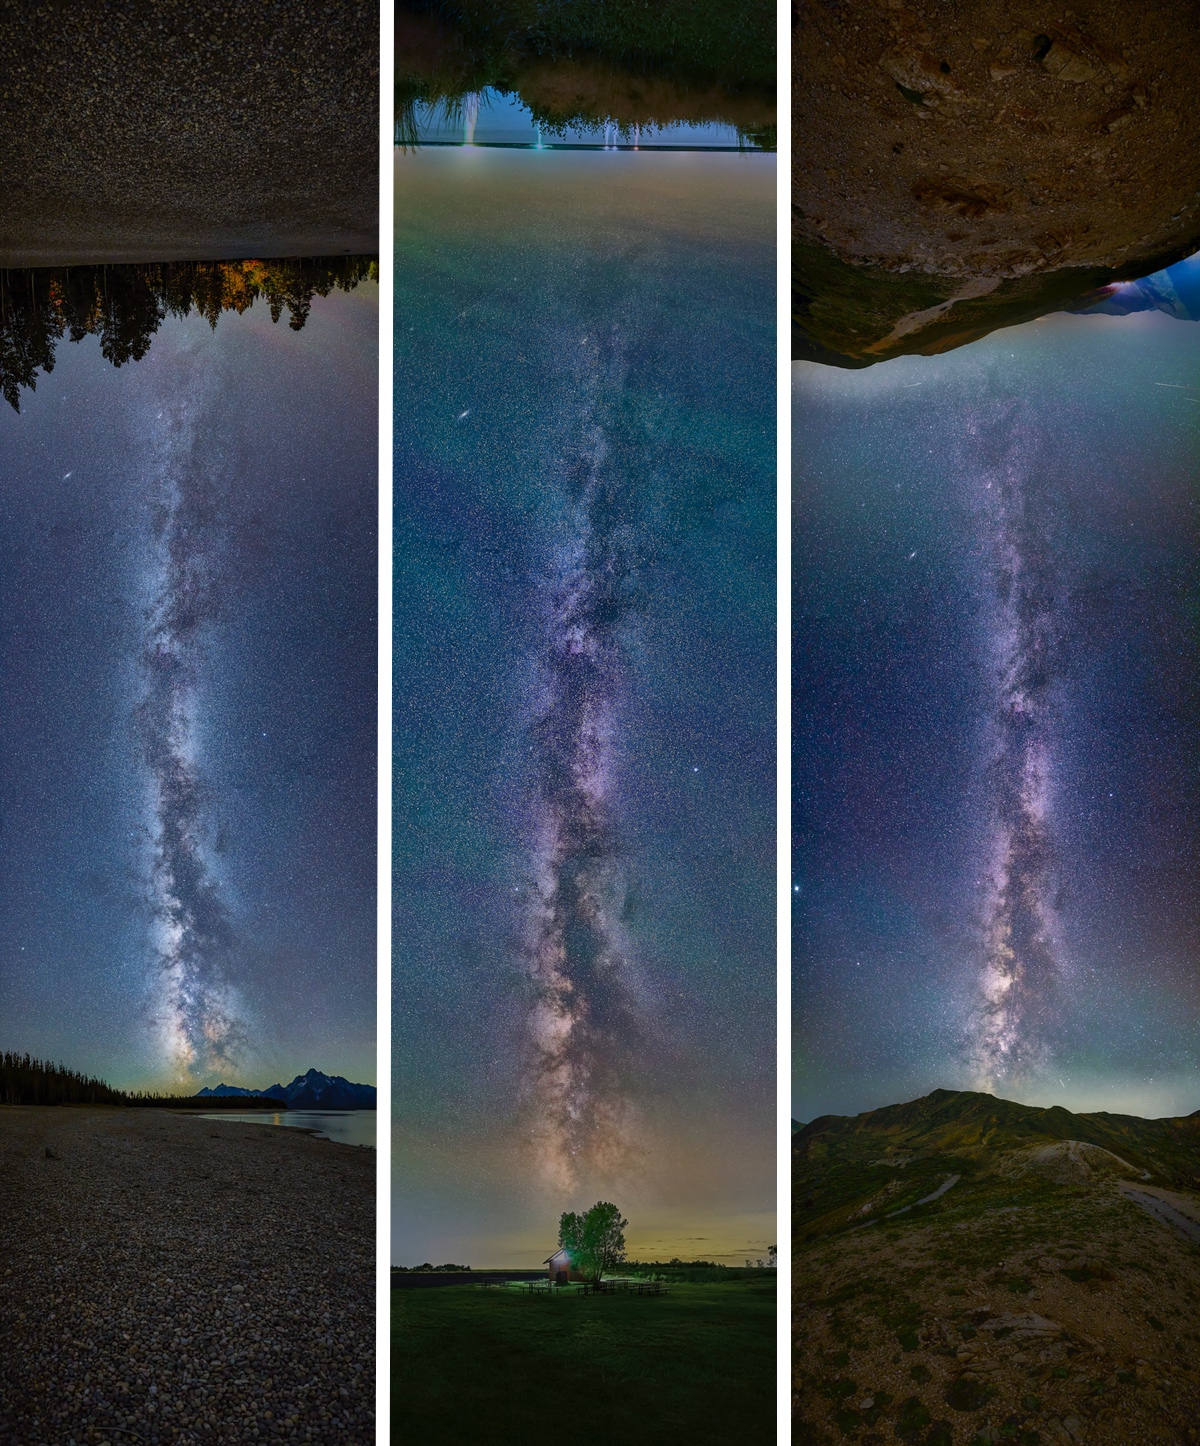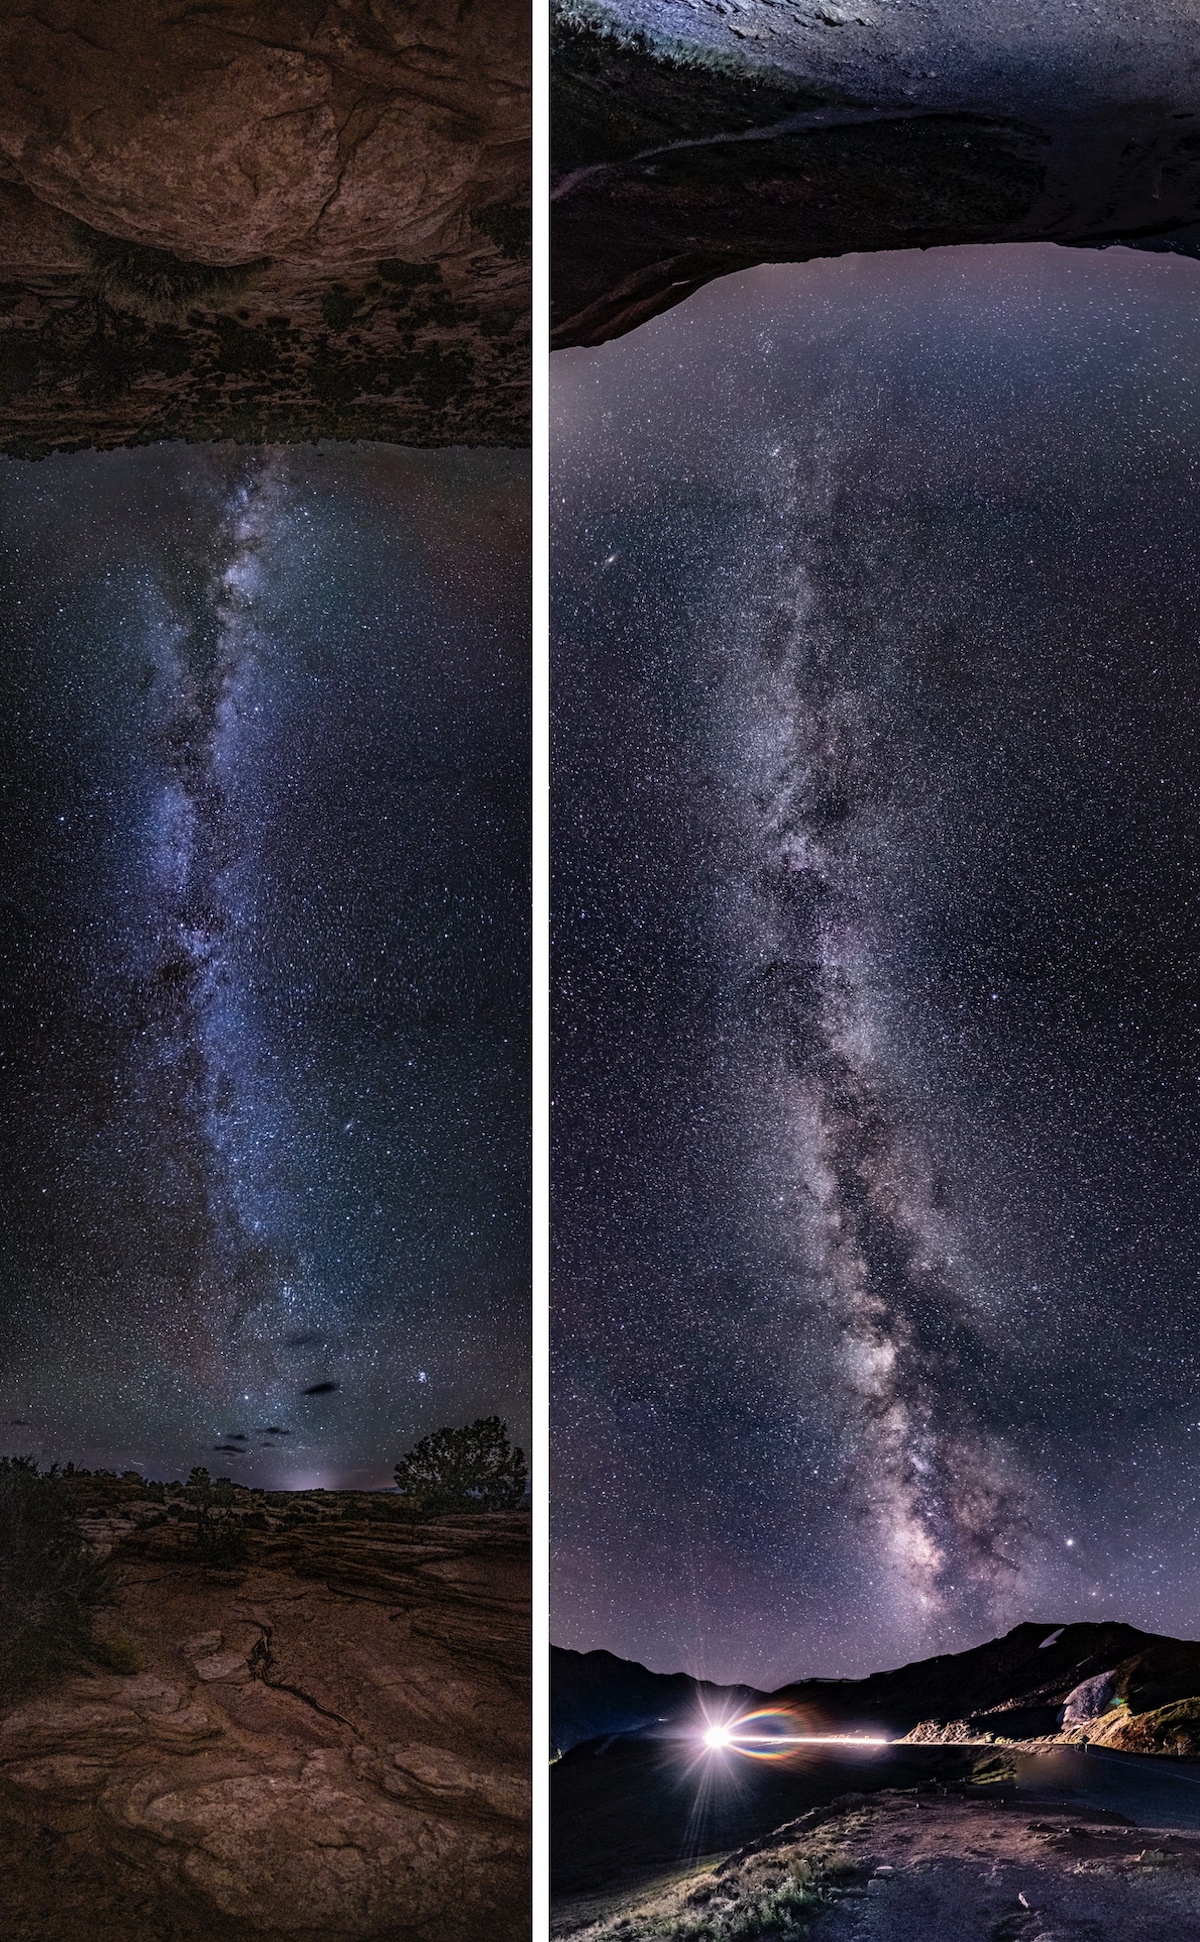
Photographer Geoff Decker takes a unique approach to his astrophotography. Using vertical panoramas, he actually connects two different parts of the landscape with the Milky Way. These images, which are part of a series that he calls Nexus, are a fascinating way to see the sky and to appreciate the natural world.
These panoramas are indicative of Decker’s creative spirit, as his willingness to listen to his instincts and try something new resulted in an amazing portfolio of images. By opening himself up to be spontaneous, while still working diligently to capture the panoramas, he’s been able to bring a new perspective to Milky Way photography.
We were curious to speak with Decker about where he came up with the idea for Nexus, his creative process for shooting these vertical panoramas, and how he came up with the name for the series. Read on for My Modern Met’s exclusive interview with Decker. And if you are interested in purchasing a Nexus print, he has the photos available for sale.
What attracts you to photographing the stars?
Growing up in Florida, there were no visible stars, just endless light pollution and smooth skies. The closest I could get to seeing a clear night sky was at the local planetarium at the Museum of Science and History. So, a lot of the fascination comes from the inability to see and experience a proper night sky when I was little.
Secondly, the night sky still represents a chance for endless exploration and possibilities. It’s been a long time since, as a species, we have had the chance to truly explore and experience something familiar and new. Space and the endless night sky represent the possibility to experience that once again.
Where did the concept for Nexus come from?
I got the idea back in August of 2019. I was going through some of my equipment, cleaning out unused items and such, when I came across my old Nodal Ninja. If unfamiliar, Nodal Ninjas are spherical panorama heads that were famously used for years to create tiny planets and virtual walkthroughs for reality firms before we had the fancy tech that we do today.
At the time, I was also practicing astrophotography, learning how to stack images to clean up noise and such. When I found it, a bit of inspiration just kind of hit that, in theory, I should be able to use this type of head to achieve a perfect vertical shot of the Milky Way.
 What’s your process for selecting your shooting locations?
With locations, it’s difficult to be truly picky as you have to be facing a very specific direction for the Milky Way to appear directly vertical over, in front, and behind you.
Finding a suitable location typically means finding an area with a dark sky mostly free of light pollution. Ideally, close to or on a new moon—or in an area where the moon is obstructed by mountains—and a location where cloud coverage is minimal. I can accurately tell weather within three days so a lot of times it’s just luck. Specifically for these shots, the foreground both straight ahead and behind me needs to be somewhat interesting which makes these shots sometimes difficult.
The last couple of years have been especially difficult due to the ongoing fires across multiple states. Colorado has been filled with smoke the last few summers, so as of recently I take what locations I can get. And honestly, I take a bit of a nomadic approach to astrophotography in general where I find an area with a dark spot, travel there, and see what happens.
Can you walk us through your creative process?
Honestly, the creative process comes from finding a suitable location. But the general process is as follows.
It starts off as your standard astrophotography outing:
- Find a location
- Check weather and cloud coverage
- Locate the Milky Way and locate an area with some nice foreground.
Then comes the field planning:
- Figure out when the Milky Way will be directly overhead and verify that you are in a location that shows it off well. You can use apps like Photopills to get an estimate, but it’s pretty easy to just observe the movement with either your eyes or your camera.
- Extend the tripod and level out the head.
- Attach the camera. Re-level the head.
- Move the Nodal Ninja with the camera attached fully around. Make sure nothing shifts and make sure the lens does not hit the tripod. Knobs and platforms shift so it might be loose or it might not be set the same exact way you had it (or you put the camera on in the wrong position—ask me how I know).
- Set the camera up pointing to the core of the Milky Way. Test your astro exposure, focus, and foreground exposure. Adjust as needed.
- Once ready, point the camera at about 15–30 degrees down. Take one picture every 15 degrees (works the best for stitching), remembering to take two photos for the foreground photos (one at the astro ISO, one at a higher ISO to see the foreground). Step and repeat until you get all the way to the other side of the tripod.
- Review images.
- Import and edit.
The number of photos used for these kinds of photos differs depending on if I set the camera in a landscape or portrait position, with the landscape setup obviously requiring more images as it’s a shorter image (but usually resolves better). At the Grand Tetons, I used 32 images in the session. Duplicates of the foreground were taken, one at the ISO used for the sky (1250) and one for a brighter foreground (4000).
Editing can take a bit. I’ve edited one in as little as a few hours and others, especially when you have issues resolving the panorama, can take a week—editing on and off, of course.
 What’s the most challenging part of creating a Nexus photo?
Timing the location of the Milky Way just right. You can estimate it with some apps but really getting out and finding a location at or before the Milky Way is overhead can be challenging.
It’s also a long series of shots. If you mess one up, you risk having to start over. And as I have learned, while you have a time limit, learn how to review focus on every image quickly.
Patience comes into play quite a bit. If you are out with a group of friends, it can be a bit boring for others who are essentially just waiting for you.
Why is the series called Nexus?
The term Nexus panorama is used for two reasons. First, a Nexus is defined as “a connection or series of connections linking two or more things.” I wanted to clearly define this type of image as a panorama where the Milky Way is used to link two landscape foregrounds using a single series of images. Second, Nexus honestly just sounds spacey. It’s used by a various number of space organizations and in sci-fi material so it just fit the definition.
What do you hope that others take away from these photos?
Do what you can to explore and be creative. Just because a style like astrophotography has been done a specific way traditionally, does not mean it should always be done that way. Take a risk, mess up, and have fun doing it.
