
Photo: Olegkalina/DepositPhotos
Looking for your next creative muse? You don’t have to look very far. Some of the best subjects for drawing can be found lying around your home. Books, for example, can be a great object to render as a drawing. Seems difficult? You’ll find that with a step-by-step approach, you can easily learn how to draw this subject.
This tutorial will show you how to draw a realistic book in just six steps, and then how to apply that knowledge to draw a stack of books. All you’ll need to get started are some basic drawing supplies, such as a pencil, eraser, pen, and paper. If you want your book to be even more accurate, then collect some books you have lying around the house. Ready to get started? Then, let’s draw a book!
Learn How to Draw a Book
Step 1: Draw a rectangle
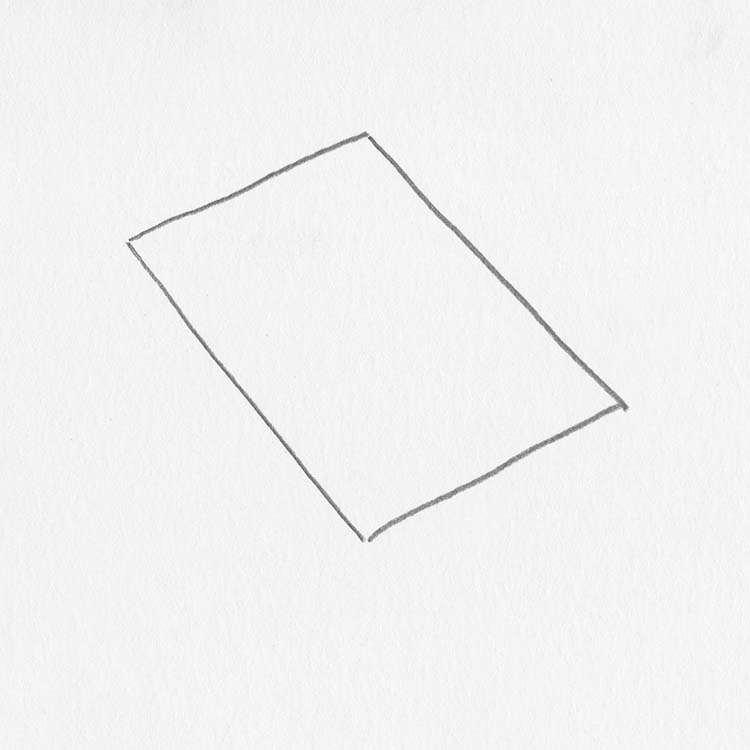
Photo & Art: Margherita Cole | My Modern Met
First, draw a rectangle at a slight angle.
Step 2: Add two arches
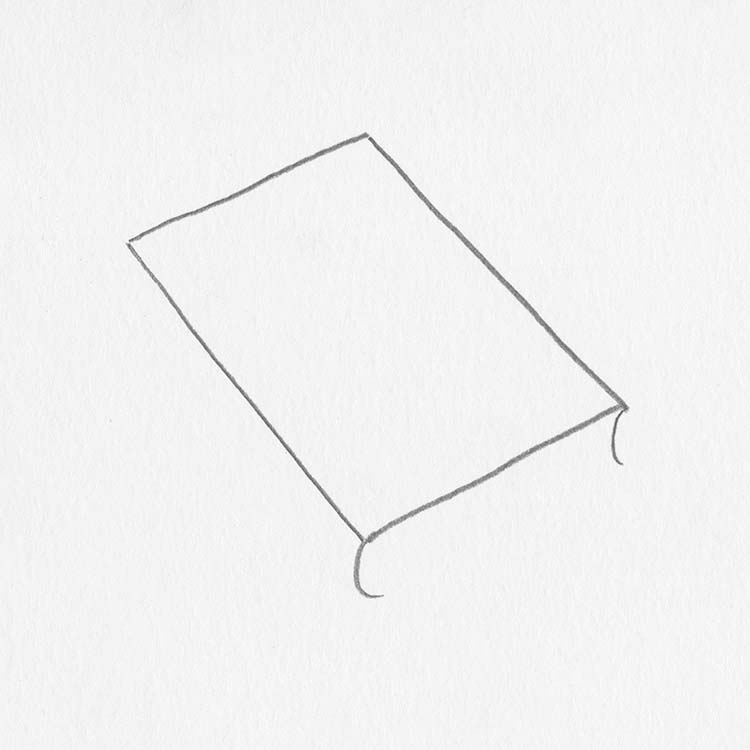
Photo & Art: Margherita Cole | My Modern Met
Then add two curved lines (almost like parentheses) under the bottom line of the rectangle.
Step 3: Sketch a line
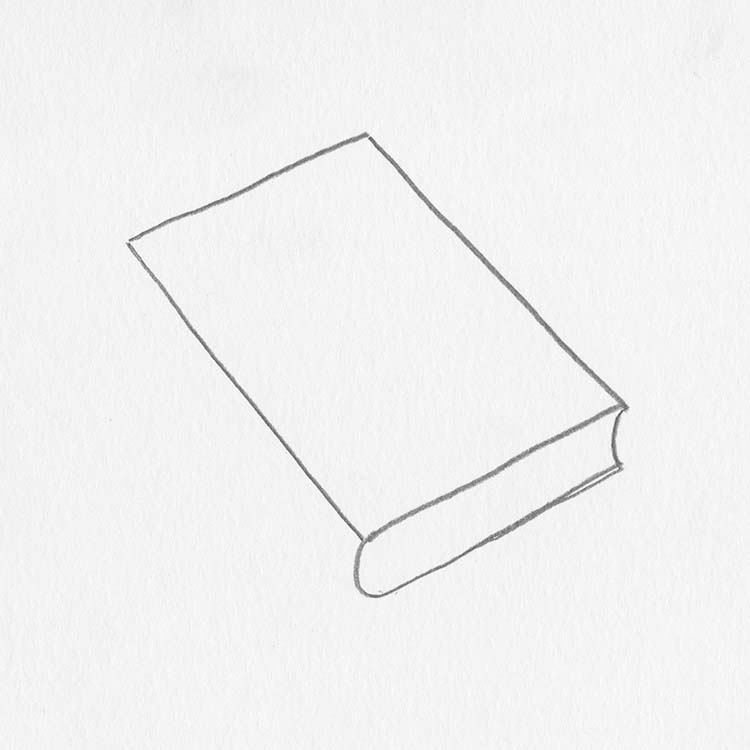
Photo & Art: Margherita Cole | My Modern Met
Add another line under the arches, creating an almost rectangular shape.
Step 4: Complete the spine
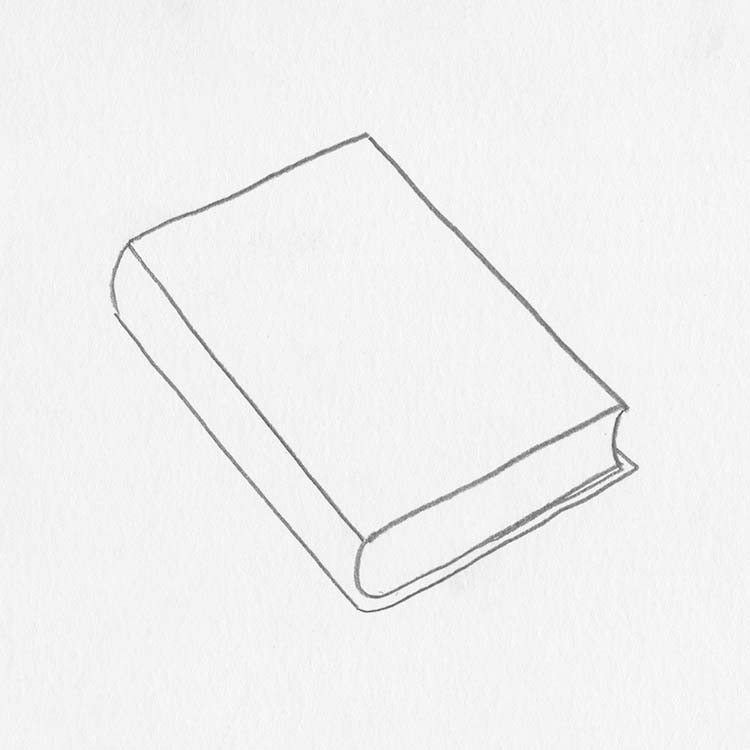
Photo & Art: Margherita Cole | My Modern Met
Next, create the spine of the book by adding another arch and connecting it to a line that is parallel to the long side of the rectangle you drew. This line will also curve and continue into an adjacent line.
Step 5: Add detail

Photo & Art: Margherita Cole | My Modern Met
Afterward, draw some detail on the spine and pages of the book.
Step 6: Go over the drawing with ink
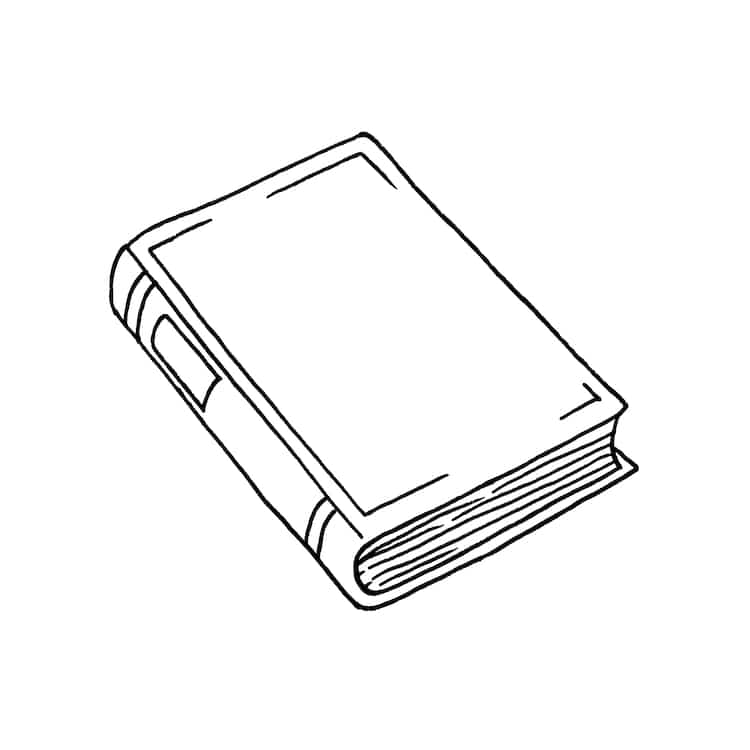
Photo & Art: Margherita Cole | My Modern Met
Finally, it is time to go over the drawing in ink. So, using your favorite pen, carefully trace over all of the pencil marks. Then, when you feel like the ink has had a sufficient amount of time to dry, erase the graphite layer.
Congrats! You’ve learned how to draw a book. Scroll down to take this approach to the next level and draw a stack of books.
How to Draw a Stack of Books
Step 1: Draw a pair of parallel lines

Photo & Art: Margherita Cole | My Modern Met
Start by drawing two parallel lines.
Step 2: Add two arches
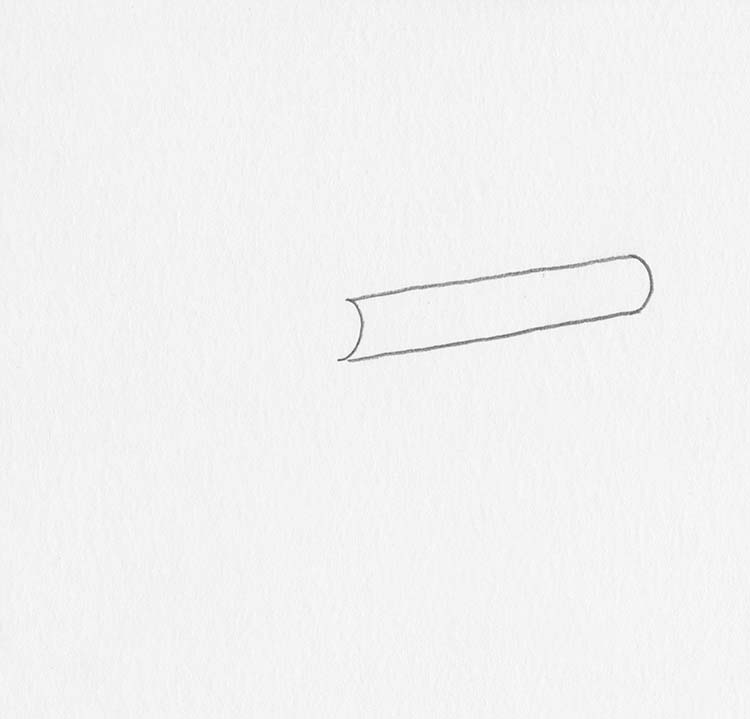
Photo & Art: Margherita Cole | My Modern Met
Next, cap off each end of the parallel lines with two curved lines.
Step 3: Draw two more parallel lines
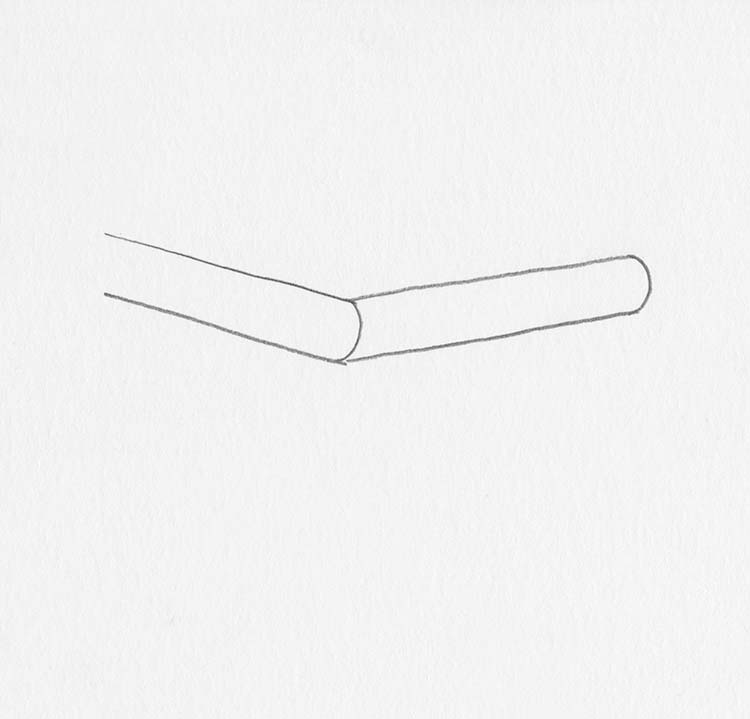
Photo & Art: Margherita Cole | My Modern Met
Then, draw another pair of parallel lines at an angle to the first pair.
Step 4: Add another arch
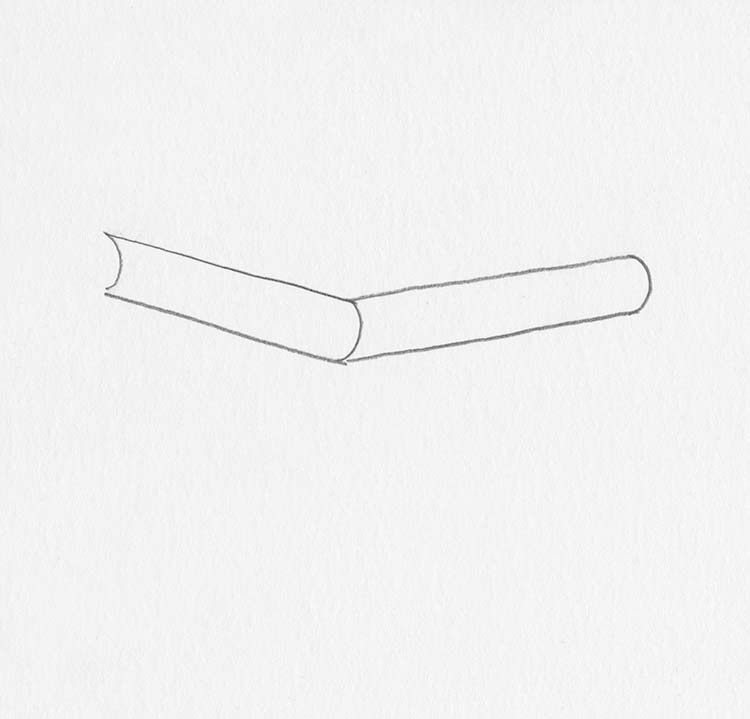
Photo & Art: Margherita Cole | My Modern Met
Cap off the parallel lines with an arch.
Step 5: Complete the first book
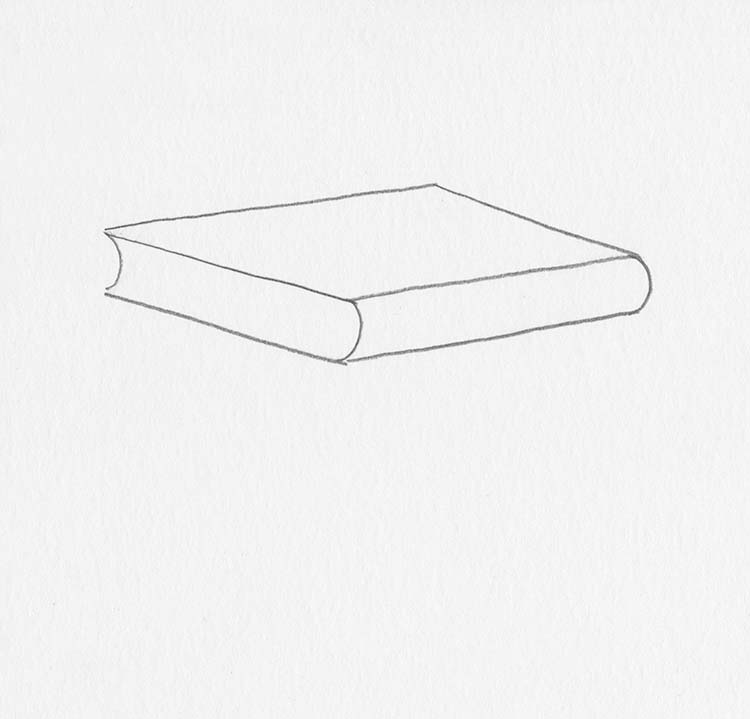
Photo & Art: Margherita Cole | My Modern Met
Afterward, finish the book with two more lines, creating a stretched diamond.
Step 6: Add detail

Photo & Art: Margherita Cole | My Modern Met
Finally, you can add detail to the book, such as to the pages and to the spine.
Step 7: Start the second book
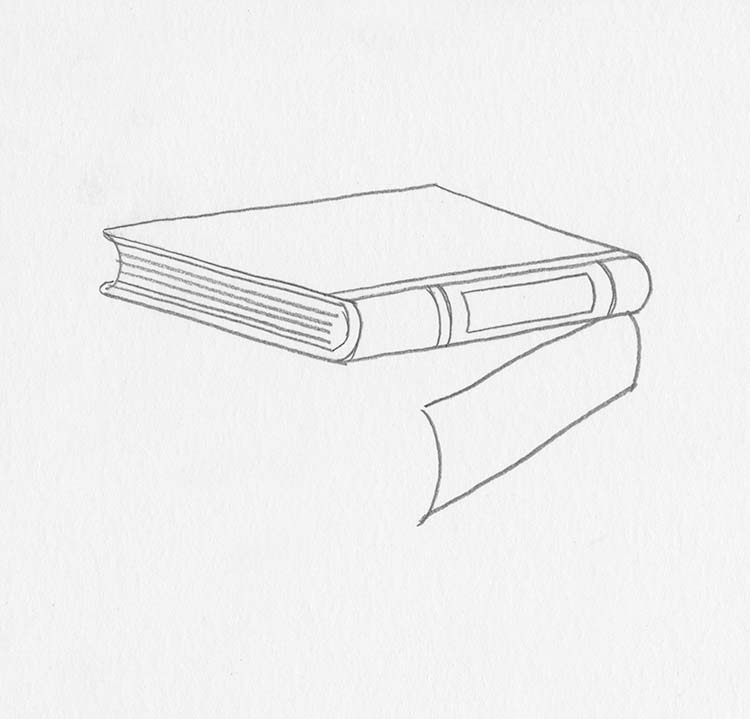
Photo & Art: Margherita Cole | My Modern Met
Next, we will start the second book by sketching a rectangular spine underneath the first book.
Step 8: Complete the shape
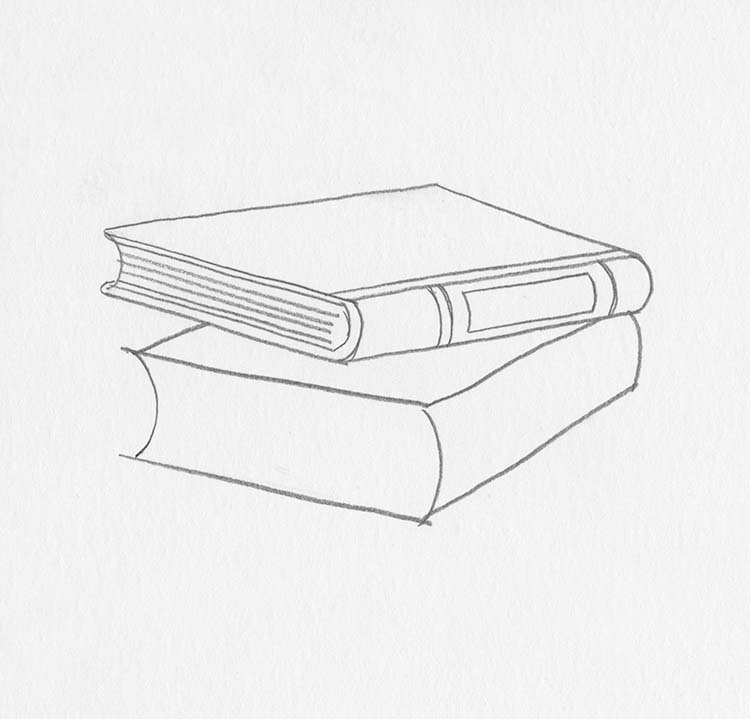
Photo & Art: Margherita Cole | My Modern Met
Finish the shape of the second book in the same way as the first one.
Step 9: Add detail
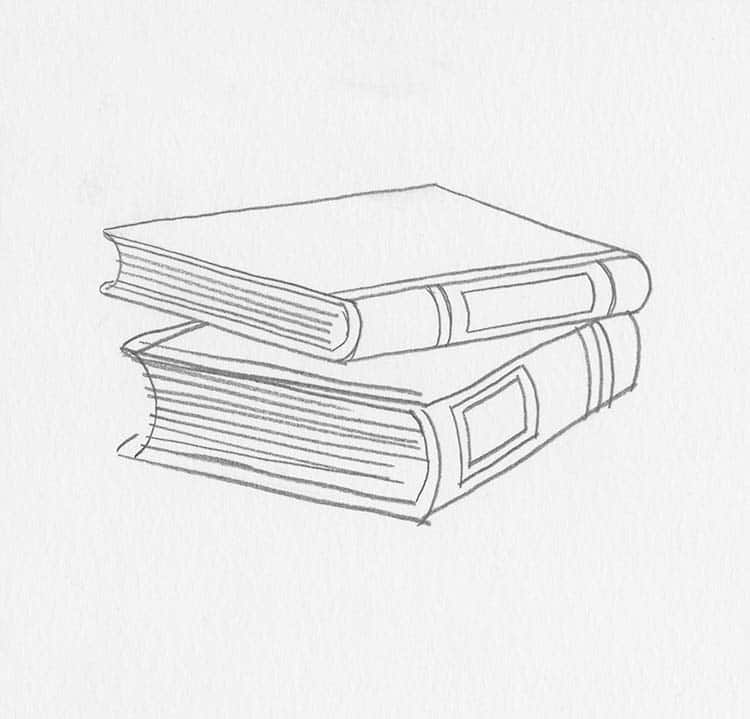
Photo & Art: Margherita Cole | My Modern Met
Then, add more detail to the second book.
Step 10: Start the third book
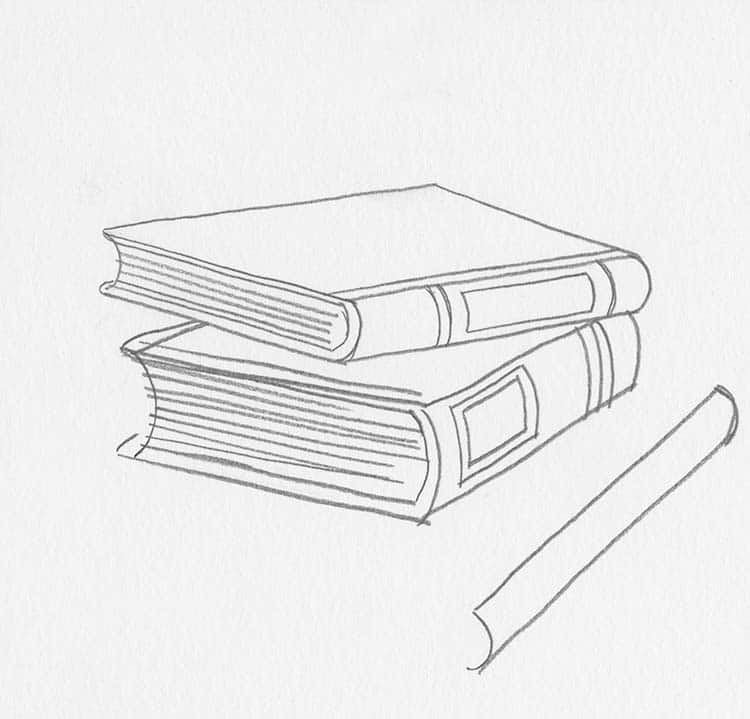
Photo & Art: Margherita Cole | My Modern Met
Now, it is time to start the third book. So, find another angle underneath the second book and sketch a rectangular spine.
Step 11: Finish the shape of the book
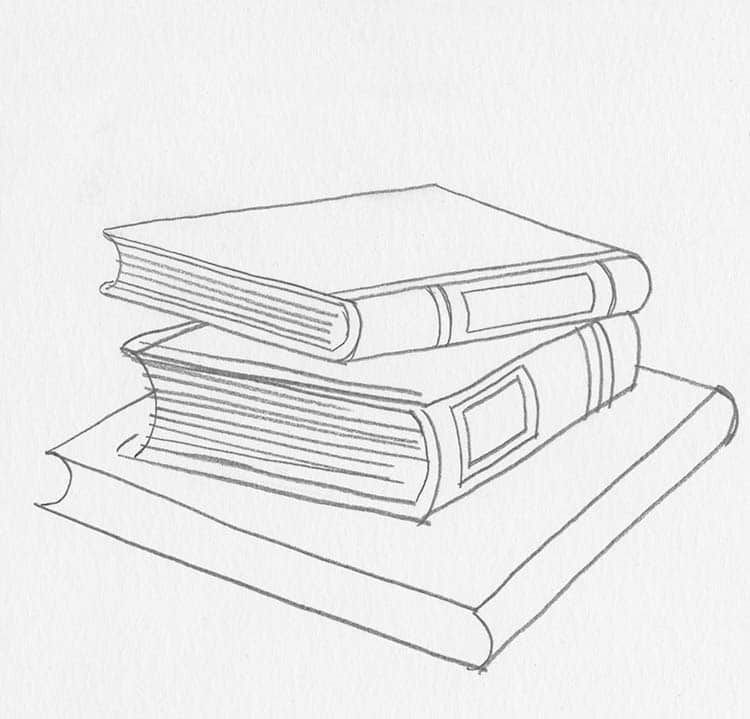
Photo & Art: Margherita Cole | My Modern Met
Finish the shape of the book with the same techniques used in the first and second books.
Step 12: Add detail to the third book
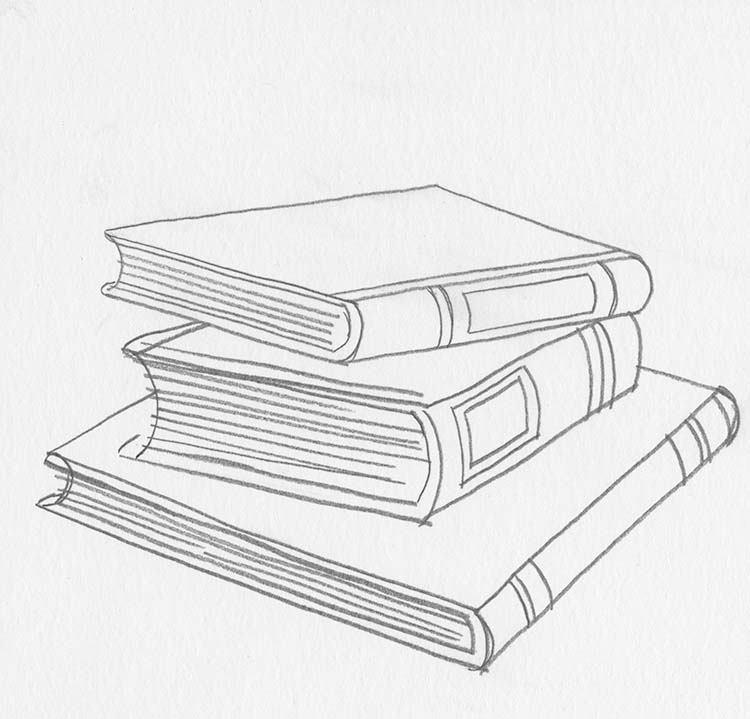
Photo & Art: Margherita Cole | My Modern Met
Afterward, you can add details to the third book until it looks more realistic and three-dimensional.
Step 13: Go over the drawing with ink
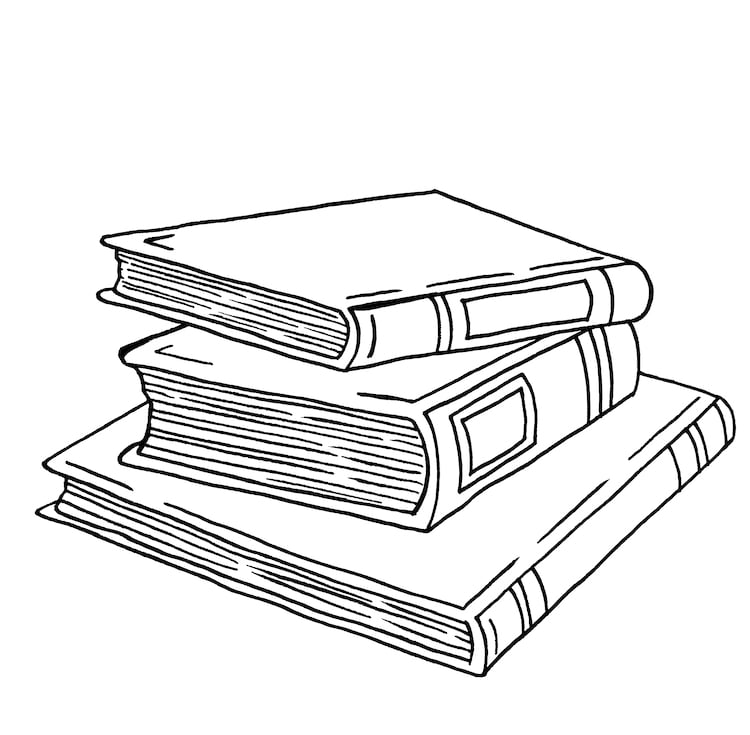
Photo & Art: Margherita Cole | My Modern Met
At last, you can go over the drawing with ink with your favorite pen. Then, after you’ve allowed the ink to dry, you can erase any remaining pencil marks.
Good job! You’ve drawn a stack of books.
Looking for others who love drawing? Join our Art, Design, Photography, and Drawing Club on Facebook!
Related Articles:
How to Draw a Beautiful Rose in 10 Simple Steps [Infographic]
Learn How to Draw Three Different Types of Braids: Three-Strand, French, and Fishtail
Learn How to Draw Koi Fish With This Easy Step-By-Step Guide
Learn How to Draw a Magical Unicorn in This Step by Step Tutorial
